
How to Enlarge an Existing Hole in a Door
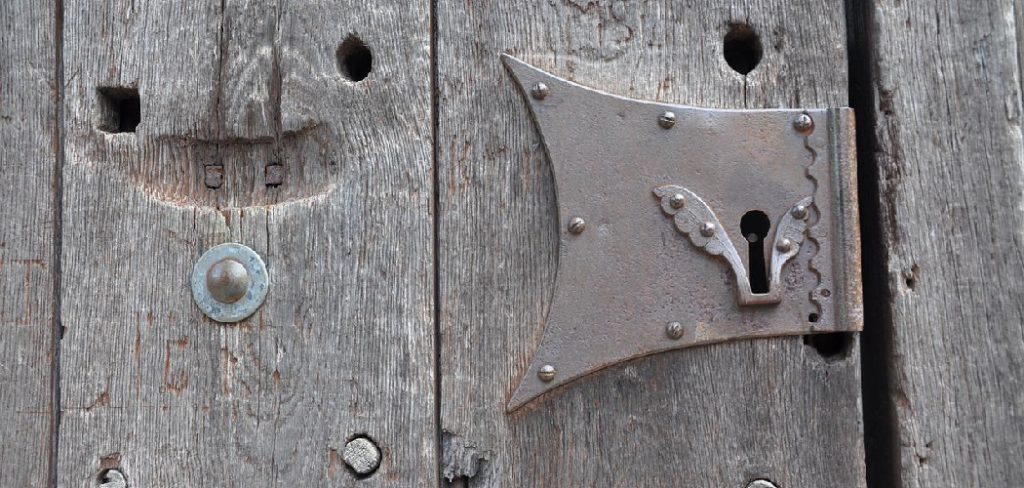
Today, I am here with another home repairing tutorial for you. But first of all, let me explain one of my experience I had lately. My home is old, and its door lock was jammed. So, I had bought a new door lock to replace the order one. It should be a simple job, right? I took my electric screwdriver and took out the old screws. But when I was about to put my door lock, I noticed it didn’t fit. I was very upset seeing this. Really, do I have to throw my newly bought door lock now or do I have to buy a new door? Instead of this, how about enlarging the existing hole? Sounds interesting, right? So, let’s see how to enlarge an existing hole in a door?
You might have faced the same problem and now looking for a way out through this. Well, you are in the correct place. As I have said, I also have made my way through this problem, and now I am ready to share my experience with you. So, what do you think? Is it going to be easy, or you have to face lots of complications? Have you forgot about the thing name “hole saw,” you can simply make the job done with these items. Okay, you might be new to this word. So, let’s have a look at what this hole saw actually is?
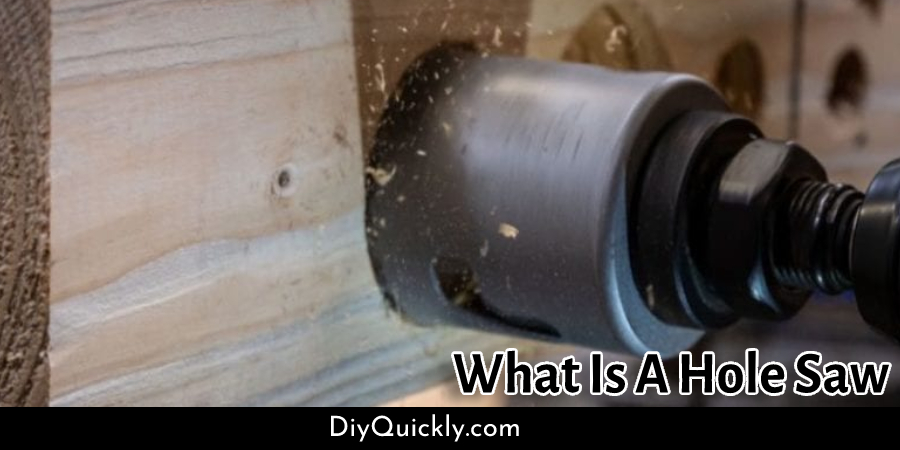
What is A Hole Saw?
A hole saw is a great tool for enlarging something very quickly. If you look closely to the hole, saw you would notice a small drill bit at the center of it. This base construction holds the entire hole saw straight, allowing you to ensure proper drilling through the door. This point is also useful for attaching it with a drill. Now, a hole saw is a very special tool. The metal cutting tip cuts through the material very efficiently. They are made of high-speed steel and carbide steel, which ensures that you can use this saw for a wide range of projects.
“So, what so special, I can easily use it by attaching with my drill” aren’t you thinking this? Well, you can do that. But when you use it inside of an existing hole, it may automatically dance into the hole, making some odd shapes. Honestly, using a hole saw for enlarging an existing hole isn’t as easy as you are thinking. And if you are not following the exact rules, it is not going to be round and not going to be straight. It will end up with a real mess. Don’t worry; I will show you the exact way. Before we get started, you are going to need a couple of things. These are the following:
Materials
- A drill
- A couple of holes saw (one that matches to the existing hole and another one that matches your new door lock)
- Pieces of scrap plywood (small and large)
- A couple of clamps and that’s it, let’s get started.

How to Enlarge an Existing Hole of a Door?
Step 1 – First of all, grab one of your large scrap plywood and your clamp. And one of those smaller pieces of scrap plywood to prevent the clamp scratching your door. Go ahead and tighten the clamp. You don’t have to make it tighter, just ensure a snug fit so that it can stay hold the plywood securely during the operation. Next, use a tape measure to find the center of your door. After that, take a pencil and draw an X at the center of the door. Go ahead and clamp the scrap plywood piece on top of your door.
Step 2 – Next, take another piece of scrap plywood and tighten it with upper clamps.
Step 3 – Remember, I have told you to take the hole saw that exactly matches your door, take that one, and start drilling through the hole. Soon the drill will get through it, and that’s where you have to stop drilling. To make the hole even, you need to take a chisel and hit it. After that, use the file to smooth out the hole. If you are going to install anything in that hole, it will not be able to shake.
Step 4 – This step is going to be a bit tricky. So, pay proper attention to this section. First, take out the top clamp and the large wood piece. Then take the large piece and reinstall it with the clamp over the hole of your door from the backside. Now remove the bottom clamp and let that small piece of scrap plywood fall to the floor. Now take out the wood piece and measure a 1/4-inch thick piece of scrap plywood according to the length and width of your door. Now you will need two clamps and a hammer to reinstall the new plywood.
Step 5 – After that, take the large hole saw and start drilling from the front side. Once the piler drill broke through the opposite side, you should stop drilling. And then start drilling from another side. This process will prevent your door from getting any type of damage. However, if you have completed that, the existing hole of your door is enlarged now. Now, take the jigsaw and cut along the line of your design. For making this process easy, you should put the door on a firm surface. If it is too big, you can do this task on any workbench.
Conclusion
Hopefully, you have understood the process through the above discussion. If you are still confused, don’t hesitate to comment us below.


