
How to Extend Deck Joists
If your deck feels a little bouncy or if you want to add extra support, consider extending your deck joists. This is a relatively easy project that most people can do in a couple of hours. However, by adding just a few extra feet to your joists, you can make a big difference in the stability and comfort of your deck. Today we’ll show you how to extend deck joists. Keep reading.
Deck joists are the boards that run perpendicular to the deck boards. They are usually 2×6 or 2×8 in size, and they support the weight of the decking material and people walking on the deck. The joists are typically spaced 16 inches apart when a deck is first built. If your deck is starting to feel bouncy or if you want to add extra support, you can extend the joists by adding a few additional feet.

Why Do You need to Extend Deck Joist?
Adding a deck to your home is a great way to improve the outdoor living space and increase the value of your property. However, if the deck is not constructed correctly, it can quickly become an eyesore. One of the most important aspects of any deck construction is that the joists are appropriately extended. Failing to do so can lead to several problems, including deck sag and failure.
There are several reasons you may need to extend the joists on your deck. One common reason is that the original joists were not installed correctly or were not appropriately sized for the project. Another reason may be that the deck has been damaged over time and needs to be repaired or replaced. Finally, you may want to add a new section to your deck in some cases, and the existing joists will not be adequate.
If you need to extend your deck joists, there are several things that you need to consider. The most important thing is to make sure that the new joists are sized correctly for the project. You also need to ensure that they are adequately supported, both at the end and in the middle. Finally, try to keep the extensions as close to the original joists as possible. This will help minimize the amount of work that needs to be done and ensure that the deck is structurally sound.
Things You’ll Need
- Tape measure
- Chisel
- Hammer
- Saw
- Square
- Level
- Safety glasses
- Dust mask
- Work gloves
A Step by Step Guide on How to Extend Deck Joists
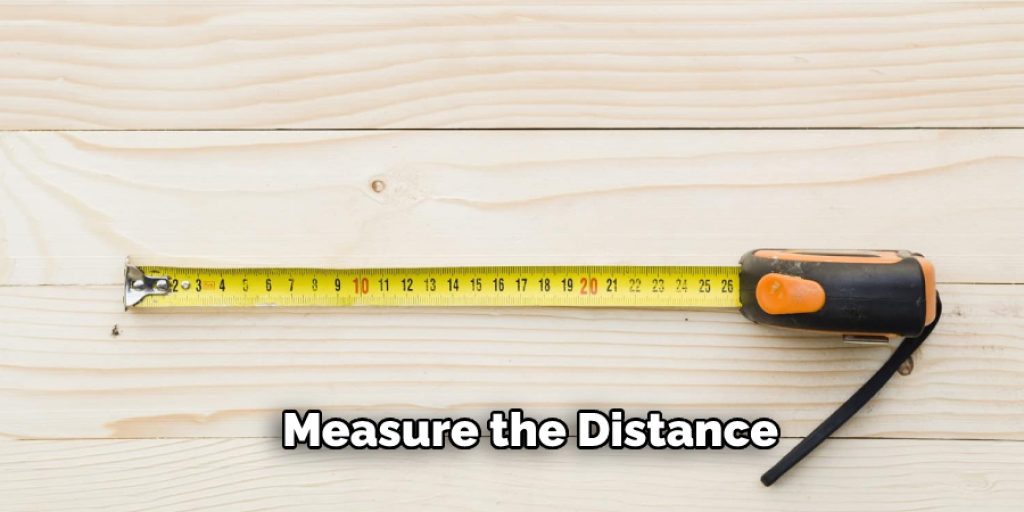
Step 1: Determine How Much You Need to Extend the Joists
Before you can do anything, you need to measure the distance that needs to be extended. This can be done using a tape measure. Once you have the measurement, you’ll need to subtract the thickness of the decking boards. This will give you the exact amount that needs to be extended.
Step 2: Mark the Location of the New Joist
Once you know how much needs to be extended, use a square and level to mark where the new joist should go. Make sure that it is in line with the existing joists. Next, use a chisel and hammer to make a small indentation in the wood where the new beam will go. This will help to keep the new joist in place.
Step 3: Cut the New Joist
Now that the location of the new joist is marked, it’s time to cut it. Use a saw to cut the latest piece of lumber to size. Make sure that it is the correct length and width.
Step 4: Install the New Joist
Once the new piece of lumber is cut, it’s time to install it. First, use a hammer and chisel to remove the indentation made in Step 2. Then, use a level to ensure that the new joist is installed correctly. If it is not, make adjustments until it is level. Once it is in place, use screws or nails to secure it.
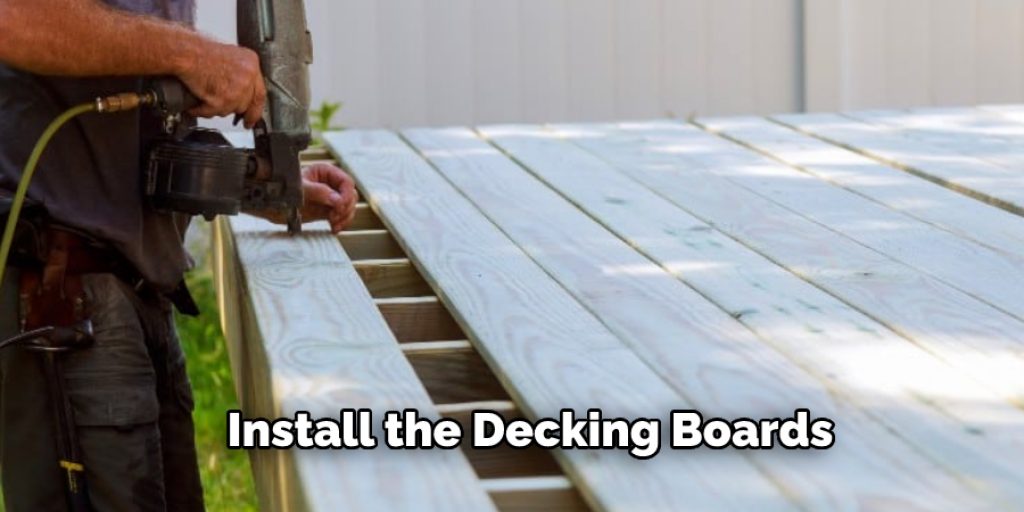
Step 5: Install Decking Boards
Once the new joist is installed, it’s time to install the decking boards. First, ensure that the decking boards are the same thickness as the original ones. If they are not, you’ll need to adjust the joist accordingly. Next, use a hammer and chisel to remove old nails or screws from the existing joist. Then, install the new decking boards using screws or nails.
Step 6: Finishing Touches
Once the decking boards are installed, it’s time to finish up. First, make sure that all of the screws or nails are flush with the surface of the wood. This will help to keep dirt and water from getting into them. You may also want to apply a coat of sealant to the decking boards to protect them from the elements.
Now that you know how to extend deck joists, you can easily add extra space to your deck. By following these simple steps, you can have a brand new deck in no time!
Tips and Warnings
Tips:
- If you are unsure how to do this safely, it is best to consult with a professional.
- Ensure the new joists are level and parallel to the existing posts.
- Use a level when you mark the cutting lines on the new joists.
- Cut the new joists to size with a circular saw.
- Drill pilot holes in the ends of the new joists, then attach them to the existing joists with lag screws.
- Drive deck screws through the top of the deck boards and into the new joists.
Warnings:
- Make sure the deck is stable before you start working on it.
- Be careful when cutting the new joists, as they are prone to splitting.
- Use caution when driving screws into the new joists, as they may split if over-driven.
- Always wear safety goggles when working with wood.

How Far Can Deck Extend Past a Joist??
Deck joists are typically spaced at 16 inches on the center, but there may be times when you need to extend them further.
The general rule is that a deck should not extend more than 12 inches past a support beam. The farther a deck extends beyond a beam, the greater the chance of collapse. If your deck requires an extension that falls outside this guideline, you will need to install additional supports to ensure safety.
One way to provide additional support is to install new joists next to the existing ones. This will create an “I” beam that can safely bear the deck’s weight. Be sure to use the same size and grade of lumber for the new joists as you used for the original ones.
If you cannot install additional joists, you can use metal brackets to provide extra support. These brackets are installed between the existing post and the beam, and they will help distribute the weight of the deck evenly.
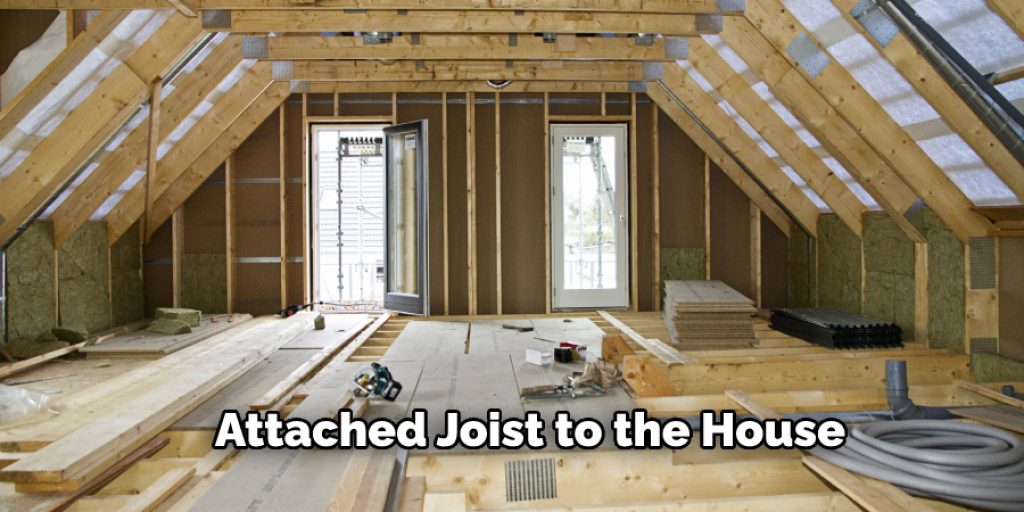
It is important to remember that even if your deck does not extend past a joist, it still needs to be attached to the house, at least every other joist. Failure to do so could lead to header failure when a header (the beam that supports the end of a roof) fails due to too much weight.
Extending deck joists is a relatively simple task, but it is essential to take precautions to ensure safety. By following the guidelines in this article, you can safely extend your deck beyond a joist.
You Can Check It Out To Remove Deck Paint From Vinyl Siding
How Many Joists Do I Need for a 16 Foot Deck?
One of the most important aspects of any deck is the joists. They are what support the decking, and they need to be able to handle the weight. Most decks require a minimum of 10 joists, but if you’re extending your deck or have a huge one, you may need more.
The first step is to measure the length and width of your deck. Next, multiply those two numbers together to get the square footage. Now divide that number by 144 (the square footage of a 12-inch joist). This will give you the number of joists you need. For example, if your deck is 16 feet long and 8 feet wide11, you need 11 joists (16×8=128, 128/144=).
If you are only going to be extending your deck by a few feet, you can use the same joists, but if you’re adding on a lot of new space, you’ll need to replace some or all of your old joists with longer ones.
When you’re buying new joists, make sure to purchase rated ones for outdoor use. This will ensure that they can handle the weather and the weight of people and furniture.
It’s also good to consult a professional before starting any major deck renovation project. They can help you plan out the construction and ensure that everything is done safely and correctly.
You Can Check It Out To Install Outside Mount Plantation Shutters
Conclusion
To extend deck joists, you will need to cut the existing joist and add a new piece of lumber. The method for doing this will depend on the type of saw you are using. If you have a circular saw, you can use it to cut. However, if you have a reciprocating saw, it will be easier to use because it has more maneuverability. Whichever saw you are using, make sure that you measure twice before cutting so that the extension is as accurate as possible. We hope you have gone through the article on how to extend deck joists.
You Can Check It Out To Drill Into a Tree Without Hurting It
Angela Ervin
Angela is the executive editor of DIY quickly. She began her career as an interior designer before applying her strategic and creative passion to lifestyle and home. She has close to 15 years of experience in creative writing and online content strategy for housekeeping, home decorations as well as other niche efforts. She loves her job and has the privilege of working with an extraordinary team. She lives with her husband, two sons, and daughter in Petersburg. When she's not busy working she spent time with her family.


