
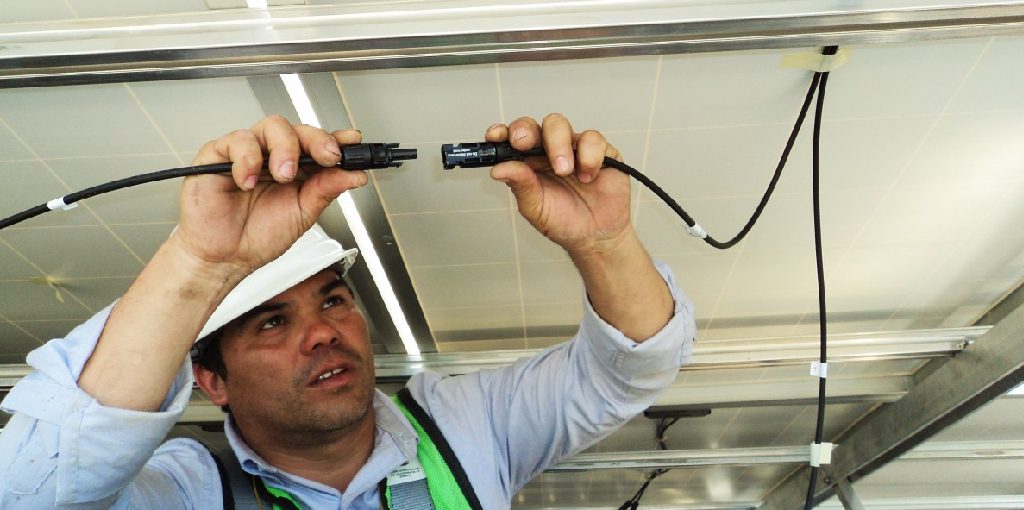
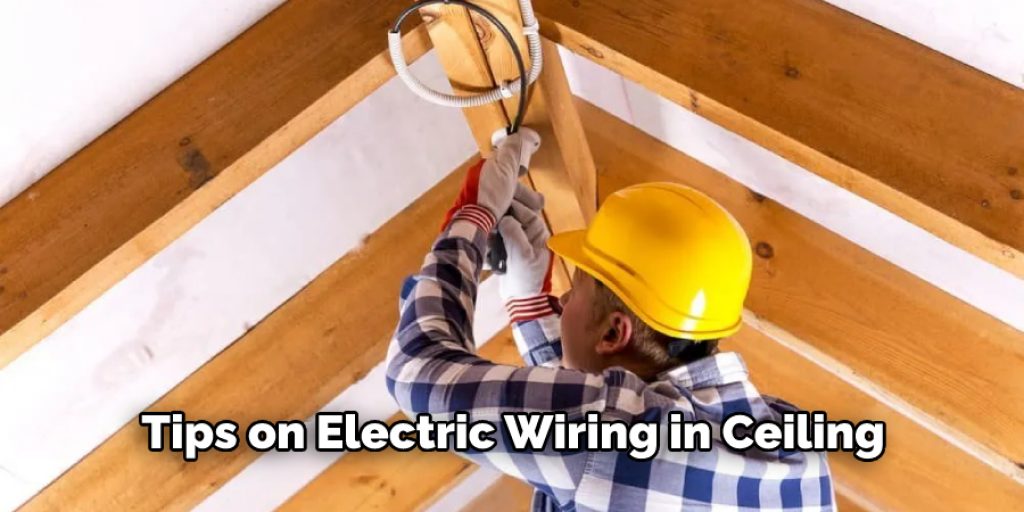
How to Extend Electrical Wire in Ceiling
It can be frustrating when your home or office building is wired with only 6 feet of wire for electrical appliances. This might cause you to have limited options to place your lamps, TVs, computers, and other electronics.
However, there are several ways to extend the cord length without having to call an electrician or deal with messy long wires all over the floor. You can extend the electrical wire by simply adding another outlet or plug. It’s easy and cost-effective! This blog post will tell you all about how to extend electrical wire in ceiling.
10 Ways on How to Extend Electrical Wire in Ceiling:
1. Install a New Electrical Box:
There are times when you have no other choice but to install a new electrical box to extend the existing wire. You can do this by simply finding an electric box big enough to fit the wire you are trying to extend.
2. Drill a Hole From Below:
In this method, you need to drill a hole in the ceiling and run the wire through it. First, you need to cut a small hole in the drywall with a drywall saw. You can use a stud finder to make sure you don’t drill into any nails or wires. If there is enough room to drill a larger hole, you can use a spade bit.
3. Remove the Ceiling:
If you cannot find an existing wire in your ceiling, you can permanently remove it. To do this, you will need to cut out the entire ceiling. Make sure you know what’s above the ceiling. You don’t want to cut through anything important! Once all of the drywall is removed, use a stud finder to find the studs. Mark them with chalk, so you know where not to drill through. Next, use a spade bit to cut along the chalk lines.
4. Run Wire Through Walls:
You can always run your wire through walls if there are openings; you just need to attach it appropriately. The first thing you want to do is identify your studs to know where to attach the wire. Use a stud finder again to mark the location of the studs. Drill holes through the drywall between each stud that are large enough for your wire or electrical cable.
5. Never Split Wire:
Never split wire when trying to extend it in the ceiling, especially when you don’t know the source of the wire. Splitting it will weaken the wire, which is very dangerous. If you cannot use any of these methods to extend your electrical wire in the ceiling, then hire an electrician to do it for you!
6. Use Wire-Pulling Loops:

Wire-pulling loops work like a pulley to pull wire through walls. To use them, simply slip the wire loops onto your wires and attach it to a doorknob or something similar. Then, pull the wire through by turning the knob and attaching it to another doorknob on the other side.
7. Run Wire Through a Cable Raceway:
To run wire through a cable raceway, first, you need to drill a hole in the bottom of it. Then, use this as an access point to push your wires through and attach it to whatever needs power on the other side. Remember, if you already have cables running along that wall or ceiling, then there’s a good chance you’re going to run into them when trying to push your wire through. This will significantly increase the difficulty of extending your electrical wire in the ceiling.
8. Use a Wire Feed Power Tool:
A wire feed power tool feeds a piece of electrical wire into the area you need it and cuts off any excess. It’s excellent for getting wire behind things or in odd spaces where you cannot push it.
9. Push Wire Through Tubing:
Simply insert your wire into the tubing and tape it in place with electrical tape to use this method. Once all of your wires are done, attach them to a doorknob and pull it through the tubing, just like you did with the wire-pulling loops.
10. Use an Expanding Wire Channel:
If you need to run electrical wire in ceiling space, then use an expanding wire channel. Expanding wire channels are great because they attach to ceilings easily and don’t give way when pushed on but expand through the wall.
Cut a hole in your ceiling and slip it onto the wire. Then push it through until there is about one inch of tubing left, attach an electrical box to that end, and pull the rest of the wire through. You can also use expanding wire channels to run wires around corners.
You Can Check It Out to Find Ceiling Joist With Magnets
Some Tips and Suggestions:
- Give the new wires enough slack to work with to be able to join them without adding too much extra length.
- Pulling on the electrical wire can loosen its connection inside the insulation. This makes it difficult to connect well at joints and may break relations that aren’t damaged (which could cause an appliance to stop working).
- The wires will be warm but not hot to the touch after being used for a while. Even if you only leave the light on for a short time, turning off circuits at the breaker box is good practice before working on them.
- Some modern fluorescent lights come with noise suppression equipment. This is designed to reduce the noise of the ballast. If this equipment fails, it may take out lamps that are wired in parallel with it.
- As you join wires together, wrap the connection tightly with electrical tape until you have a secure joint.
- Use wire nuts to connect wires instead of twisting them around each other since this provides a stronger connection.
Conclusion:
In conclusion, it is essential to make sure that the wire you are using will withstand a lot of weight. Therefore, the main thing to consider when choosing what type of wire should go up in your ceiling is how much weight it can hold and if there’s enough space for installation.
When installing wires in ceilings, one must also consider any plans or additions that may need wiring as well. It would not hurt either to purchase an extra-long extension cord in case! We hope this blog post was helpful to give you some guidance on how to extend electrical wire in ceiling. Let us know your thoughts in the comments below!
Angela Ervin
Angela is the executive editor of DIY quickly. She began her career as an interior designer before applying her strategic and creative passion to lifestyle and home. She has close to 15 years of experience in creative writing and online content strategy for housekeeping, home decorations as well as other niche efforts. She loves her job and has the privilege of working with an extraordinary team. She lives with her husband, two sons, and daughter in Petersburg. When she's not busy working she spent time with her family.


