How to Fill Gaps in Wood Deck
Do you have a wood deck that is starting to show its age? If so, you may be wondering how to fill gaps in wood deck. Luckily, there are a few different options available to you. This blog post will explore a few different ways to fill gaps in wood decks.
While there are various ways to do this, the best method will depend on the type of decking material. Here’s a look at some common methods for filling gaps in wooden decks. By the end, you should better understand which method is best for your particular situation. Let’s get started!
What is Causing Gaps in Your Wood Deck?
Before we dive into how to fill the gaps, let’s first understand what is causing them. The most common reason for gaps in a wood deck is the natural expansion and contraction of the wood due to weather conditions. This means that gaps will tend to appear during the hot summer months and close up during colder seasons.
Another cause of gaps is the use of low-quality wood or improper installation. If your deck is not constructed properly, it may lead to uneven boards and gaps between them. It’s important to address these issues to prevent further damage and maintain the structural integrity of your deck.
Why Gaps Need to Be Filled
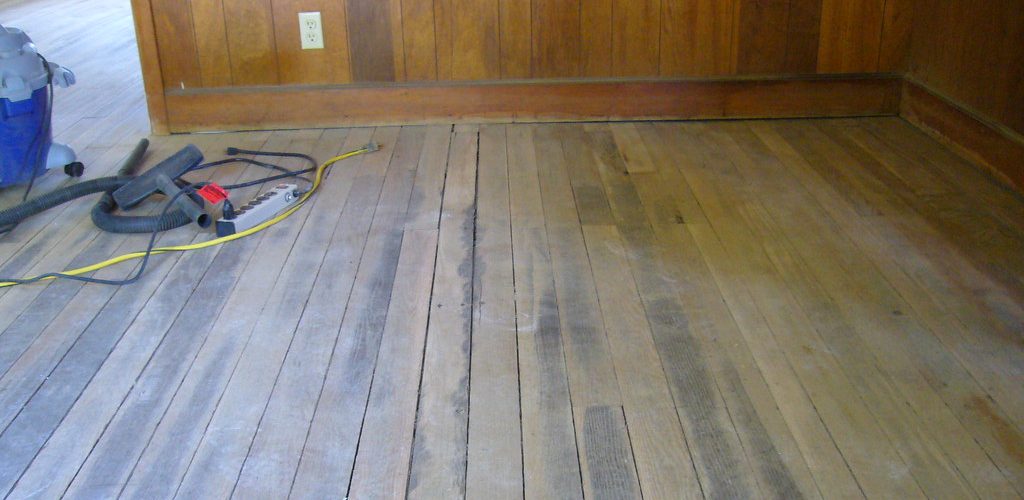
You may be wondering if gaps in your wood deck are really such a big deal. The answer is yes! Leaving gaps untreated can lead to various issues down the line. For one, small gaps can quickly become larger and pose a tripping hazard. Water can also get trapped in these gaps, causing rotting and weakening of the wood.
Furthermore, gaps can also cause damage to furniture placed on the deck. Uneven surfaces can make it difficult to place chairs and tables, and gaps can cause wobbling and instability. Lastly, gaps in the wood deck can decrease its overall aesthetic appeal.
Needed Materials:
In order to fill gaps in your wood deck, you will need a few materials. These include:
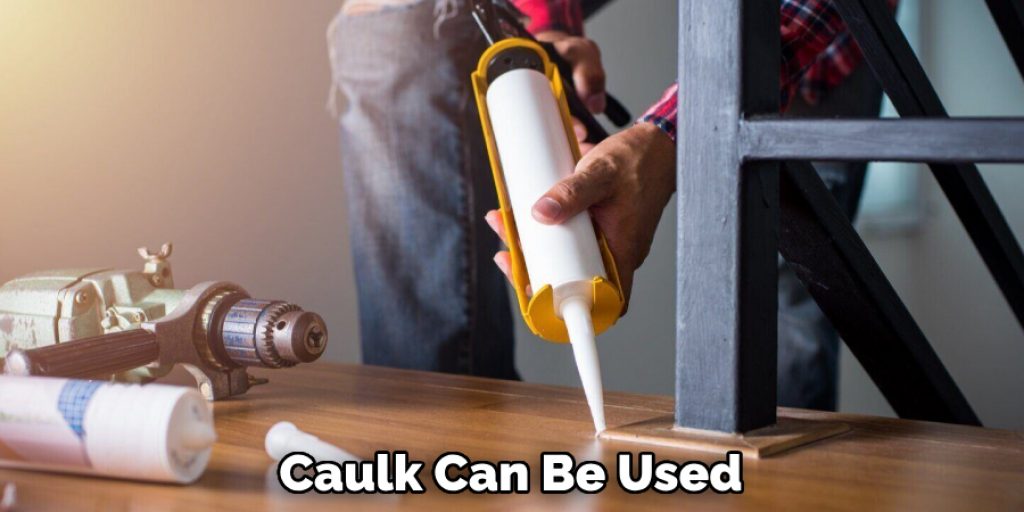
Wood Filler or Caulk:
For smaller gaps, wood filler or caulk can be used to fill in the spaces. These materials can also help prevent water from getting trapped between the boards.
Sanded Caulk:
If your deck has larger gaps, sanded caulk is a better option as it provides more stability and durability.
Wood Decking Repair Kit:
For more severe cases of gaps, a wood decking repair kit may be necessary. These kits come with everything you need to fill and repair even the largest gaps.
10 Reasons That Causes Gaps in Wood Deck:
1. Deck Boards Are Not Properly Sealed:
The gaps between deck boards are usually caused by the wood drying out and shrinking. The easiest way to solve this problem is to seal the deck boards with a good quality sealer. This will prevent moisture from seeping into the wood and causing it to shrink. You should seal your deck every few years to maintain its moisture levels.
But remember, if you have already sealed your deck and the gaps are still appearing, then it’s likely due to other reasons. It’s important to identify these reasons in order to properly fill the gaps and prevent them from reappearing.
2. Boards Were Not InstaYoulled Tightly Enough:
If the deck boards were not installed tightly enough, they would eventually start to shrink and pull away from each other, causing gaps. The best way to fix this problem is to install the deck boards tighter together. If the gaps are minor, you can also use a wood filler or caulk to fill in the spaces. You may also need to adjust the fasteners and tighten them.
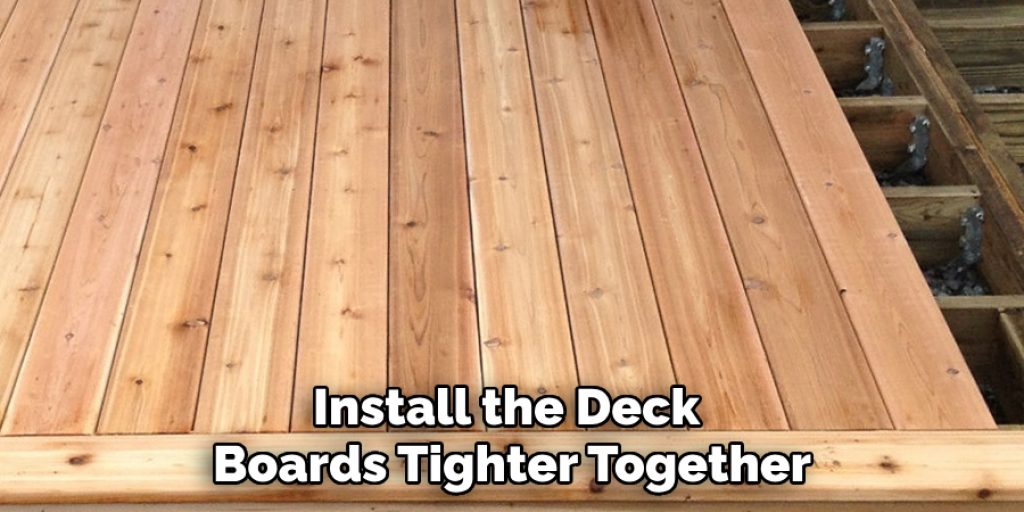
It’s important to properly install deck boards during the initial construction, as this will prevent future issues and save you time and money. The boards should be installed tightly together and at a slight angle to allow for natural wood movement.
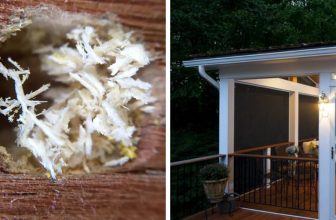
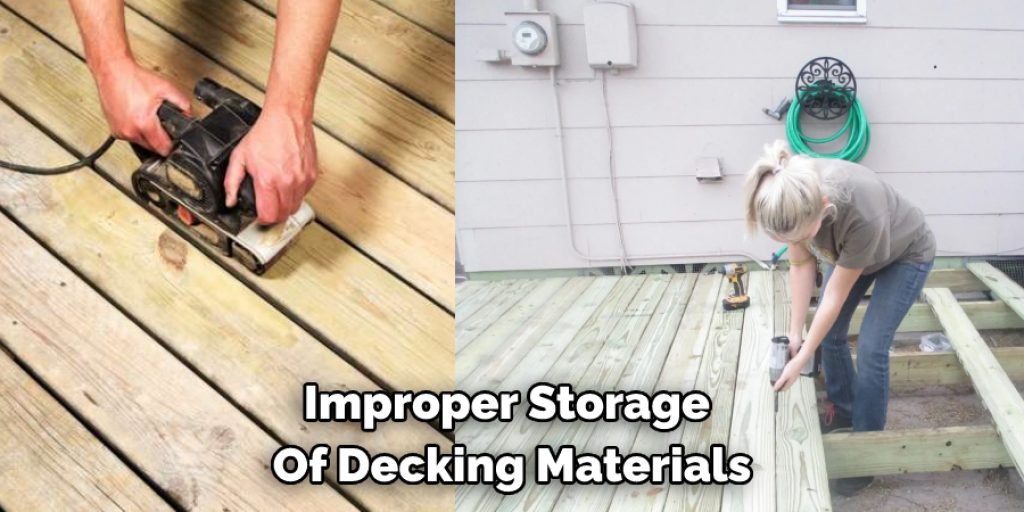
3. Improper Storage of Decking Materials:
If you live in high humidity, the decking materials may have absorbed too much moisture before they were installed. This can cause the deck boards to swell and create gaps. To avoid this problem, make sure that the decking materials are stored in a dry place before they are installed. The wood should also be acclimated to the outdoor climate before installation.
You can also seal the edges of the boards before installing them to prevent moisture from getting inside. This will help reduce the chances of shrinking and gaps appearing in your deck.
4. Temperature Fluctuations:
Temperature fluctuations can cause the deck boards to expand and contract, leading to gaps. If you live in an area with severe temperature fluctuations, you may want to install a deck membrane to help protect the deck boards from the weather. This will help to minimize the gaps in your wood deck.
But if you are already experiencing severe gaps, you may need to consider replacing the deck boards with a more stable material that can withstand temperature changes. The key is to choose a decking material that has minimal movement with changes in temperature.
5. Poor Quality Decking Materials:
If you are using poor-quality decking materials, they are more likely to shrink and expand, which can cause gaps. Make sure to use good-quality decking materials designed to resist these changes. This will help prevent gaps from forming in the future. It’s also important to regularly maintain and seal your deck to maintain its quality.
It’s always a good idea to invest in high-quality materials for your deck, as it will save you time and money in the long run. Poor quality materials can lead to frequent repairs or even replacement of your entire deck.
6. Inadequate Ventilation:
If the deck is not properly ventilated, it can cause the boards to warp and cup, which will lead to gaps. Ensure adequate ventilation for your deck by installing vents in the roof or by using a fan. This will help to minimize gaps and also prevent mold and mildew growth. You can also apply a sealant to help protect the wood and minimize gaps.
The key is to keep the deck well-ventilated and protected from moisture, as this will help maintain its structural integrity.
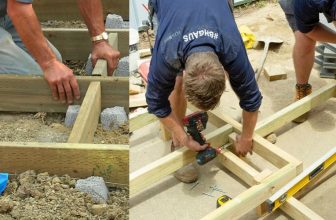
7. Not Enough Support:
If the deck does not have enough support, the boards can start to sag and create gaps. Make sure to use spaced joists evenly and that they are the correct size for the deck. If you are unsure of what size to use, consult a professional. You can also use metal brackets to help support the deck boards. It’s important to address any structural issues before filling gaps.
It’s also a good idea to regularly check for any signs of sagging or structural issues. This will help you catch any potential problems early on and prevent gaps from forming.
8. Improper Installation of Deck Rails:
If the deck rails are not installed properly, they can create gaps that allow water to seep through. Ensure the rails are installed at a level and flush with the deck surface to prevent this. Use shims if necessary to level the rails. Also, corrosion-resistant fasteners should be used to attach the rails to the deck framing. This will help prevent gaps and increase the overall stability and safety of your deck.
The key is to properly install all components of your deck, including the rails, to prevent any potential issues.
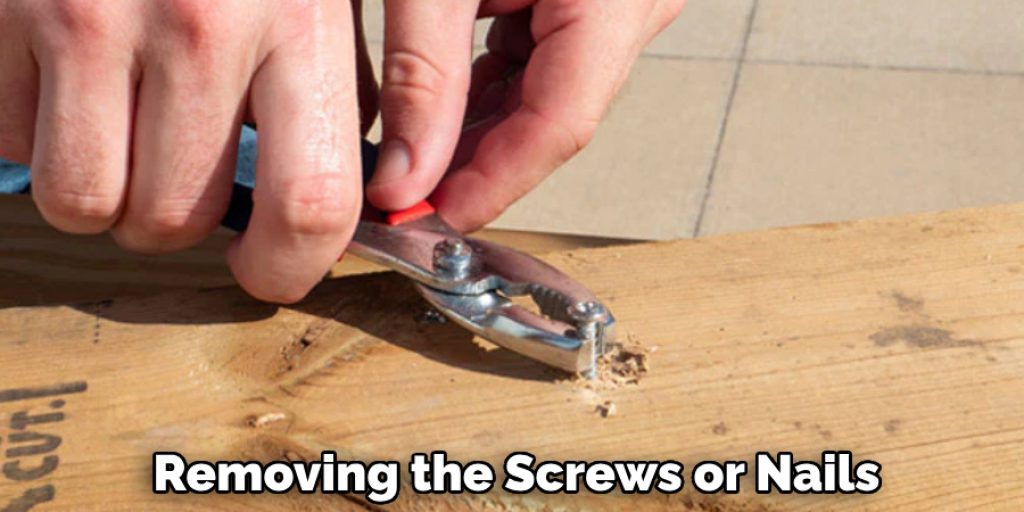
9. Worn or Damaged Deck Boards:
If your deck boards are worn or damaged, you can replace them easily. Start by removing the screws or nails that hold the board in place. Cut the new board to size, and then replace the old board with the new one. Next, nail or screw the new board in place. If there are large gaps between deck boards, you can fill them with wood filler. Please wait for the wood filler to dry and sand it down.
It’s important to regularly inspect your deck and replace any worn or damaged boards. This will not only prevent gaps from forming, but it will also maintain the overall appearance and safety of your deck.
10. Uneven Settling of the Deck:
The deck may have settled unevenly over time, which can cause gaps between the boards. If this is the case, you may need to level the deck by adding shims under the low spots. You can also add support under the deck to level it out. Once the deck is level, you can then address any gaps that may have formed. Proper maintenance and regular inspections can help prevent uneven settling in the future.
Following these tips on how to fill gaps in wood deck can help you minimize and prevent gaps in your wood deck. Regular maintenance and proper installation are key to keeping your deck looking beautiful and safe for years to come. So, take the time to regularly inspect and maintain your deck and address any issues as they arise. Happy decking!
10 Ways on How to Fill Gaps in Wood Deck:
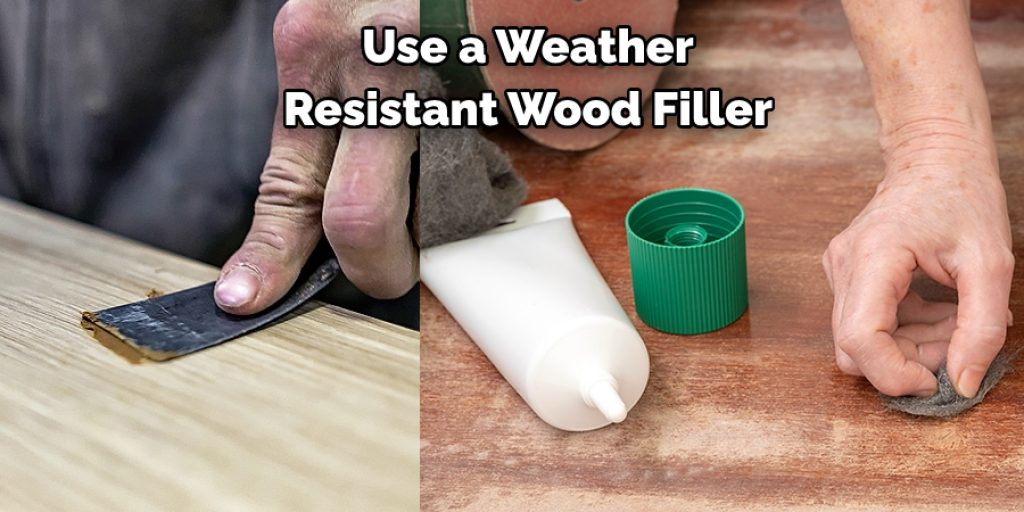
1. Use a Weather-resistant Wood Filler:
There are many different types of wood fillers on the market, and most of them will do the job. However, you need to make sure that you get a filler specifically designed for outdoor use. This type of filler is weather-resistant, and it will hold up better in extreme temperatures.
2. Use a Caulking Gun:
If you don’t want to buy a specific wood filler, you can always use a caulking gun to fill the gaps in your deck. Simply buy a caulk tube designed for outdoor use, and then use the gun to apply it to the cracks in your deck.
3. Use Silicone:
Silicone is another great option for filling gaps in your deck. It is weather-resistant and will bond well with the wood. Apply the silicone to the gap using a caulk gun, and then smooth it out with your finger.
You can also use a putty knife to make sure the silicone is level with the surface of the wood. Finally, let the silicone dry for 24 hours before walking on the deck or placing any furniture.
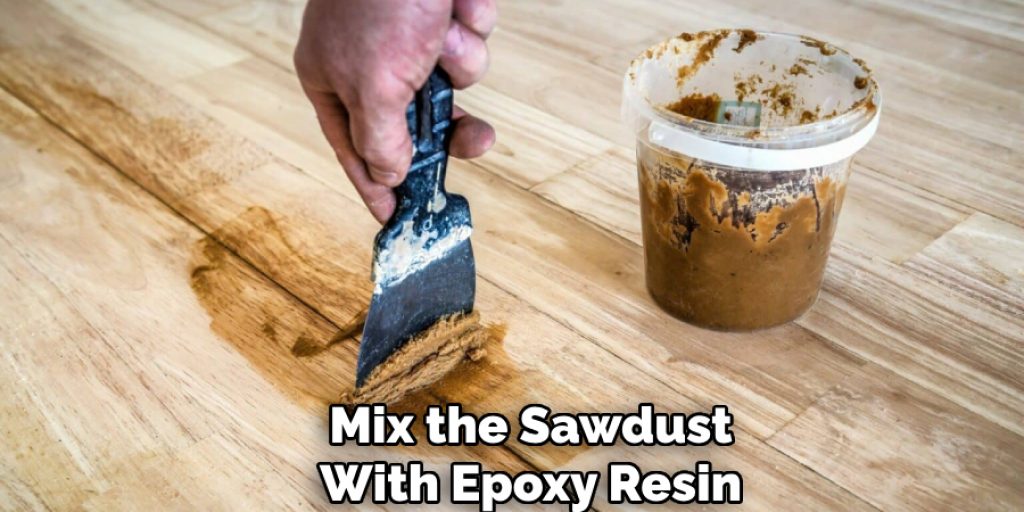
4. Mix Sawdust and Epoxy Resin:
You can mix your epoxy putty using sawdust from your deck and some epoxy resin. First, collect some sawdust from where you will be working. Next, mix the sawdust with epoxy resin in a 1:1 ratio. Once the mixture is thoroughly combined, apply it to the gap using a putty knife.
5. Pour the mixture into the Gaps:
If you don’t want to make your epoxy putty, you can pour the mixture into the gaps. Start by mixing equal parts epoxy resin and hardener. Once the mixture is combined, pour it into the gap. Use a putty knife or other tool to push the mixture into the gap, then smooth it out.
6. Let the Epoxy Hardens:
Once the epoxy has been applied, it will need to harden. This usually takes 24 hours but may take longer, depending on the temperature and humidity. Once the epoxy is hard, it can be sanded, stained, and sealed like the rest of the deck.
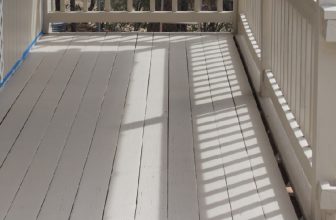
7. Apply Stain or Sealer:
To finish filling the gaps in your wood deck, apply a stain or sealer. This will help protect the wood from the elements and will help to keep it looking its best. You can find these products at your local hardware store or online.
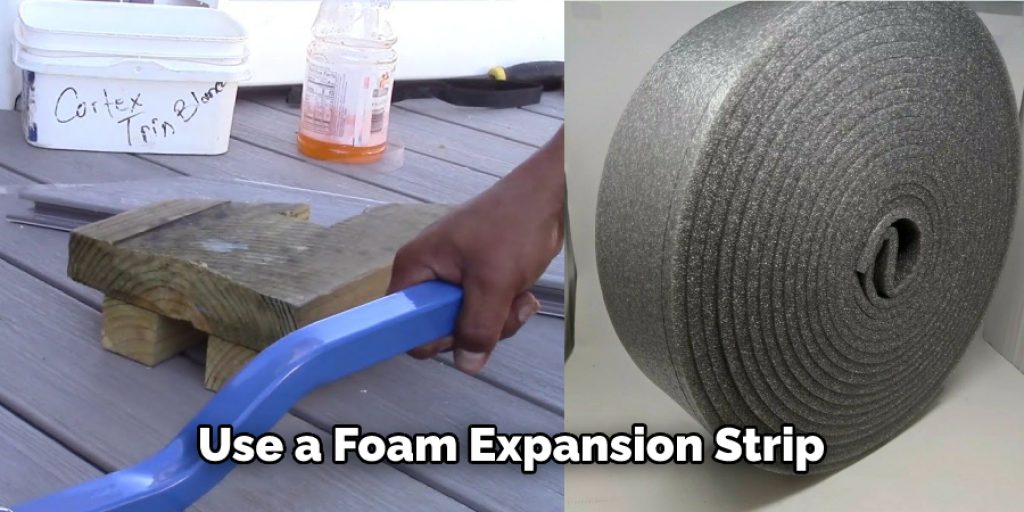
8. Use a Foam Expansion Strip:
If you have a gap too wide to fill with caulk or epoxy, you can use a foam expansion strip. This is a thin piece of foam that will expand when it comes in contact with water. It is easy to install, and it will fill the gap nicely.
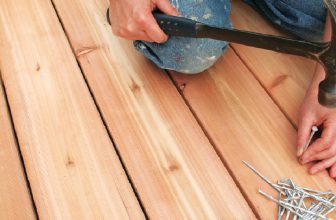
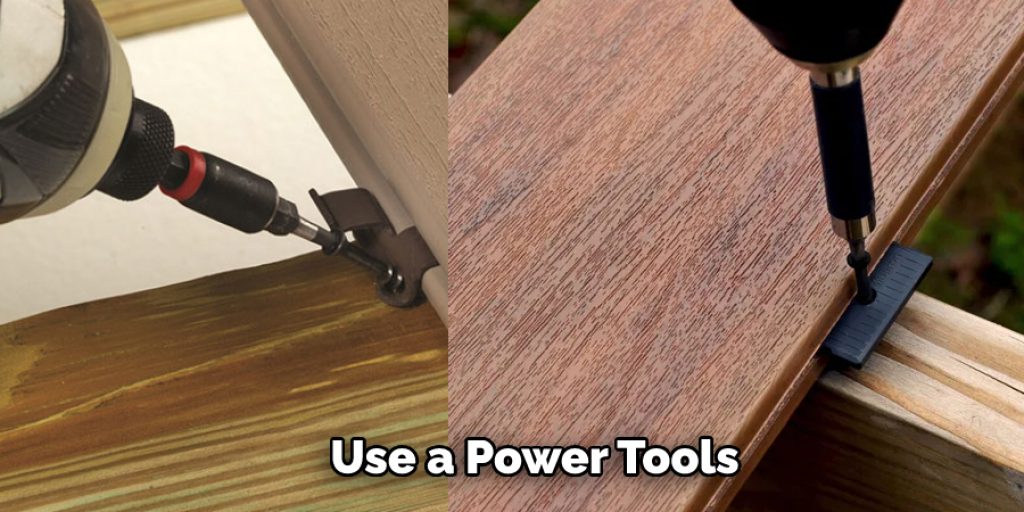
9. Use a Nail Gun:
If you have a nail gun, this is a perfect solution for filling in the gaps. First, put some wood glue in the gap, then use the nail gun to shoot nails into the sides of the boards and close up the gap. Be sure to countersink the nails below the surface so they don’t snag your feet.
10. Install a New Deck Board:
If the gap is more than 1/4 inch wide, you may need to install a new deck board. Cut a new board to size, then use a hammer and chisel to remove the old board. Please make sure the new board is the same thickness as the others so it will fit in the groove. Finally, nail or screw the new board into place.
Following these methods on how to fill gaps in wood deck , you can easily fill gaps in your wood deck and restore its appearance. Remember to regularly inspect your deck for any potential gaps or damage and address them promptly to prevent further issues. With proper maintenance, your wood deck can last for many years to come. Happy decking!
Some Helpful Tips and Suggestions:
Here, we have given some tips on how to fill gaps in wood deck.
1. Inspect the gap to see whether it is a tight or loose fit. A gap that is a tight fit can be filled with wood putty, but a loose fit will need something more substantial, like caulk or construction adhesive.
2. If the gap is wider than 1/4 inch, use wood putty to fill it. If the gap is narrower than 1/4 inch, use caulk.
3. Choose a putty or caulk that closely matches the color of your deck.
4. To apply wood putty, knead the putty until it is pliable, then press it into the gap. Use a putty knife to smooth out the putty and remove any excess.
5. To apply caulk, cut the tip of the caulking tube at a 45-degree angle. Insert the tube into the gap and squeeze the caulking gun until the caulking comes out of the tube. Use a damp finger to smooth out the caulk and remove any excess. Let the caulk dry for 24 hours before walking on the deck.
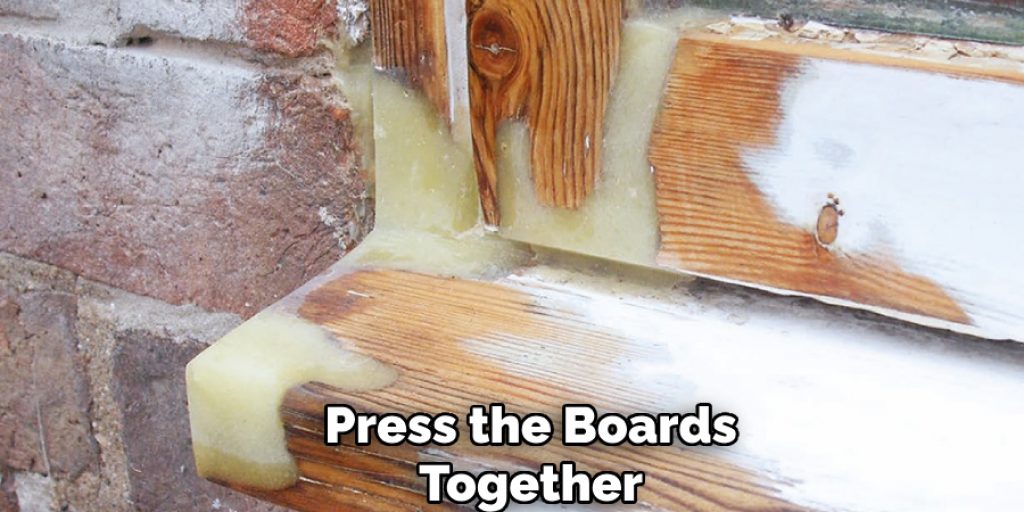
6. If you are using construction adhesive, apply it to the sides of the gap with a caulk gun. Press the boards together and hold them for 24 hours while the adhesive dries.
7. Once the putty or caulk has dried, sand the area smooth with fine-grit sandpaper. Vacuum up any dust, then apply a deck sealer or stain to protect the wood.
Conclusion
Deck repair can be a daunting task, but with the right tools and some careful planning, you can have your deck looking good as new in no time. We hope this article on how to fill gaps in wood deck has helped give you an idea of what’s involved in repairing your deck and shown you that it’s not as difficult as it may seem.
If you have any questions or need help getting started, don’t hesitate to reach out to us. We love helping our customers get the most out of their decks! Have you tried filling gaps in your wood deck? What method did you use? Let us know in the comments below!
You can check it out to Far Out of Square Is Acceptable for a Deck
You can check it out to Paint a Deck With Peeling Paint
Angela Ervin
Angela is the executive editor of DIY quickly. She began her career as an interior designer before applying her strategic and creative passion to lifestyle and home. She has close to 15 years of experience in creative writing and online content strategy for housekeeping, home decorations as well as other niche efforts. She loves her job and has the privilege of working with an extraordinary team. She lives with her husband, two sons, and daughter in Petersburg. When she's not busy working she spent time with her family.