
How to Find Grainline on Fabric
Grainlines are essential for all fabrics, but what exactly are they, and why do we care? Grainline refers to the direction that threads run in a fabric. It’s the basis for an orderly construction process when it comes to sewing or fashion design.
Knowing how to identify grainline is crucial to ensure you get good quality results like perfect seams and alignments, especially if you’re working with expensive materials!
In this blog post, we’ll explore how to find grainline on fabric and give tips on why it’s important to use this knowledge for any craft project, whether creating clothing or simply covering a cushion. With some clever tricks up your sleeve, you can become an expert at identifying grainlines quickly and easily!
What Will You Need?
Before we get into how to find grainlines, here’s a quick checklist of the items you’ll need to get started:
- Fabric of any kind
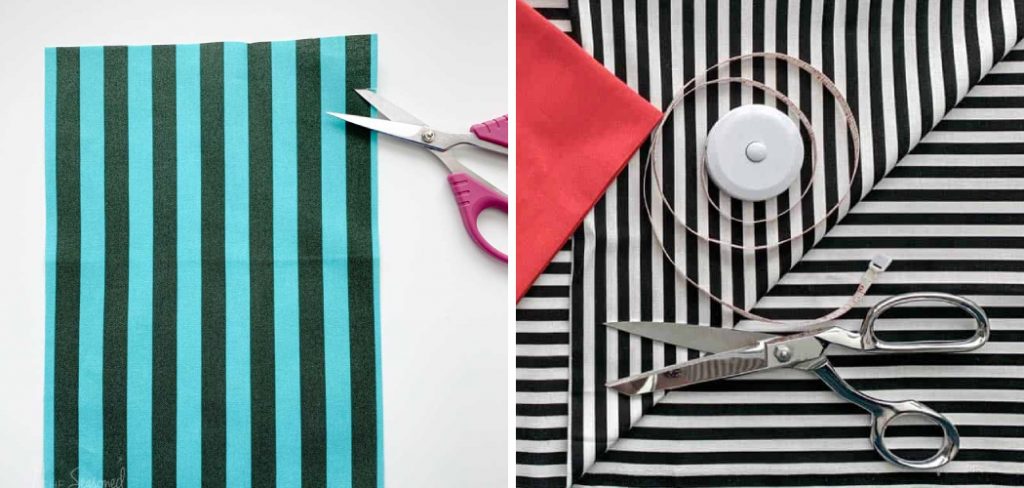
- Scissors
- Ironing Board
- Ruler or measuring tape.
Once you have everything ready, you can start identifying grainlines!
10 Easy Steps on How to Find Grainline on Fabric
Step 1. Lay Out Your Fabric:
Start by laying out your fabric flat on the ironing board. You can use the edges of the board to help you straighten out the fabric. Be careful not to stretch the fabric too much in the process. As you will be using a ruler or measuring tape to measure the fabric, it’s important that the fabric is as flat and straight as possible.
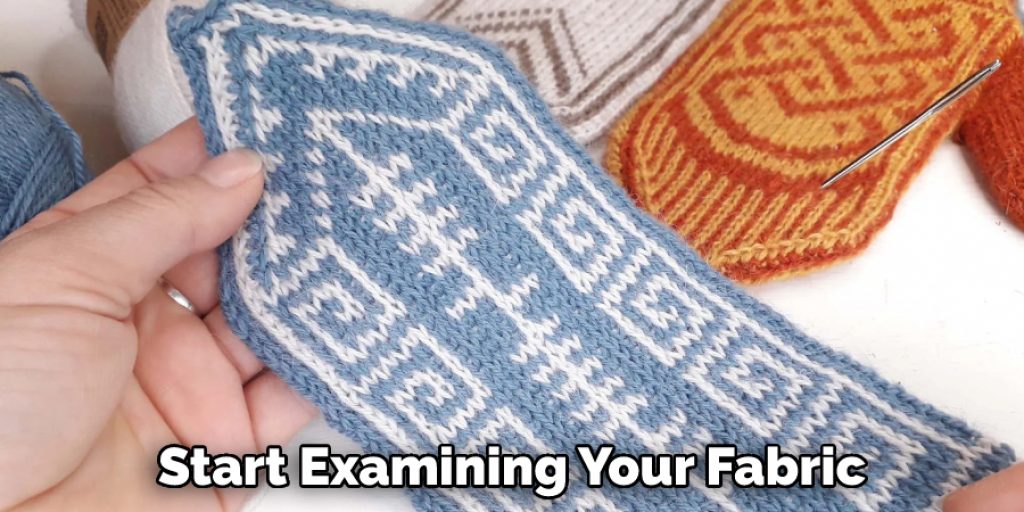
Step 2. Start Examining:
Now it’s time to start examining your fabric and look for any visible lines or patterns in the weave. If there are no obvious ones, then take a closer look at the direction of the threading. Try to spot any subtle variations in the weave.
Step 3. Use a Ruler:
Once you think you’ve spotted a grainline, take out a ruler or measuring tape and use it to line up along the pattern you think is a grainline. If everything lines up, then that’s your grainline! Be careful not to stretch the fabric while measuring.
Step 4. Fold the Fabric:
Now try folding the fabric in two, lengthwise. Does the fold follow the same path as your identified grainlines? If it does, then congratulations – you’ve found them! Always double-check and make sure that the fold lines up with the grainline.
Step 5. Cut Along the Grainline:
Now it’s time to cut – but make sure you’re doing it along the grainline. If there is a fold following your identified grainline, then use that as a guide for cutting and make sure not to stray from it. Don’t forget to use sharp scissors for a straight cut.
Step 6. Pull the Fabric:
Now pull the fabric in different directions and see if it stretches easily or if it resists any movement. If it resists stretching, chances are you’ve found the grainlines correctly! Additionally, if the fabric stretches more in one direction than another, then that’s another sign of correctly identified grainlines.
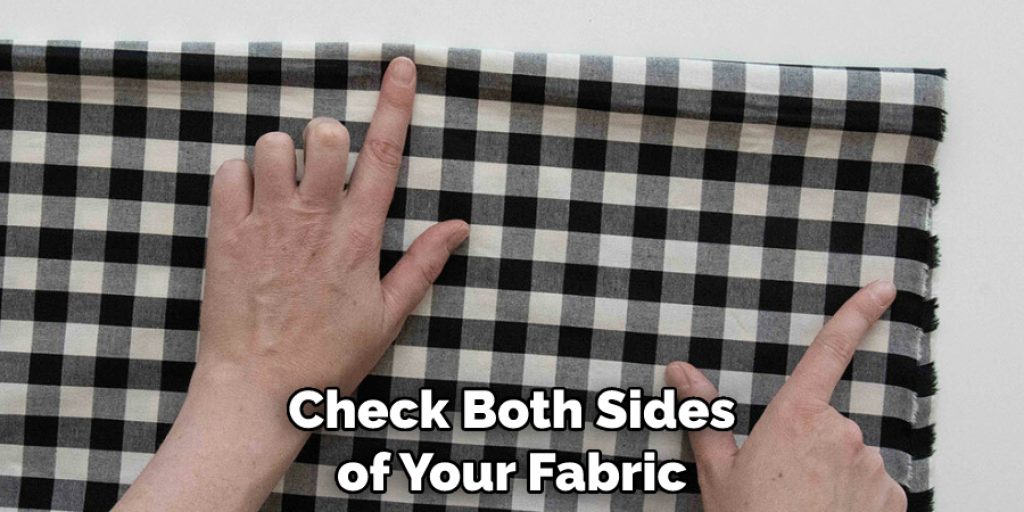
Step 7. Flip the Fabric:
Once you’re happy with your results, flip over your fabric and repeat these steps again on this side as well. This will help double-check your work and ensure you’ve correctly identified both sides of the grainlines! Keep in mind that the grainlines could look different on the reverse side of the fabric. Otherwise, you’ve identified the grainlines successfully!
Step 8. Iron the Fabric:
Ironing your fabric after finding the grainlines is also a good idea, as this will help make them even more visible. This step is especially important if you’re using heavier fabrics such as denim or canvas. Ensure you’re using a low heat setting so your fabric doesn’t get damaged in the process.
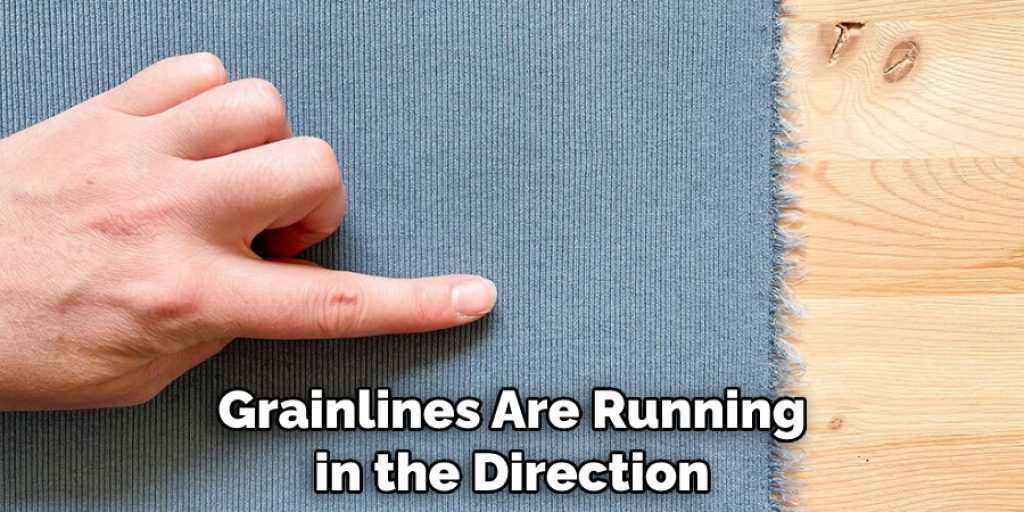
Step 9. Mark the Grainline Direction:
Once you’ve identified both sides of the grainlines, it’s a good idea to mark down which direction they run in so that you have an easy reference when working with this particular fabric later on. Depending on their orientation, you can do this by writing down arrows next to each side of your fabric. Check your notes to make sure the grainlines are running in the direction you want them to.
Step 10. Keep Practicing!
Identifying grainlines takes practice and patience – but with some trial and error, you’ll get the hang of it quickly! Keep practicing, and soon you’ll be able to spot grainlines in no time. Remember, the more you practice, the better you’ll become at identifying them.
Good luck!
We hope this blog post on how to find grainline on fabric was helpful for you! You can become an expert at identifying grainlines in any fabric with a little practice.
5 Additional Tips and Tricks
1. When examining a fabric for the grainline, look at the weave of the material. If you can see that it has a more pronounced vertical pattern than horizontal, then this is likely to indicate that this is the grainline of the fabric.
2. If in doubt, use pins to create a line down the length of your fabric and pull thread along that path as an indication of where the true grain lies.
3. Look out for any ‘cross weave’ on your fabric – this will be slightly diagonal rather than perfectly horizontal or vertical, and so it can help you determine which way is up!
4. Take time to check both sides of your fabric; if one side looks looser than the other, this could indicate that the grainline runs differently on each side.
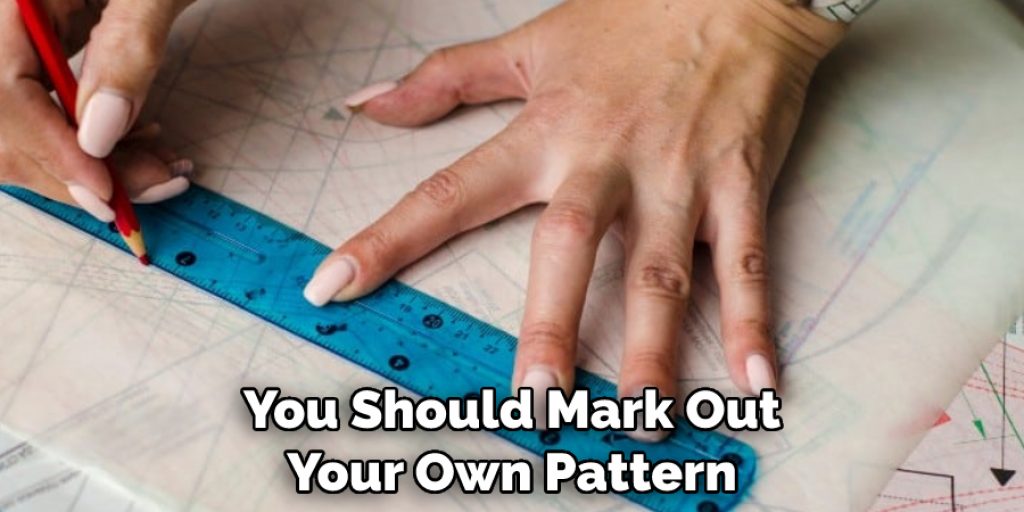
5. Finally, it’s worth noting that some fabrics, such as knits, may not have a discernable grainline at all – in this case, you should mark out your own pattern rather than relying on existing lines.
By following these steps, you should be able to find the true grain of your fabric and save yourself time and frustration when sewing!
6 Things You Should Avoid
- Do not stretch the fabric when checking for grainline, as this can distort it.
- Avoid relying on existing ‘seam lines’ to identify grain; these are often incorrect and unreliable.
- Don’t be tempted just to guess which way up your fabric is without double-checking first!
- Don’t make assumptions about the direction of the grainline – it can differ from one type of fabric to another (even within the same material!)
- Finally, don’t forget that sometimes there isn’t a true grainline in fabrics such as knits, so always plan accordingly before starting any project!
- Don’t try to force the fabric into a grainline that it doesn’t naturally have – this could cause damage and inconsistencies in your finished project.
By following these simple guidelines, you should have no trouble finding and working with the grainline of your fabric.
How Do You Check Grainline?
- Check the weave of your fabric – if it looks more pronounced in one direction, then this is likely to be the grainline.
- Use pins to create a line and pull thread along that path as a guide.
- Look out for any cross-weave which can indicate the grainline’s path.
- Examine both sides of your fabric and note any discrepancies between them.
- For fabrics such as knits, you may need to mark out your own pattern rather than relying on existing lines.
By following these steps, you will have no problems finding, understanding, and working with the grainline of your fabric!
Is Grainline Always Parallel to Selvage?
No, not always. While grainline is often parallel to the selvage, this isn’t always the case and is dependent on the type of fabric you are using. For some fabrics, such as knits, there may not be a discernable grainline at all – in this case, you should mark out your own pattern rather than relying on existing lines.
Always make sure to check both sides of your fabric and look for any discrepancies between them; this can help you determine which way is up! Finally, don’t forget that sometimes there isn’t a true grainline in fabrics such as knits, so always plan accordingly before starting any project!
By following these simple guidelines, you should have no trouble finding and working with the grainline of your fabric!
Conclusion
In summary, finding the grainline on a piece of fabric is simple and quick once you know what to look for. From horizontal threads to visual texture, understanding the features of a grainline will help you produce smoother finished products. Consider purchasing an instructional book with detailed diagrams and sewing techniques to strengthen further your knowledge of fabric pattern-making and garment construction tasks.
And for those just dipping their toes into the world of sewing, try making a basic craft item like a simple pillow cover or bag from scratch! This way, you can learn the fundamental skills that every budding seamstress must master before jumping into more complex projects. With the right guidance and practice, you’ll soon become an expert when it comes to finding grainline on your fabric.
Hopefully, the article on how to find grainline on fabric has helped to guide you in the right direction. Good luck! Happy Sewing! 🙂
Nancy Behan
Nancy is an embroidery artist, fashion blogger and a full time editor at DIY quickly. Nancy edits the fashion section on DIY quickly, focusing on the embroidery and cross stitch articles, alongside with fabric and other costume design elements. She graduated from the University of Michigan with a Bachelor of Arts in Art History. She loves to work on her own projects, read books and watch romantic movies in her spare time.


