How to Build an Adjustable Rug Weaving Loom
Everybody loves to make rag rugs. They are one of the most useful items in our home and easy to make with some simple DIY techniques. This also saves the additional charges of bringing a new rag rug. Maybe you are also interested in making one for your home but struggling to find the appropriate way. If the answer is “yes,” you have come to the right place. In this article, I will show you how to build a rag rug. So, leave all your tasks for a while and ask me how to build an adjustable rug weaving loom.
How to Build an Adjustable Rug Weaving Loom
For this, I have chosen a loom that will make a rug that is approximately 16 by 31 inches, and it’s made out of one eight-foot stick of one by three. Keep in mind that you can’t adjust the size of the rug or the loom after it’s built. So, you have to make all the adjustments from the beginning. Okay, now let’s start the project.
Step 1
All I have got here is my old T-shirt, and I am cutting the seam off the bottom. I am just taking the pinking shears and cutting one-inch strips from them. In this case, you can use the rotary cutter. These strips will make the loops.
Step 2
Now, I have set the T-shirt loops on my loom. Make sure not to put them too close together or too far apart, or they will buckle inwards. Another thing to remember is that the loops shouldn’t be too tight.
Step 3
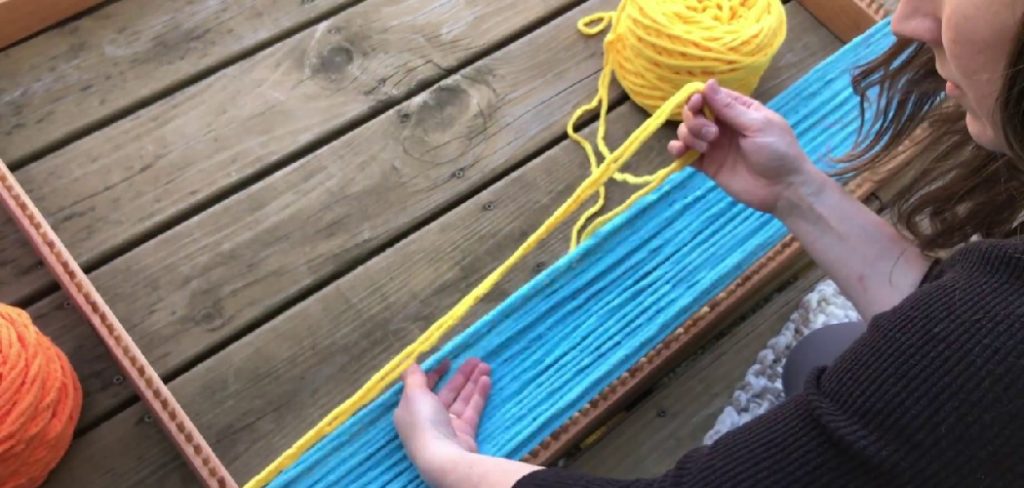
Next, I am going to start weaving. For this, I have got an old piece of fabric here, and all I am going to do is tear them into strips. As now you have all pieces of fabric, we will start with one. Fold it in half and keep one end longer than the other. This will prevent the fabric from splicing in the same spot. Now we take the folded part, and we put it under the first one. Then we are going to cross it over, take the next one, and go under the back. Lastly, bring it over. Continue this process from one end to another.
Step 4
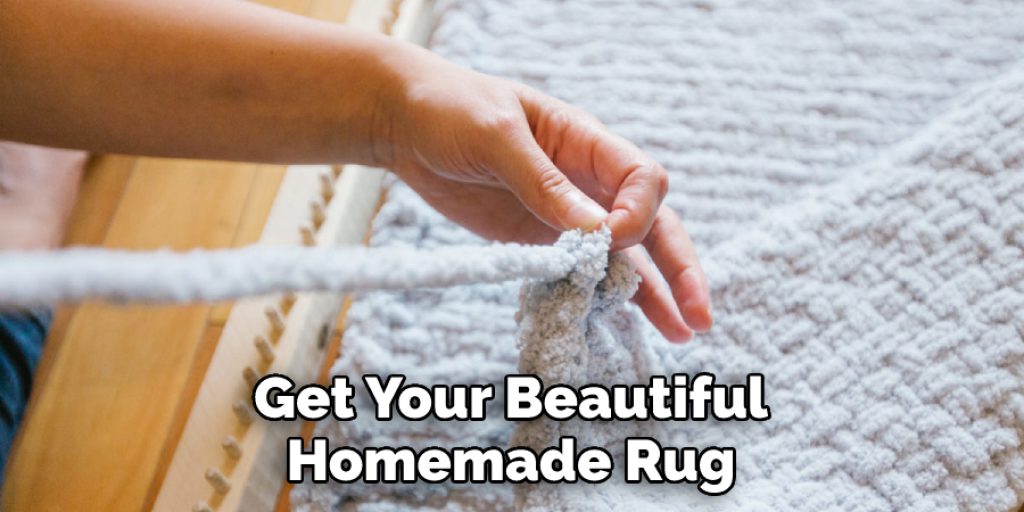
When we reach the end, you must go under, throw the back cover, and then take our strand over the strips. In this case, hold both strips in a crisscross position and take the strip under that has gone before. Now, continue the whole process in reverse. Once you complete the entire process, you will get your beautiful homemade rug ready to use. Isn’t that easy? Hopefully, you have understood the process.
you may also read now
1.How to Finish a Weaving Loom Project
2.How to Finish Knitting a Hat on a Loom
Nancy Behan
Nancy is an embroidery artist, fashion blogger and a full time editor at DIY quickly. Nancy edits the fashion section on DIY quickly, focusing on the embroidery and cross stitch articles, alongside with fabric and other costume design elements. She graduated from the University of Michigan with a Bachelor of Arts in Art History. She loves to work on her own projects, read books and watch romantic movies in her spare time.