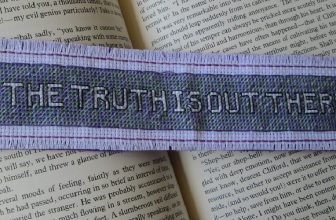
How to Finish Cross Stitch in Hoop
Cross-stitching in a hoop is a great way to work on your project without worrying about the fabric moving around while you are stitching. By finishing the project in the hoop, you create a professional finish that can be used as wall art or framed and given as a gift. Finishing the cross stitch in the hoop also ensures that your hard work stays securely in place.
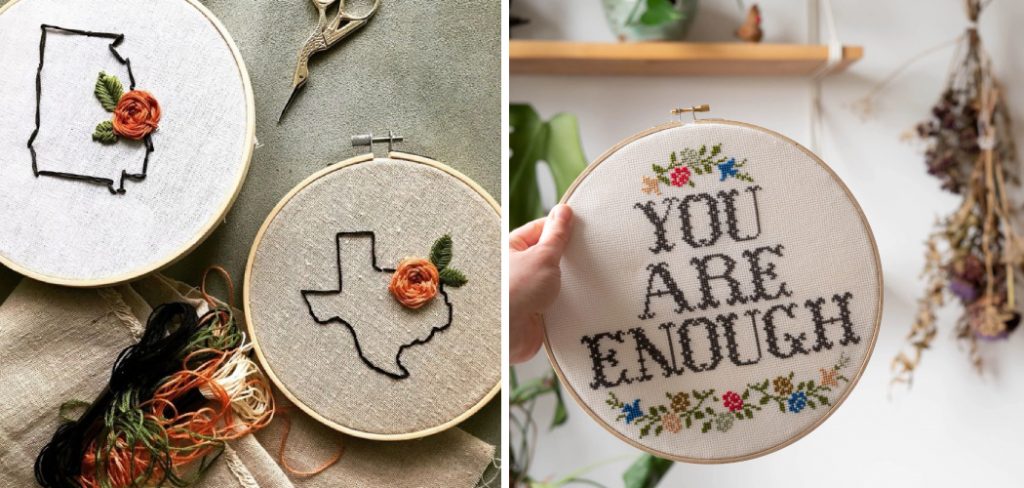
The main advantage of finishing cross stitch in a hoop is that it provides an easy and secure way to display your project. Finishing your work in a hoop will make it look neat, tidy, and professional. You won’t have any stray threads or loose edges coming undone as you hang or store the piece. The fabric around the edge can also be used to frame the work, giving it a more polished look. In this blog post, You will learn how to finish cross stitch in hoop.
Step by Step Processes for How to Finish Cross Stitch in Hoop
Step 1: Inspect Your Hoop
Before beginning, ensure your hoop is clean and free of dirt or debris. This will help ensure that the finished product looks its best. You’ll need a cross-stitch hoop, scissors, needle and thread, fabric or Aida cloth, and iron-on adhesive. Optional materials may include an iron.
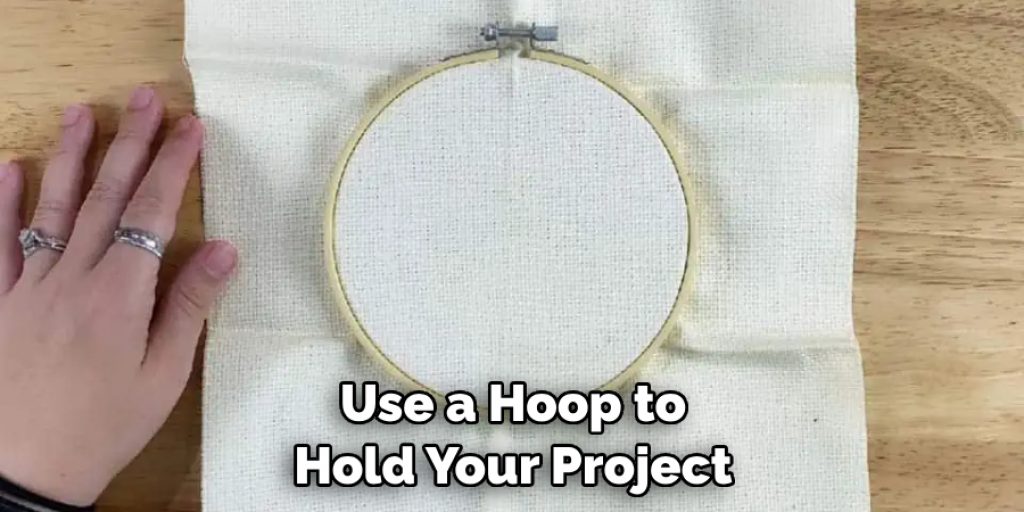
Step 2: Set up the Hoop
Attach the Aida cloth to the inner hoop by stretching it tight over the surface of the inner hoop. Secure with the smaller outer hoop. Push the smaller hoop down into, the larger loop to secure the fabric between both hoops. Keep your stitching tight and use small stitches for a neat, even edge.
Step 3: Trim Excess Fabric
Once your piece is finished, it’s time to trim off any excess fabric with sharp scissors or a rotary cutter. Leave enough extra fabric to fold over the hoop for a nice finish. Carefully insert the hoop into the backing by slipping it between the fabric layers. Ensure that your stitches face outward and do not get caught in the backing as you insert them.
Step 4: Secure The Edge of the Fabric
Once your hoop is secured inside the backing, it’s time to secure the edge of the fabric. You can use a zig-zag stitch on your sewing machine or a hand stitch with thread and needle. This will help keep the edges from fraying over time. Using a needle and thread, stitch around the edge of the hoop to secure it in place. This will help prevent your piece from shifting or sagging over time.
Step 5: Hang Up Your Piece
You can use a sawtooth hanger or a ribbed hanger for extra stability. Secure the backing fabric to the back of your piece using an iron-on adhesive. This will help ensure it stays in place and won’t stretch out over time. Use a press cloth so you don’t damage the stitches.

And there you have it! You now have a finished piece of cross-stitch art ready to be displayed or given as a gift. With these steps in mind, you can begin stitching more complex designs.
Tips for How to Finish Cross Stitch in Hoop
- Ensure your hoop is clamped securely so the fabric and thread aren’t pulled in different directions during cross-stitching.
- Make sure to use a sharp needle with an eye large enough for your chosen thread – using the wrong type of needle can lead to fraying or breaking of the threads as you stitch.
- Use the appropriate cross-stitch thread, as thicker threads may require bigger holes in the fabric, which can cause it to fray or tear with too much stress.
- Keep your stitching neat, and even use a hoop with an adjustable tension system, especially when working on large pieces of fabric.
- Before finishing off the edges of your hoop, double knot and snip any loose threads sticking out.
- If you’re using an embroidery hoop with a wooden ring, check to ensure there aren’t any splinters or cracks in the wood before finishing.
- Finally, once your cross-stitch is finished, use mounting tape or glue to attach your hoop to the back of your fabric securely. This will ensure that it doesn’t slip or come undone over time.
By following these simple tips, you can easily and confidently complete a beautiful cross-stitch project.
How Should You Attach the Fabric Around the Inner Ring of the Hoop?
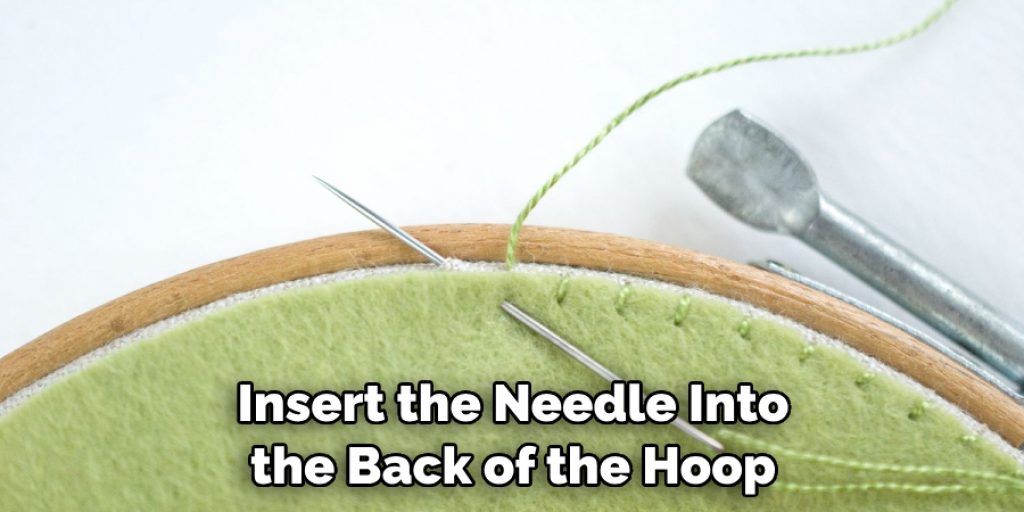
Once you have finished the cross stitch and the fabric is taut in the hoop, it is time to secure the edges around the inner ring. You will need a needle and some thread to do this. Start by threading your needle with about 18 inches (45 cm) of thread. Tie a knot at one end of the thread.
Starting at the top edge of the fabric, insert the needle into the back of the hoop. Pull the thread until you reach the knot, then gently tug on it to keep it in place. Make a few small stitches around the inner ring of the hoop, ensuring that each stitch is tight and close together. When you reach where you started, tie off the thread with a knot and trim the excess. To ensure your fabric is secure in the hoop, it is important to ensure all your stitches are as tight as possible. This will help prevent any slippage or stretching over time.
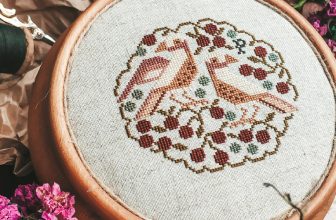
What is the Best Way to Hang a Completed Cross Stitch Project in a Hoop?
The best way to hang a completed cross-stitch project in a hoop is to take the back of the hoop off and use ribbon or string to thread through the beginning and end of your stitching. Make sure that the loops are tight enough so that it will stay put, but not too tight to damage your work. You can then tie it up on any hook or nail in your home. If you want to be extra secure, try using a screw-in eyelet with a ribbon loop and hang it that way.
Another great option is to take the hoop apart and use fabric glue to attach the back of your work to a poster board. You can then put this onto a wall by nailing it up or using a hanger. If you don’t want to hang the piece, use magnets and an old cookie sheet. Simply glue each magnet on the back of your cross stitch and attach it to a refrigerator door or other metal surface. This is a great way to display your work without permanently attaching it.
How Should You Care for and Maintain Your Finished Project in a Hoop?
Once you’ve finished the cross stitch in your hoop, it’s important to properly care for and maintain it. The best way to do this is to ensure the fabric stays taut within the hoop. If the fabric becomes slack or loose, it can cause distortions in the shape of your project. To avoid this, check periodically to ensure the fabric is still tightly secured within the hoop. If you want to ensure the longevity of your project, it’s important to keep your finished work out of direct sunlight and away from moisture.

Excessive exposure to sunlight or water can cause fading and discoloration over time. It’s also a good idea to gently clean your project with a soft, damp cloth every few months to keep it looking its best. Finally, if you are transporting your project, ensure the hoop is securely fastened so that the fabric stays taut and in place. Loose fabric can be pulled out of shape by bumpy roads or mishandling during transport.
Are There Any Unique Issues With Completing Cross Stitch Projects in a Hoop That You Should Be Aware of?
When completing cross-stitch projects in a hoop, there are a few unique issues that you should be aware of. Firstly, when stitching in a hoop, use the same fabric and thread for your project’s back and front. This helps ensure an even tension throughout the piece and prevents any puckering along seam lines. Secondly, if you use a hoop to hold your project, ensure the fabric is taut within the frame. If it isn’t stretched tightly enough, it can cause lumps and bumps in the end product, making your finished project look less than desirable.
Finally, when removing your cross stitch from the hoop, take caution not to pull too hard, as this could cause the hoop to warp and damage your work. To finish a cross stitch project in a hoop, thread the needle with matching thread on both sides of the fabric (top and bottom). Then, beginning at one corner, sew a narrow zigzag stitch along all four edges of the piece. When complete, trim off excess threads and remove them from the hoop.
Conclusion
In conclusion, finishing a cross stitch in a hoop is an easy process that can be done with just a few simple steps. First, decide which type of stitches you want to use and gather all the required materials. Next, start stitching by placing the fabric over the hoop and following the pattern. Once you’re finished, secure the edges of your fabric with stitches or special pins. Finally, trim the excess fabric and display your creation in a hoop or frame for all to admire. I hope this article has been beneficial for learning how to finish cross stitch in hoop. Make Sure the preventive measures are followed chronologically.
Nancy Behan
Nancy is an embroidery artist, fashion blogger and a full time editor at DIY quickly. Nancy edits the fashion section on DIY quickly, focusing on the embroidery and cross stitch articles, alongside with fabric and other costume design elements. She graduated from the University of Michigan with a Bachelor of Arts in Art History. She loves to work on her own projects, read books and watch romantic movies in her spare time.