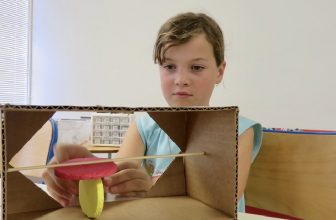
How to Make a 3d Map on Poster Board
Maps can be used for various purposes, from navigation to land planning. They can also be used as a visual aid to help make a point or illustrate a story. This blog post will show you how to make a 3d map on poster board.
This is a great project for geography students or anyone who wants to learn more about the layout of their city or country. We’ll show you how to make a basic map, and then we’ll explain how to add some extra details for a more realistic effect. So let’s get started!
Different Types of 3D Maps
1. Scientific 3D Maps:
Scientific 3D maps are exactly what they sound like, a map in three dimensions. In this type of map, it’s common to see longitude and latitude lines marking the edges of continents or other political boundaries running throughout the poster with cities or landmarks listed along the surface with varying elevations.
2. Topographical 3D Maps:
Cartographers use topographical 3D maps to track the elevation of the terrain. A topographical map shows the precise details of landforms, including everything from mountains and valleys to cities, rivers, roads, and country lines. Cartographers also use illustrated symbols representing specific geographic objects shown at their actual size relative to each other.
3. Paper 3D Maps:
Many people probably don’t need help understanding this type of map. Still, the term paper 3D maps refer to maps drawn on pieces of paper in three dimensions, with one side representing an elevation and the other depicting landforms like rivers, lakes, and mountains. These maps are often educational guides for tourists wanting to visit different areas worldwide.
4. Artistic 3D Maps:
This is the type of 3D map we will focus on in this tutorial. This map is drawn and designed for artistic value and does not necessarily depict real geographical objects or are geographically accurate. These posters are usually created to have visual appeal, with landmarks being shown at different elevations that vary in shape, size, color, etc.
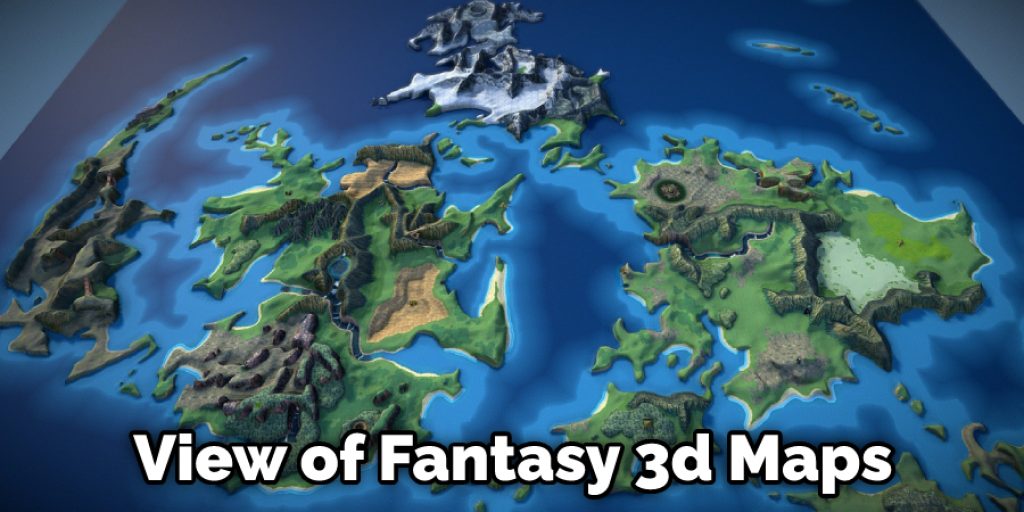
5. Fantasy 3D Maps:
Fantasy 3D maps are made to represent an imaginary landscape and include every type of geographical feature from forests, rivers, oceans, mountains, islands, etc. They can be very detailed or illustrated and vary in their degrees of accuracy. These maps often include landmarks that enhance the map’s artistic value and include things like castles, dragons, demons, fairies, etc.
10 Methods on How to Make a 3d Map on Poster Board
1. Using a Knife to Carve Out the Land
The map is flat, so you have no choice but to carve out the rivers and mountains. And who says that your countryside can’t be full of active volcanoes? So you can get as crazy as you want when it comes to this step!
2. Using Two-sided Tape to Stick
Adhesive tapes come in a variety of shapes and sizes. And you can use them to stick down all your pieces, like mountains and rivers. This will give your map that wow factor, making it look like some dimension has been added to the flat world on your poster board!
3. Using Watercolors or Markers to Paint
Don’t limit yourself when it comes to coloring in your 3d map! You can use markers, watercolors, paints, crayons, colored pencils, and more to make your map look custom! You can use bright or dull color schemes to give your world a whole new style.
4. Making Holographic Mountains
The easiest way to make a 3d map of a mountain is by using holographic paper. You have to cut out a mountain shape from the holographic paper and use a hot glue gun to attach it to your poster board! Make sure that the mountain is in a far corner of the map because placing it at the center will look too close. You can also try using shiny metallic paper or any other similar materials.
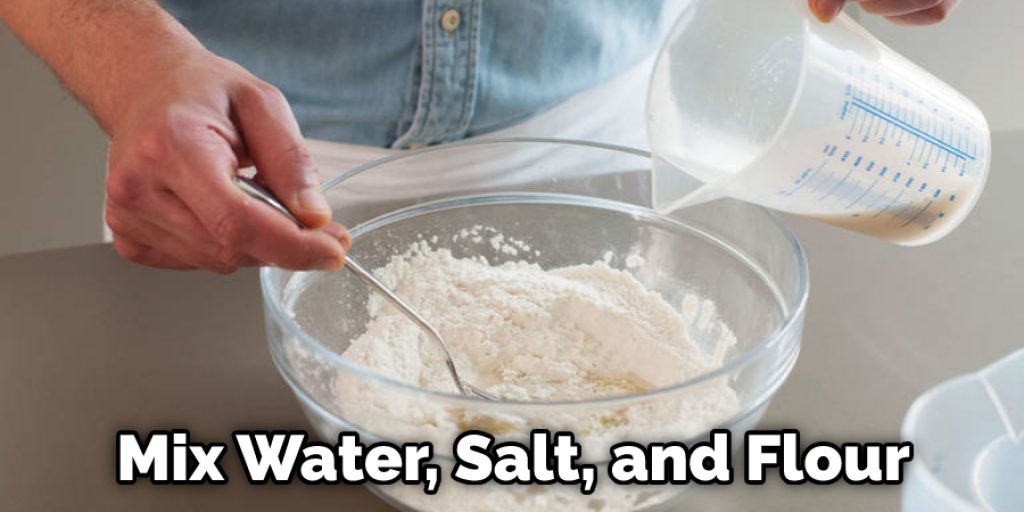
5. Making Mountains Using Salt Dough
Salt dough is a fun mixture that you can use to make things, including mountains! All you need to do is mix water, salt, and flour until the mixture becomes firm enough for you to start shaping it. Once your mountain shapes are formed, let them dry! Then paint them with whatever color your choose! Let the paint dry before adding another layer of paint or marker details.
6. Making 3d Maps out of Play-Doh
Play-do is one of those wonderful materials that can be used in hundreds of different ways! And making 3d maps out of Play-do is just one example! Try using this soft clay by molding your mountains and rivers. We’re sure it’ll be just as easy as using Play-do to make an ice cream cone!
7. Using Paper Mache
All you have to do is mix flour, water, and glue together until the mixture becomes firm enough for you to start molding anything you want. Once it’s cooled down a bit, use a knife or other tool to cut out your shapes! With this concoction, you can make both land and river shapes so that it might be fun! Remember, the more detail, the better! This will give your map a 3d look.
8. Making Felt Mountains
Felt sheets are very similar to paper mache in that they can be molded into any shape you want! So why not make felt mountains for your 3d map? You have to cut out a mountain shape from the felt sheet you’ve chosen, then use a hot glue gun to attach it to your poster board! After the glue dries, paint in any details that you wish.
9. Spray Painting Your Map
This is one of the best ways to give your map a 3d look. You can spray-paint everything but the land or spray paint just the mountains, whatever works best with your design! Just be sure that any spray paints that are labeled as “not permanent” should be avoided at all costs; otherwise, your world will end up looking like an ugly mess.
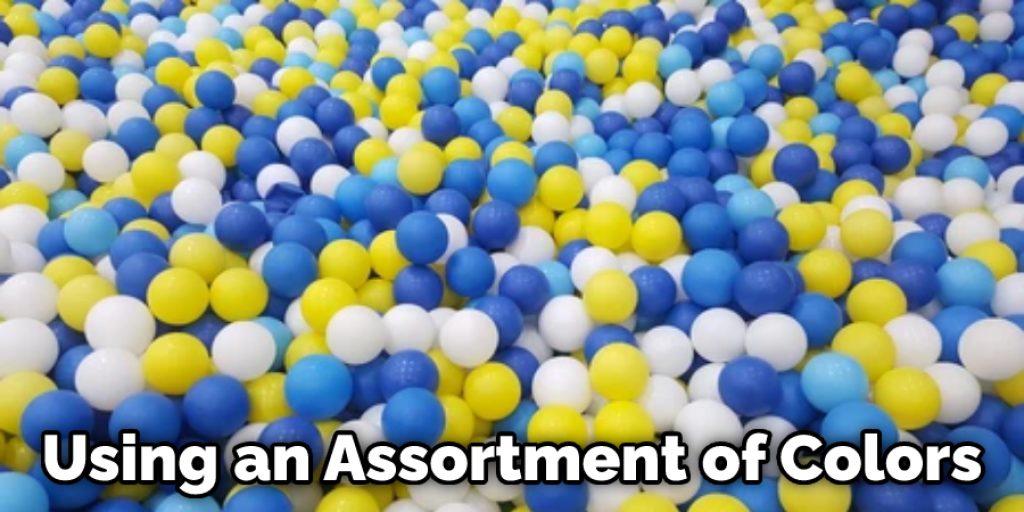
10. Using Pom Poms
Pom poms might be the perfect material to add dimension to your world! They add a 3d look and they’re so fun to play with! You have to cut out a mountain shape from cardboard or construction paper, then hot glue a few pom-poms in place. Try using an assortment of colors and sizes for a more interesting look!
Some Helpful Tips and Suggestions
Here are some tips and suggestions on how to make a 3d map on poster board.
1. Make sure your surface is large enough to accommodate the size of the map you are making.
2. You can use pins or tape to secure map pieces that aren’t staying in place independently.
3. If map pieces don’t want to stay together without tape, you can use a glue stick or spray-on adhesive to hold them in place.
4. If map segments are too large and won’t lie flat on your poster board surface, put some weight (such as textbooks) at their base overnight so that the paper will be flattened out by the time you pick it back up.
5. You can paint/color your map to make it look more realistic, but make sure the paint you use is safe for paper! We recommend acrylic paints made specifically for paper and can be found at any local art store.
6. Make sure you have a good idea of where your map is going before you start moving things around! You don’t want to get halfway through and realize you forgot a river in Asia.
7. Use different colored pens/pencils for different types of information on your map (such as black for political borders, brown for mountain ranges, green for forests, etc.)
What Are the Advantages of Using Software for Making a 3d Map on Poster Board
Making a 3d map on a poster board can be a tedious task. This is why using software to make a 3d map on a poster board is the way to go. Examples of these programs are Google Sketch-up, Blender, and MakeHuman. These programs allow you to create extremely detailed models that can then be exported into a file type that you can then import into a photo editing program to be viewed in 3D.

While these programs are extremely useful, not everyone has the time or patience to learn how to use them. This is where using poster boards comes in handy for anyone who does not want to go through the trouble of learning how to use one of these programs and wants to save time.
Conclusion
In conclusion, by following the simple steps in this guide, you can create an eye-catching and informative 3D map on a poster board to help illustrate your point. When you finish with your map, display it proudly on a wall or desk in your home! You can also use maps as decoration for parties by hanging them up around the room or using them as party favors.
Whether you are creating a map for school or work, these tips will ensure that your project is a success. In this blog, we have talked about how to make a 3d map on poster board. We hope that you’ve found it helpful and informative! If not, feel free to ask us any questions in the comments section below.