
How to Fix a Cracked Windshield With Household Items
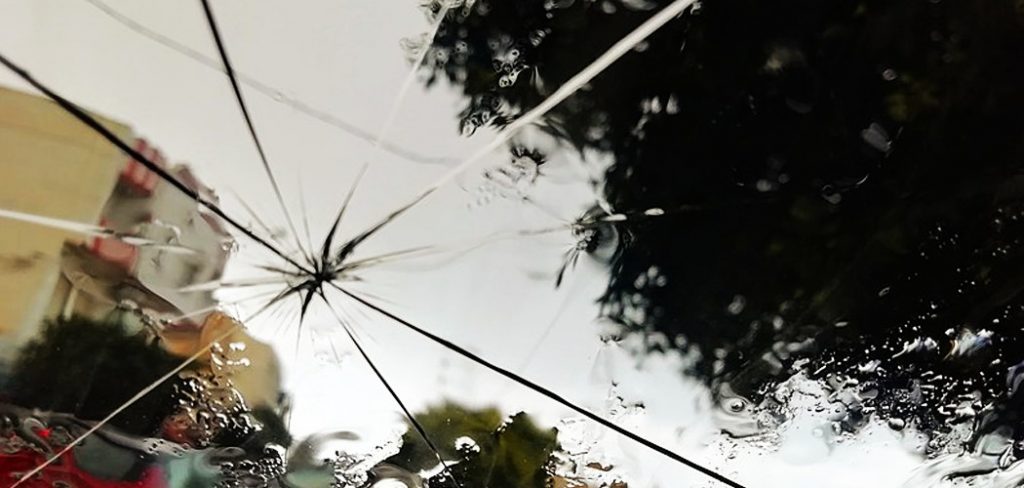
There’s a crack in your windshield, and you don’t know what to do. You’re not sure if it will get worse or how much it will cost to fix. How can I stop the crack from getting bigger? What is the best way to handle this situation? We have answers to all of these questions! Check out our blog post on how to fix a cracked windshield with household items and learn what steps you should take next.
Things You’ll Need:
- Towel
- Mild detergent (optional)
- Clear sealant/adhesive /glue (depending on the severity of your crack)
- Rubbing alcohol or a cleaner
- Scraper to remove any excess adhesive
- Straight edge such as a ruler, level, yardstick, etc.
Directions: How to Fix a Cracked Windshield With Household Items
Step One: Clean the Area
If there is any dirt on your windshield, remove it before you start. You can use a paper towel and some rubbing alcohol or window cleaner to do this.
Step Two: Apply Adhesive/sealer.
Apply a thin layer of adhesive or sealant to the perimeter of your windshield. Let it dry for about 20 minutes before proceeding with step three.
Step Three: Insert Straight Edge in the Crack.
First, find the top left corner of your windshield. Then, hold one end of your ruler against that corner and push down until the other end of the ruler touches your dashboard or console.
Step Four: Press Firmly
To fix a cracked phone screen, first loosen the glass around the crack with a ruler. Then, press firmly on both sides of the screen while slowly pulling away from each other to make an “X” shape. This will flatten the glass and fix the crack.
Step Five: Repeat the Process
Repeat this same process gradually enlarging the space between your ruler while keeping it lined up with each side of the windshield. Make sure not to push too hard against a crack, or it may get even bigger and more difficult for you to repair. However, if this happens, you can always cover the wound up again with a small piece of clear plastic.
Step Six: Remove Adhesive From the Windshield
To remove old glass from your windshield, first use a straight edge to scrape off as much as possible. Then, use an old rag or paper towels to wipe away any residue. If you can’t remove all of the adhesives, this is not a big deal. You will just need to clean your windshield more thoroughly when it’s time for you to put on new glass.
Step Seven: Apply Plastic Sheeting or Duct Tape.
Use whatever you have on hand to cover the adhesive as best as possible. Plastic sheeting will do wonders for your windshield, but if you can’t find any or don’t want to buy one, then duct tape should work just fine.
Step Eight: Fill in Cracks
You are now going to need a two-part resin that consists of a hardener and a liquid resin. The mix ratio for these materials is 50/50, so you will need to use one part resin for every 100 milliliters of water.
Step Nine: Let it Dry.
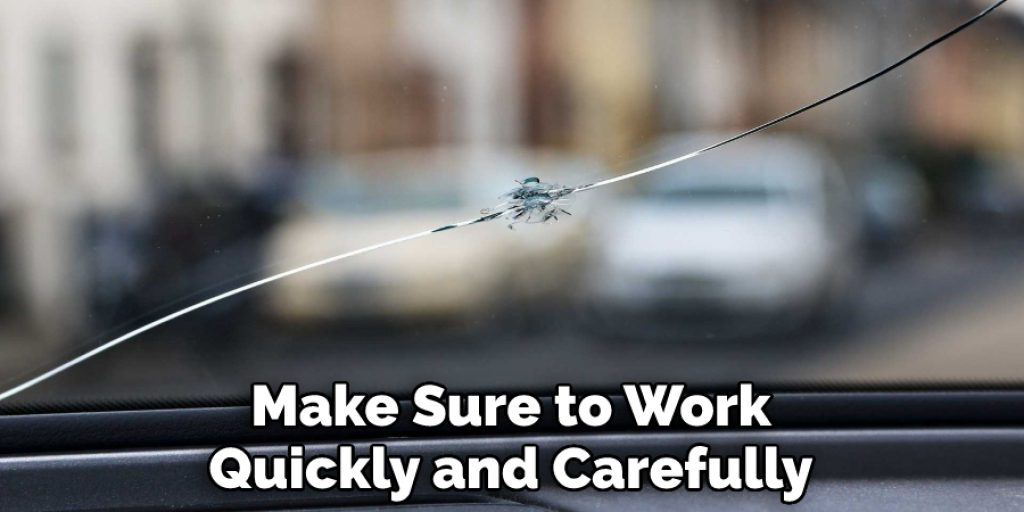
You will have about two hours before your windshield becomes too brittle to work with without sustaining damage from cracks or cuts, so make sure to work quickly and carefully.
Step Ten: Remove Tape or Plastic Sheeting
The resin should be set by now, so you can start removing the tape from your windshield. If it’s still not dry enough, then wait at least another 30 minutes before finishing this step.
Step Eleven: Smooth Out Cracks With a Squeegee
If you’re using a squeegee, then use it to smooth out the cracks in your windshield. Other household items that can be used include butter knives or credit cards. You will want to do this step before the resin has had time to completely dry and harden so that you don’t end up damaging your windshield when trying to smooth out the cracks.
Step Twelve: Use a Razor Blade to Remove Any Remaining Resin
Use your razor blade, butter knife, or credit card to scrape off any leftover adhesive from your windshield. Keep in mind that it may take some time for this step because you want to be as careful and patient with these tools as possible.
Step Thirteen: Use a Damp Cloth to Remove Any Leftover Adhesive Residue
Wash the area with cool water and use your hand or paper towel, if necessary, to scrub it off. Take care not to scratch at this layer too much, as you can end up damaging your glass in the process. Once you have done this, use a dry cloth or paper towel to wipe the area and remove any leftover water.
Step Fourteen: Use an Adhesive Remover
This step is optional, but it will help you get rid of all traces of residue left behind by the tape. You can find these at auto parts stores in spray form or as wipes. If you have a spray, start by spraying it evenly over the area and allow it to sit for about five minutes.
After that time has passed, wipe away any residue with a damp cloth or paper towel. If you’re using wipes instead of an adhesive remover in spray form, just use one on your windshield after applying step 13 and wipe away any leftover residue.
Step Fifteen: Use the Squeegee to Remove Water
You’ll need a squeegee for this step as well, so make sure you have one handy before proceeding. Once again, start by applying some pressure in an upward motion and then pull the squeegee down along your windshield. You’re looking for straight lines, so make sure you don’t let the squeegee go too far to one side.
Step Sixteen: Wash Your Car.
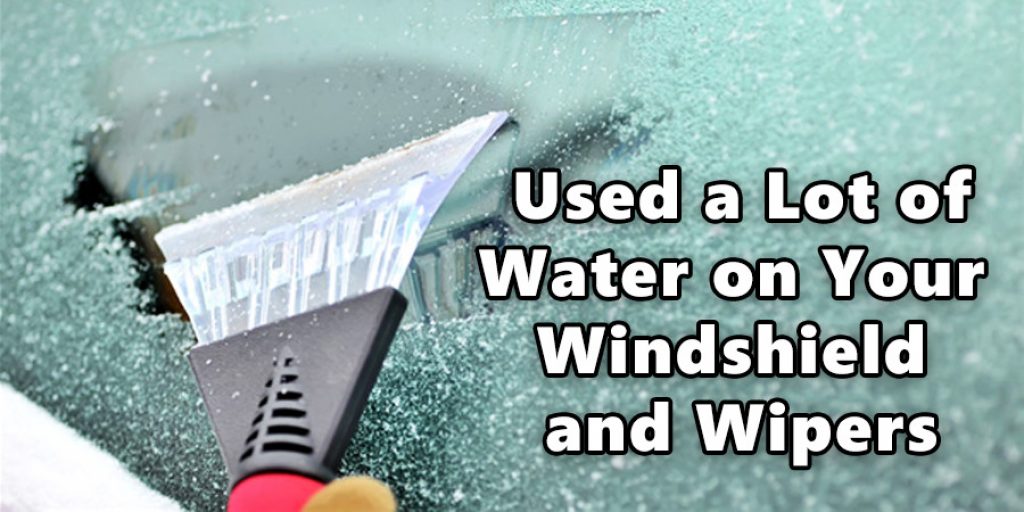
Since you just used a lot of water on your windshield and wipers during step 15, it’s important to wash off any residue with soap or shampoo before letting it dry. Turn on your hose for about five minutes, and make sure to wash the front, back, sides, and top of your car.
Step Seventeen: Dry Off Any Remaining Residue
The last step is to dry off any leftover water or soap that has stuck onto your windshield before it’s had a chance to harden. This can be done with either a squeegee or paper towels.
Check It Out to Learn to Fix a Windshield Wiper That Won’t Move.
Frequently Asked Questions:
How to Fix a Cracked Windshield With Household Items
Q: How Do You Get Rid of Windshield Haze?
A: You can remove the film by using water and vinegar or rubbing alcohol on your wipers. This will help clean off the residue that has collected over time from dirt and debris hitting your windshield while driving down the road, as well as prevent future build-up caused by those same materials collecting again in the coming days. Make sure to use lukewarm water so that you don’t freeze your wiper blades! If this doesn’t work for you, try cleaning with a mild soap such as dish detergent diluted in hot water.
Q: How Often Should I Replace My Windshield Wipers?
A: Windshield wipers are designed to last about six months. How long they last depend on your climate, type of vehicle, and how often you have to clean off the wipers with a towel or rag in order for them to work properly.
If you live somewhere with lots of rain or snow, plan on replacing your windshield wipers at least every six months because they will wear out faster due to all the moisture and scratches that come from driving through debris-filled puddles.
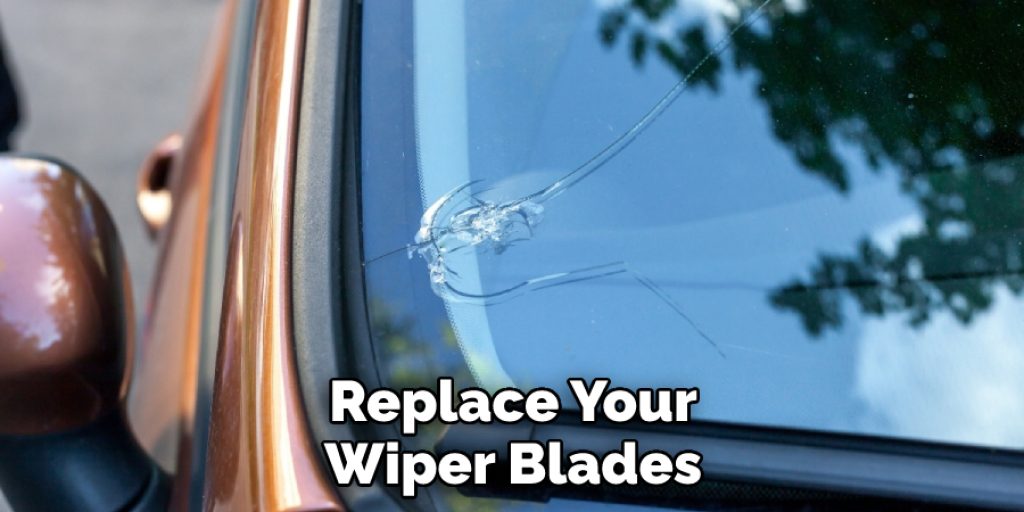
If it’s not too much trouble, simply replace your wiper blades before winter arrives so that when the snow starts accumulating on your car (or during), they are already installed and ready!
Q: What Is the Best Windshield Repair Kit?
A: There are many windshield repair kits available for purchase. However, we recommend that you use a kit designed specifically for repairing cracks in your car’s windshield due to the increased quality of its materials and the fact that they typically come with detailed instructions on how to do this type of work. If you can’t find one locally, look online or ask an auto parts store clerk.

Q: How Does Pressure Washing Fix Cracks In Windshields?
A: When water is pushed at high pressure onto glass surfaces from either side (or all around), it fills up the tiny gaps between bits of debris such as rocks, sand, dirt, and bugs which often become lodged inside when attached by something like bird droppings during the car washing process. Once the pressure of water fills up these gaps, they can easily be wiped out with a towel or rag and then squeegeed off for good measure.
Conclusion:
Windshields are a safety hazard. A large number of people have experienced a cracked windshield at some point in their lives, and it can be frustrating to try and find the right solution for your situation. In these blog posts, we have tried to answer the question of how to fix a cracked windshield with household items to help you get information that is most relevant to your situation.
If you have a cracked windshield, it is important to get your vehicle checked by an auto mechanic as soon as possible and fix the issue before any more damage can be done. The body of the car is tough, but if there’s something wrong with your window or glass, then that could lead to some serious problems down the line.
Louis Wein
Louis has always been fascinated by cars. He loves the way they look, the sound of the engine, and how they make him feel when he's driving. He is always keen to learn more about different mechanics of cars and how the engine contributes to other aspects of the car. As an automotive technician with over 10 years of experience, he knew how they worked and loved taking them apart to see how they went back together. He was especially interested in the mechanics of combustion engines and loved finding ways to make them more efficient. He loves to work on cars and help people keep their vehicles running smoothly. As a senior editor, he enjoys contributing to Diy quickly because it allows him to share his knowledge and expertise with others.


