How to Fix a Gouge in Vinyl Plank Flooring
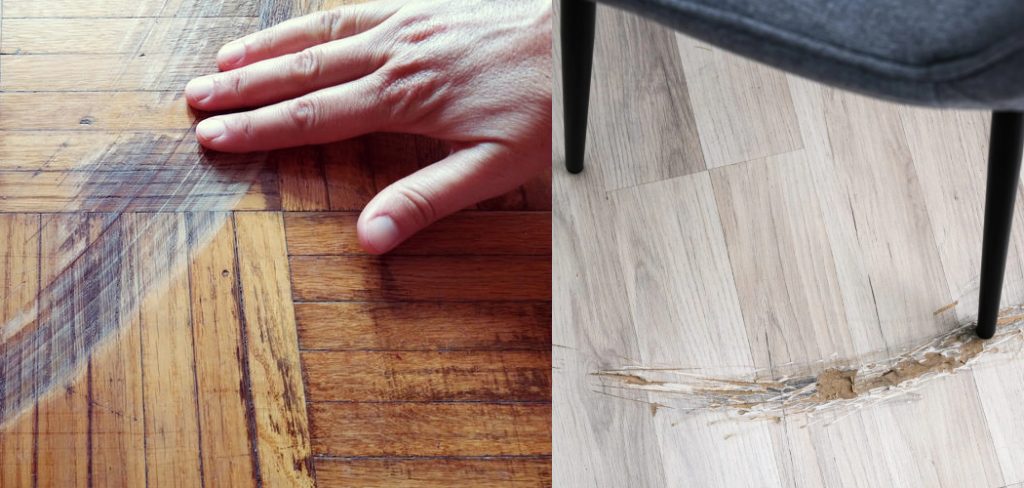
Gouges in vinyl plank flooring can be unsightly and make rooms feel incomplete. Gouges in vinyl plank flooring are a common annoyance for homeowners, but it doesn’t necessarily mean you have to replace your entire floor. Thankfully, you don’t have to rip out old planks and start all over again if you find yourself dealing with a gouge or scratch on your recently installed vinyl planking – there is an easy-to-follow fix that anyone can do!
Read on to learn how to diagnose the issue, pick up the right supplies for patching up any size of gouge, and complete the repair process like a pro. In this blog post, we will discuss the most effective ways that you can fix gouges in your vinyl plank flooring without having to spend too much money or take too long on the project. Knowing how to fix a gouge in vinyl plank flooring will keep your floors looking good for years with minimal effort!
Necessary Items
You will need a few items to fix a gouge in your vinyl plank flooring. These include:
- A putty knife or similar tool
- Matching color vinyl patching compound or wood filler (depending on the color and texture of your flooring)
- Fine grit sandpaper
- A damp cloth for cleaning up excess filler
10 Steps on How to Fix a Gouge in Vinyl Plank Flooring
Step 1: Clean and Examine the Gouge
Before you begin, ensure your flooring is clean and debris-free. Use a damp cloth to wipe away any dirt or dust that may be present in the area where the gouge is located. Next, closely examine the gouge to determine its size and depth. This will help you determine which type of filler to use.
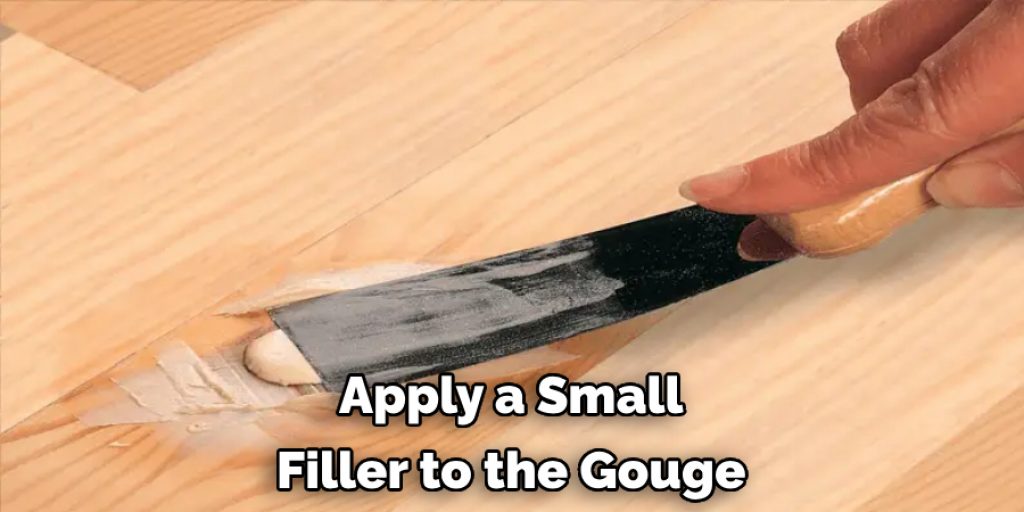
Step 2: Fill the Gouge
Apply a small filler to the gouge using your putty knife or similar tool. Apply it in layers until the gouge is filled and level with the surrounding flooring. If using a vinyl patching compound, match the color as closely as possible to your flooring.
Step 3: Smooth and Level
Using your putty knife or an old credit card, smooth out the filler to ensure it is level with the surrounding flooring. This may take some time and patience, but it is crucial for a professional-looking repair.
Step 4: Allow to Dry
Depending on the type of filler used, you may need to allow up to 24 hours for it to dry and harden fully. Be sure to follow the instructions on the filler’s packaging.
Step 5: Sand Down Excess Filler
Once the filler is completely dry, use fine grit sandpaper to carefully sand down any excess filler until it is smooth and level with the rest of your flooring.
Step 6: Clean Up
Use a damp cloth to clean up any dust or debris from sanding. This will also help to blend the repaired area with the rest of your flooring.
Step 7: Apply a Second Coat (if needed)
If the gouge is still noticeable after the first coat, you may need to repeat steps 2-6 and apply a second filler coat. Be sure to allow proper drying time between coats.
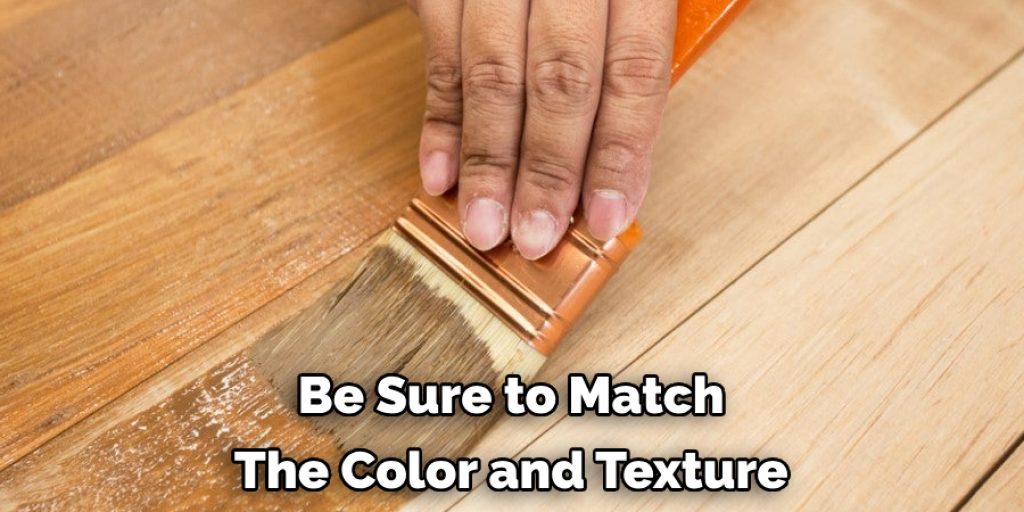
Step 8: Touch-up Paint (If Needed)
If your vinyl plank flooring has a painted or textured surface, you may need to do some touch-up painting or texturing to fully blend the repaired area with the rest of your flooring. Be sure to match the color and texture as closely as possible.
Step 9: Blend in with Floor Finish
If your flooring has a protective finish, you may need to blend the repaired area with the rest by applying a small amount of floor finish over the patch. Be sure to follow the instructions on the finish’s packaging and allow proper drying time.
Step 10: Protect Your Floors
Use furniture pads or area rugs in high-traffic areas to prevent future gouges and scratches. Also, avoid dragging heavy objects across your vinyl plank flooring, which can cause damage.
Fixing a gouge in your vinyl plank flooring is a straightforward process that anyone can do with the right tools and materials. By following these steps, you can save time and money by patching up any damage instead of replacing entire planks. Remember to always closely match the color and texture of your flooring for a seamless repair, and take preventative measures to protect your floors in the future. With these tips, you can keep your vinyl plank flooring as good as new for years to come!
8 Care Tips for Vinyl Plank Flooring
In addition to fixing gouges, there are a few care tips that can help keep your vinyl plank flooring looking its best:
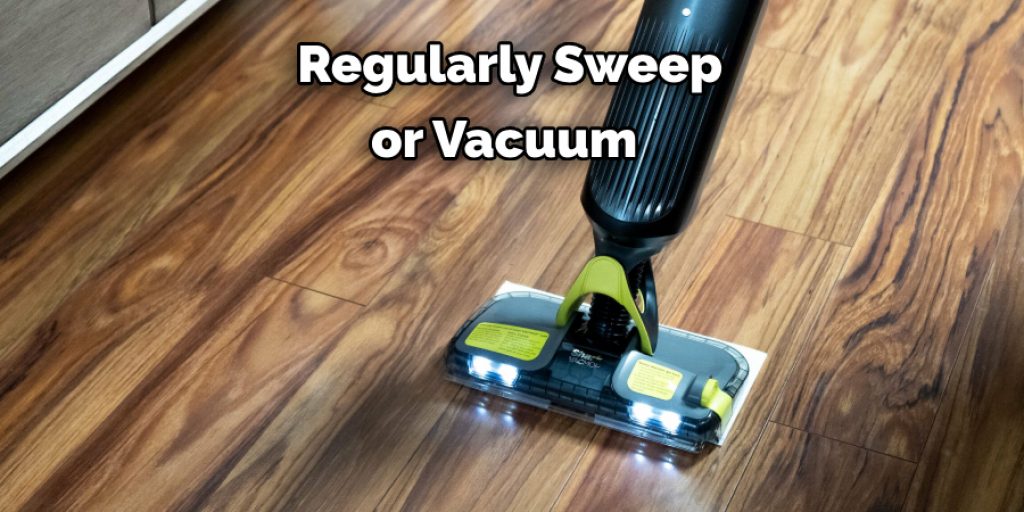
1. Regularly Sweep or Vacuum
Regularly sweep or vacuum your vinyl plank flooring to prevent scratches and damage and remove dirt or debris. Be sure to use a soft-bristled vacuum attachment or broom to avoid damage.
2. Avoid Harsh Chemicals
Avoid harsh chemicals or abrasive cleaners on your vinyl plank flooring, as they can cause damage and discoloration. Instead, opt for mild soap and water for cleaning.
3. Use a Damp Mop for Deep Cleaning
For deeper cleaning, use a damp mop with a mild cleaner specifically made for vinyl flooring. Avoid using harsh chemicals or abrasive cleaners that can damage the surface.
3. Wipe Up Spills Immediately
To prevent staining and damage, wipe up any spills immediately. This is especially important for acidic substances like wine or tomato sauce.
4. Protect from Direct Sunlight
Direct sunlight can cause discoloration and fading of your vinyl plank flooring over time. Use curtains or blinds to protect your floors from prolonged exposure to sunlight.
5. Use Furniture Pads
As mentioned, furniture pads can help prevent scratches and gouges on your vinyl plank flooring. Be sure to use them on all furniture legs and heavy objects.
6. Avoid High Heels
High heels can easily damage the surface of your vinyl plank flooring, so it’s best to avoid wearing them indoors if possible.
7. Take Precautions with Pets
Pets can also cause damage to your flooring, so be sure to keep your nails trimmed and clean up any accidents immediately.
8. Follow Manufacturer’s Recommendations
Finally, always follow the manufacturer’s recommendations for cleaning and maintenance of your specific vinyl plank flooring. This will help ensure its longevity and appearance over time.
Following these care tips and fixing any damage promptly, you can keep your vinyl plank flooring looking beautiful for years. Whether it’s a simple gouge or regular maintenance, taking care of your floors will save you time and money and keep your living space looking its best.
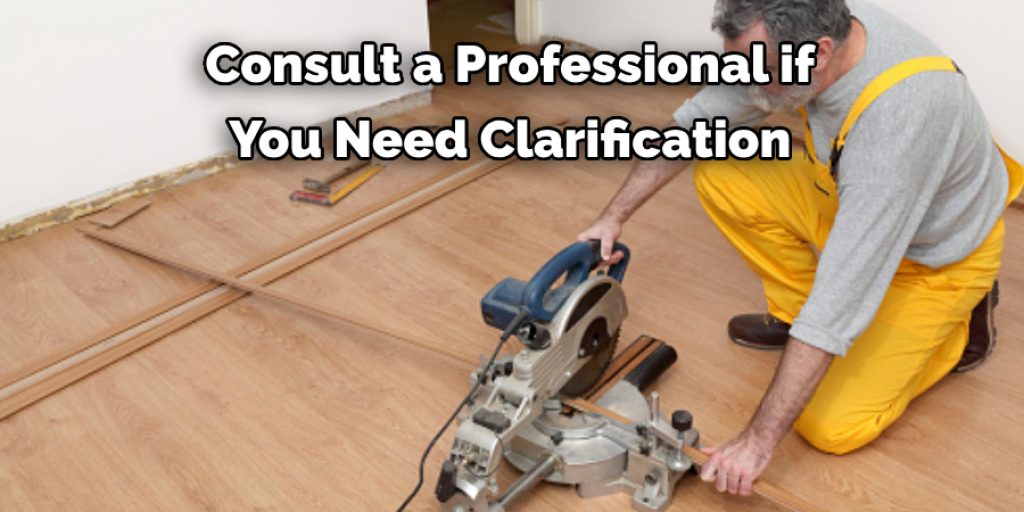
Always consult a professional if you need clarification on repairing or maintaining your vinyl plank flooring. With proper care, your floors will continue to be a durable and stylish addition to your home. So enjoy your vinyl plank flooring with peace of mind, knowing you know to keep it in top condition!
Frequently Asked Questions
Can I Use Wood Filler to Repair Gouges in My Vinyl Plank Flooring?
It is not recommended to use wood filler on vinyl plank flooring as it may not adhere properly and could cause further damage.
How Do I Know If My Vinyl Plank Flooring Needs to Be Replaced Instead of Repaired?
If the extensive damage covers a large area, replace the affected planks instead of attempting repairs. Consult a professional for their opinion on the best course of action.
Can I Repair Deep Scratches in My Vinyl Plank Flooring with This Method?
This method is best suited for shallow gouges and scratches. Use a vinyl floor repair kit or consult a professional for deeper scratches.
How Can I Prevent Gouges and Scratches on My Vinyl Plank Flooring?
Taking preventative measures such as using furniture pads and avoiding dragging heavy objects can help prevent gouges and scratches. Regularly cleaning and maintaining your floors helps keep them in good condition. For more tips on preventing damage, refer to our care tips section above. Remember, taking care of your flooring will save you time and money in the long run!
Conclusion
In conclusion, repairing gouges in your vinyl plank flooring is a simple process that anyone can do with the right tools and materials. By following the steps on how to fix a gouge in vinyl plank flooring outlined in this guide, you can save time and money by patching up any damage instead of replacing entire planks.
Remember to closely match the color and texture of your flooring for a seamless repair, and take preventative measures to protect your floors in the future. With proper care, your vinyl plank flooring will continue to be a durable and stylish addition to your home. So enjoy your floors with peace of mind, knowing you know how to keep them in top condition! Thank you for reading our guide on how to fix gouges in vinyl plank flooring; we hope you found it helpful.
Angela Ervin
Angela is the executive editor of DIY quickly. She began her career as an interior designer before applying her strategic and creative passion to lifestyle and home. She has close to 15 years of experience in creative writing and online content strategy for housekeeping, home decorations as well as other niche efforts. She loves her job and has the privilege of working with an extraordinary team. She lives with her husband, two sons, and daughter in Petersburg. When she's not busy working she spent time with her family.