
How to Fix a Laptop Charger Port
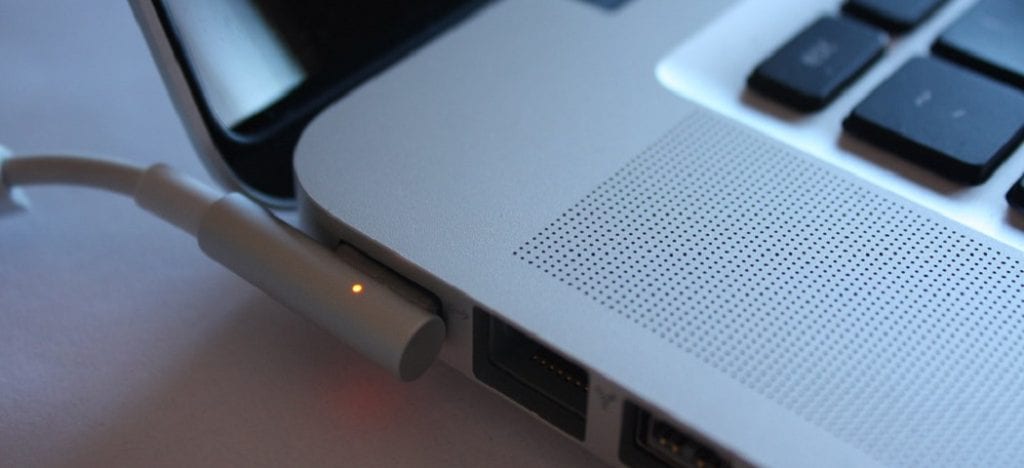
Every laptop needs to have a charger, and if that charger is broken, then the person who owns the laptop will not be able to use it. It would seem as though one small thing could cause such an inconvenience for any computer user. However, this can happen for many different reasons like; being stepped on, shorted out, or zapped with electricity somehow. For this reason, I will discuss some techniques to fix a laptop charger port today.
A Process on How to Fix a Laptop Charger Port
Whatever happened to your laptop charger port, there are ways you can get it fixed! Below are some tips from someone who has had their fair share of experience in fixing these issues.
First, you need to fix this issue by using a toothpick or pin inside the hole where your power cord plugs into the jack at the other end (i.e., near your laptop). When it is in the hole, you need to rotate the toothpick or pin until it unblocks any debris that might be blocking your laptop charger port.
If this doesn’t work, the next thing to do is take a small screwdriver and pop out the pins on either side of your power cord plugs into the laptop. You will then need to use tweezers with needle-nose pliers or something similar and pull out what might be blocking your computer’s charging port.
Finally, suppose you still have an issue with your charger not working correctly. In that case, you will need to take off the AC Adapter (which is where it plugs into your laptop) and use a can of compressed air or something similar to clean out any debris that might be blocking the connection.
When reinserting your adapter plug, be sure to push down firmly, so there is no space between the pinboard and socket board. If all else fails, find another way to charge your battery! You may also want to consider buying a new power adapter for this type of computer, which will come with its own cord.
Solving From The Scratch
If the charger port on your laptop is having problems, it might not charge or power up correctly. The first step to troubleshooting this issue is to make sure you use a compatible computer adapter and cable. If you have switched out these pieces of hardware in an attempt to fix the problem but still aren’t getting any success, then it’s time to get down into the nitty-gritty of repair work with our tips below!
Step One: Remove Dust from Your Charger Port

One common cause for laptops not charging could be dirt and debris clogging up inside the ports where chargers plugin. To remove as much dust as possible, use a canister vacuum cleaner fitted with an appropriate attachment to clean the inside of your laptop charger port.
Step Two: Reassemble Laptop Charger Port
If you have completed Step One, it’s time to put things back together and try using the laptop again with a fully charged battery. If it still doesn’t charge or power up correctly after this point, move on to Step Three below!
Step Three: Replace Chargers Completely at Faulty Ports In Your Computer Case
The final step is for users who are unsure what to do next. For example, it might be that there has been physical damage done internally for laptops not charging properly even though chargers are plugged in, such as broken wires or frayed cables that need replacing. In this case, the laptop charger port will need to be removed and replaced with a new one.
Steps for Reassembly
- Shut off your computer and remove any cords or cables attached to it from other devices such as printers, external hard drives, etc.
- Lay some newspaper on the ground to avoid scratching anything while working on these delicate parts. Stuffing paper towels into all the open ports is also recommended so that no dust can get inside while you’re working.
- Locate where the power cord plugs into your battery to find where the motherboard is located – if you don’t know already (you should!), check out our guide here! Next, remove the screws holding both pieces together and use a small flathead screwdriver to pry open the plastic slot.
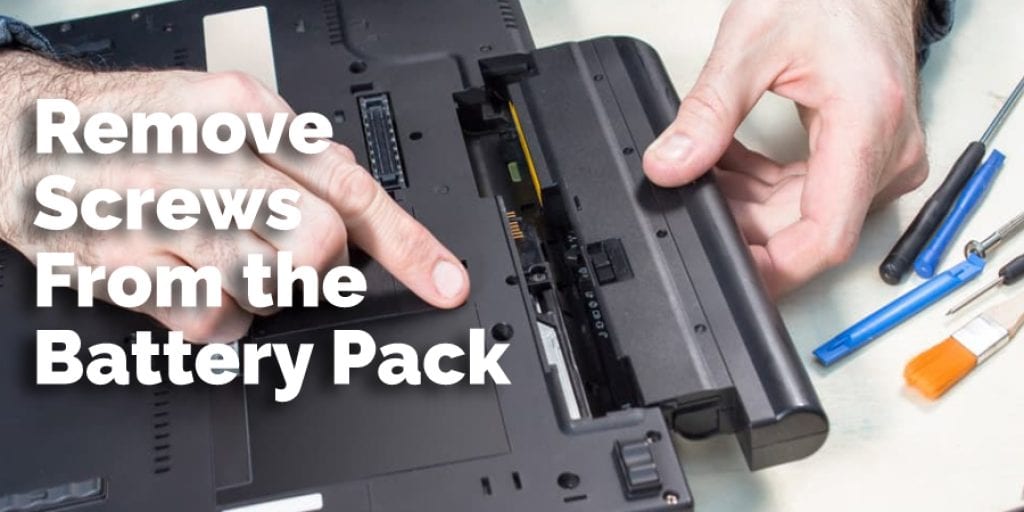
- Remove screws from the battery pack and place them on newspaper or some other surface that you don’t want to be scratched (like your table!).
- Look for batteries; remove them by gently squeezing in one corner of the battery with either a pair of pliers or needle-nose tweezers, popping out each metal end. Note: be careful not to puncture any parts when removing! These are extremely delicate components and can easily break if mishandled. Also, be sure to pull up both ends at once instead of pulling just one side at a time so that they come off evenly together without putting too much pressure on either side – this will ensure there is no damage.
- Remove the screws on both sides of the inside battery compartment.
- Firmly grasp and gently pull up at the bottom of the back panel with one hand while pulling down at a 45-degree angle using your other hand to release it from its locking position. Do this until you can get enough space for your fingers to fit behind, then firmly hold so that it doesn’t pop off quickly as small plastic latches secure it. Continue doing this all across where you see these little white tabs protruding! Be careful not to break any plastics or scratch anything else in there when removing panels – again, be sure to use caution here as they are very delicate components (especially around cables) and will easily snap if mishandled.
- Once all panels are removed, carefully lift the motherboard and remove it from its connection with a white connector at the rear of your laptop.
- Remove any screws or other parts that may be in the way to expose where you can see metal contacts (these will most likely be on either side of a battery).
- If there is corrosion here, use an alcohol wipe to clean it off – if none exists, use some household cleaner like Windex or 409 sprayed onto a towel, then proceed to scrub away! After this has dried for about 30 minutes, replace screws around these areas as they were originally positioned before reassembling and reconnecting everything back together again. It would help if you now tried powering your laptop after plugging in the charger cable.

Precautions on How to Fix a Laptop Charger Port
- If you don’t have the right tools, go to a computer store and ask if they can help.
- Ensure no power is going into your laptop before proceeding with these steps. There are two ways to do this: plug in another device that needs current (like an alarm clock) or remove the battery from your laptop. Wait at least five seconds after unplugging it for all residual power to stop draining out of anything plugged in.
- Read the manual properly before reassembling the laptop. Make sure that no materials get lost.
- Maintain the safety rules while working against electrical appliances.
Final Thoughts
A laptop charger port can be easily fixed if the person has a few tools and knows what they’re doing. When you open up your computer, it’s important to have some light source not to damage any components in the process. Also, make sure that all cables are securely fastened before turning on the power again, or else there may be an electric shock in store for whoever is touching them afterward.
You may read also: How to Fix the Aux Input in My Car


