How to Fix a Leaky Window
A leaking window can cause a lot of problems, such as water damage, structural damage, and even mold growth. So if you notice that your window is leaking, fixing it as soon as possible is crucial. The good news is that fixing a leaky window is not as complicated as you might think. Anyone can fix a leaky window with the right tools and a little bit of know-how. In this blog post, we will guide you on how to fix a leaky window step-by-step.
Can You Fix a Leaky Window?
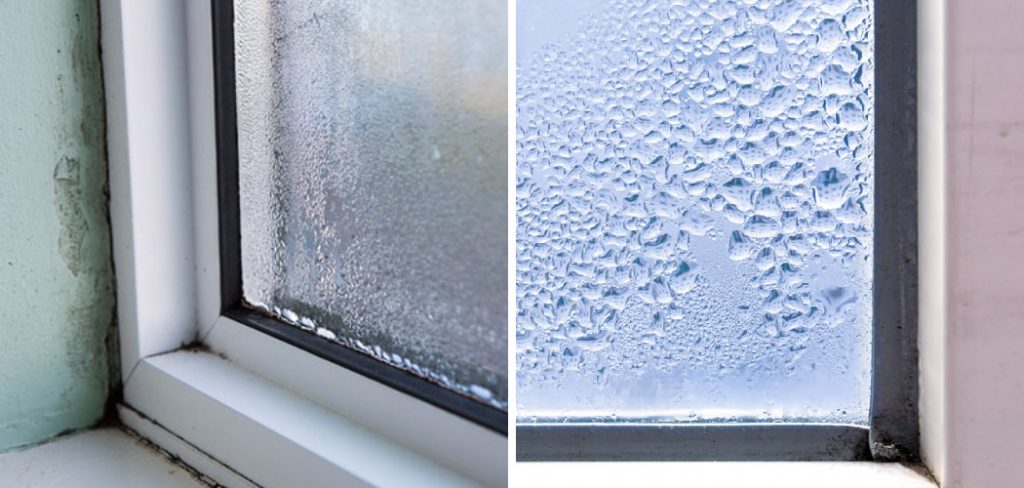
Have you ever experienced a leaky window? It can be frustrating to deal with a constant drip of water coming into your home. The good news is that fixing a leaky window is possible and doesn’t have to be daunting. There are a few common reasons why windows start to leak, such as damaged caulking or worn weatherstripping. By identifying the root cause and addressing it promptly, you can prevent further damage and keep your home dry.
With a little patience and some basic tools, you can fix a leaky window yourself or hire a professional to get the job done. Don’t let a leaky window dampen your spirit – take action and enjoy a dry and comfortable home.
Why Should You Fix a Leaky Window?
When it comes to home maintenance, fixing a leaky window should be at the top of your to-do list. Not only can a leaky window cause damage to your home’s interior, but it can also drive up your monthly energy bill. A small leak may not seem like a big deal, but it can lead to water damage and mold growth over time.
Plus, a leaky window allows drafty air to sneak its way inside, making it harder for your HVAC system to keep your home at a comfortable temperature. By fixing a leaky window, you’ll save on your energy bill, protect your home from costly damage, and ensure your family’s comfort. So, grab your tools and get to work!
How to Fix a Leaky Window – Step-by-Step Guide
Step 1: Identify the Source of the Leak
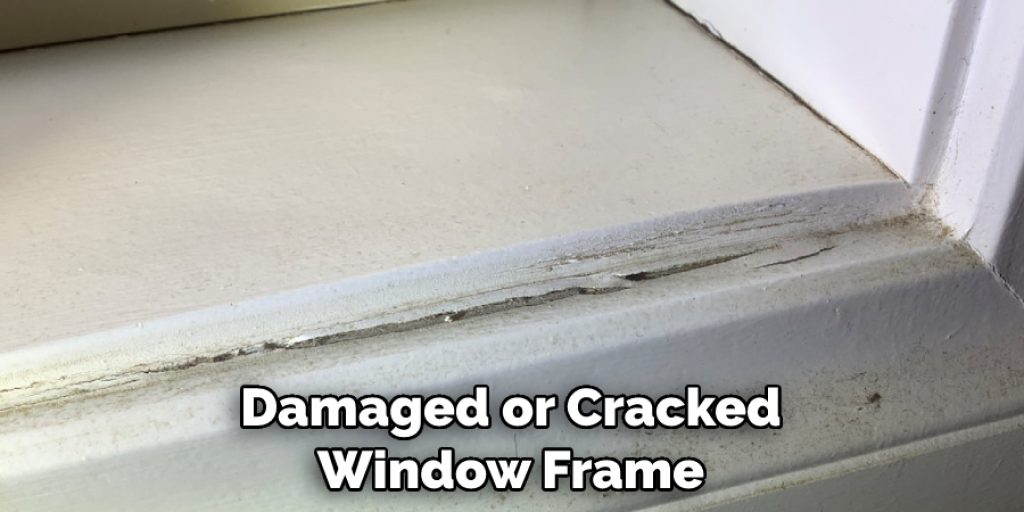
The first step in fixing a leaky window is to identify the source of the leak. Check the window frame, sash, and glass for any damage or cracks. If you see any damage or cracks, that might be the source of the leak. However, the leak might also be caused by a loose seal or weatherstripping. So, run your hand around the window frame and check for any air leaks.
Step 2: Seal the Window Frame
If you have identified that the leak is coming from a damaged or cracked window frame, it’s time to seal it. Start by cleaning the damaged area with a cloth and then apply a sealant or caulking compound around the window frame. Make sure to apply the sealant in a uniform motion, and let it dry before painting over it.
Step 3: Fix the Weatherstripping
If the problem is caused by loose or damaged weatherstripping, you can replace it. To remove the old weatherstripping, use a putty knife or scraper to pry it off gently. Once you have removed the old weatherstripping, measure the length of the frame and cut the new weatherstripping to size. Fit the new weatherstripping into the frame and push down firmly to secure it.
Step 4: Replace the Glass
If the leak comes from a glass crack, you will need to replace it. Start by removing the window sash and then remove the glass by prying the strips on the side of the sash. Once you have removed the glass, clean the sash and replace it with new glass. Secure the glass with clips and replace the strips.
Step 5: Call a Professional
If you have tried all the above steps and are still experiencing leaks, it’s time to call a professional. A qualified window expert will help identify the cause of the leak and provide a permanent solution. Don’t try to fix the problem yourself if you’re unsure of what to do.
6: Install Window Flashing
For a long-term solution, install window flashing around the frame of the window. This will help prevent water from entering your home and causing further damage. Make sure to measure the area carefully before cutting and installing the flashing.
Step 7: Test for Leaks
After you have finished all the above steps, test for leaks by running a hose along the window frame. If you don’t see any water entering your home, then you have successfully fixed the leaky window.
That’s it! You’ve now learned how to fix a leaky window in 7 simple steps. With the right tools and knowledge, you can easily repair any window around your home. Good luck!

5 Considerations Things When You Need to Fix a Leaky Window
1. Determine the Cause of the Leak
The first step in fixing a leaky window is to determine the cause of the leak. There are several possible causes, such as poor installation, damage to the window, or faulty sealant. Once you have determined the cause of the leak, you can begin to take steps to fix it.
2. Inspect the Window
Once you have determined the cause of the leak, you will need to inspect the window to see if there is any damage. If there is damage, such as cracks or holes, you will need to repair or replace the damaged parts before you can proceed with fixing the leak.
3. Clean the Window
If there is no damage to the window, you will need to clean it in order to prepare it for repair. Use a mild soap and water solution to clean the window, and then dry it thoroughly with a soft cloth.
4. Apply a Sealant
Once the window is clean and dry, you can apply a sealant in order to fix the leak. Many different types of sealants are available, so be sure to choose one compatible with your window’s material. Follow the instructions on the sealant package in order to ensure proper application.
5. Test for Leaks
After you have applied the sealant, you will need to test for leaks. The best way to do this is by spraying water on the window inside and outside your home using a hose or other water source. If there are no leaks, then your repair was successful!
Benefits of Fix a Leaky Window
Fixing a leaky window may seem like a minor household task, but the benefits can significantly impact your daily life. Not only can a leaky window cause costly energy waste and increase your utility bills, but it can also lead to uncomfortable drafts and moisture damage. By repairing the leak, you’ll save money on your energy bills and improve your home’s overall comfort and safety.
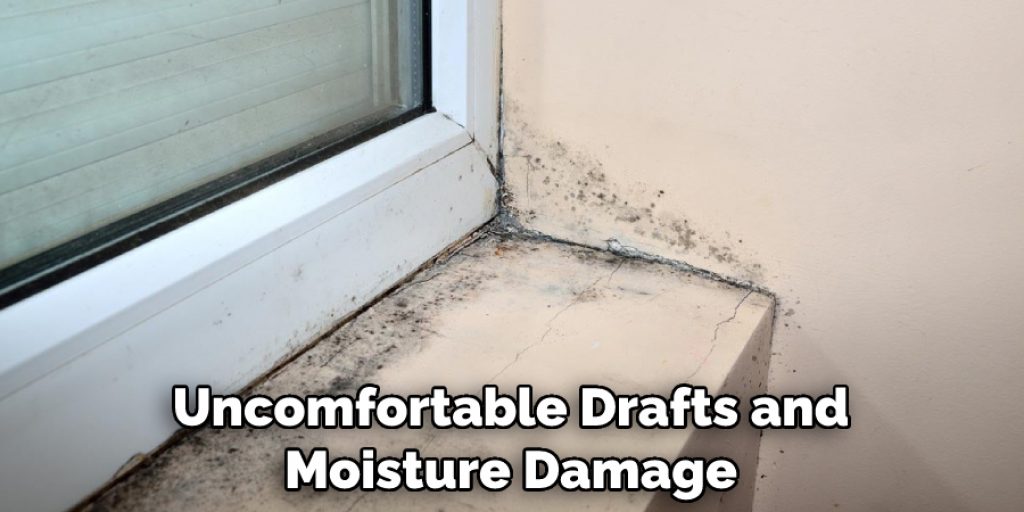
Additionally, repairing a leaky window can prevent further damage to your frame and foundation, ultimately extending the lifespan of your windows. Taking the time to fix a simple leak can greatly impact your wallet and your home’s efficiency, so don’t overlook this important task.
4 Common Mistakes People Make When Trying to Fix a Leaky Window
1. Not Replacing the Window Seal
One of the most common mistakes people make when trying to fix a leaky window is not replacing the window seal. The window seal is what keeps the air and water from coming into your home through the cracks in your window. If you do not replace the seal, the leaks will continue.
2. Not Caulking the Window
Another common mistake people make is not caulking the window. Caulking is what helps to create a barrier between the window and the frame of your house. This barrier will help prevent air and water from entering your home.
3. Not Replacing the Window Pane
If you have a cracked or broken window pane, then it is important to replace it as soon as possible. A broken window pane will allow water and air to come into your home, which can cause further damage.
4. Not Checking for Other Leaks
It is also important to check for other leaks in your home before you try to fix a leaky window. Other areas in your home may allow water and air to come in, making it difficult to fix the leaky window.
5. Trying to Fix It Yourself
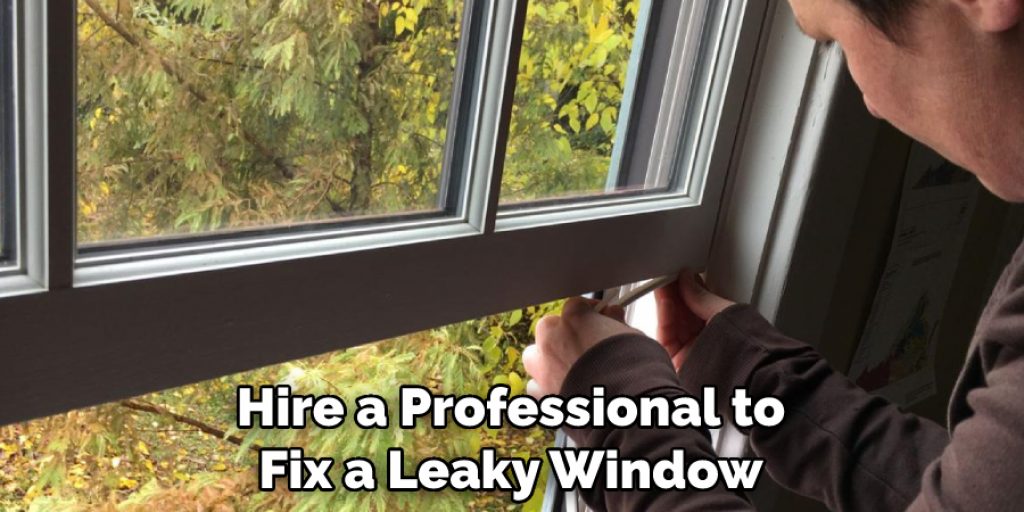
One of the biggest mistakes you can make when trying to fix a leaky window is trying to do it yourself. If you do not know what you are doing, you could make the problem worse. It is always best to hire a professional to fix a leaky window for you. They can diagnose the problem and ensure it is fixed correctly.
Conclusion
Fixing a leaky window might seem daunting at first, but it’s a simple process that anyone can do with the right knowledge. Follow the above steps and remember to prioritize safety as you do the work. Be patient and take enough time to give your window a long-lasting fix. With a little bit of effort, you can fix your leaky window and keep your home safe and dry. Thanks for reading our post about how to fix a leaky window.

