
How to Fix a Papermate Clear Point Mechanical Pencil
Introduction:
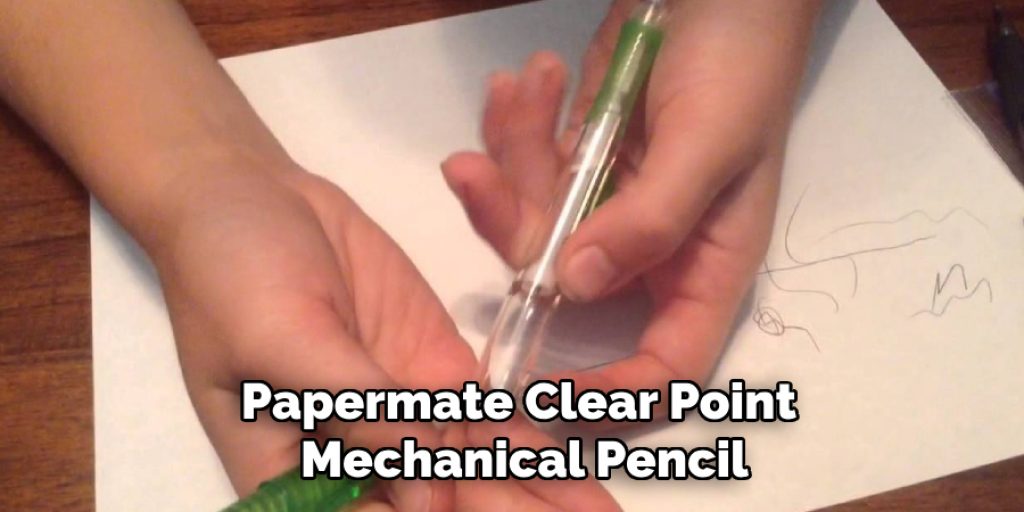
The Papermate Clearpoint is a mechanical pencil, which is known as the style of pencil that is refillable. The difference between this and other mechanical pencils is that it has no eraser holder. Instead, the eraser itself sits at the end, where you would ordinarily find an eraser on most pencils.
To use, you push down on the button above the lead (where there ought to be an eraser), and it pops up to reveal the lead (and now also my hand, since I wasn’t expecting it to pop up). You then twist the top part counterclockwise until a new lead comes out or an old lead goes in. In this article, I will discuss how to fix a Papermate clear point mechanical pencil. So let us dive into the main discussion.
Summary: If your Papermate Clear Point Mechanical Pencil is not working as it should, there are a few things you can do to get it working again. First, try replacing the battery if it’s available. If that doesn’t work, try cleaning the pencil tip with a dry cloth and rubbing alcohol. Finally, if all else fails, you can try repairing the pencil by replacing the broken part.
How to Fix a Papermate Clear Point Mechanical Pencil:
Tools Needed:
- Screwdriver (medium)
- Pliers
- Scissors or small knife
- Rubber bands/ hair ties/ rubber band bracelets
- Papermate Clear Point Pencils (of course!)
Procedure:
1. To open a Papermate Clear Point Mechanical pencil, unscrew the two gold screws on either side of the pencil. They should be at the very front of the mechanical pencil, on top of where your clip is attached, by that cute little black metal ring.
2. You will then need to pop off the little black metal ring underneath the two gold screws. To do this, you might (almost) have to break it off – PLEASE BE CAREFUL! If you have trouble with this part or feel uncomfortable breaking something so small, you can skip it and go straight to step 3*. Once the ring has been removed, set it aside in a safe place for later.
Please note: if there is only one screw on each side of your pencil, you should not have to remove any other pieces before continuing onto step three.
3. After you have removed the top piece from the body of your mechanical pencil, turn over the back portion of the pencil and gently separate it into two halves. You should see a giant spring inside – this is what keeps your lead secure as you write.
There are also four slots where the leads are inserted, which are directly opposite each other on either side of the parts that have just been separated.
4. Once the pencil has been separated into two halves, take one half of the body cover off to reveal another little spring at the top (with “SM” engraved). This tiny spring holds your eraser in place…if it pops out along with your eraser, I suggest starting over again. Unscrew the tiny screw next to this spring (the only screw you will find under there), and slide the eraser out of the end of the pencil.
5. After that, take the second half of your body cover off, and you should see a little silver hook at the end of a metal bar with some tiny screws around it. Carefully cut this piece out using scissors or a small knife – but be careful not to damage any other parts! Make sure you put this one in a safe place, too…this part is used to keep track of how much lead you have left in your pencil.
6. Now that you’ve completed all these steps, your Papermate clear point mechanical pencil should look like nothing more than two halves attached by some springs and a screw-on on either side of the pencil. Congratulations on getting this far! I bet you’re excited about this next part.
7. Next, take out your Papermate clear point pencils and attach one to the top of the body (the end with the hook – where you just cut off that metal piece next, take another Papermate clear point to attach it to the bottom half of your mechanical pencil. To do this, I suggest using rubber bands/ hair ties/ rubber band bracelets…anything stretchy, really. Remember all those slots on either side of your pen? Where lead goes in? Well, if you line up another Papermate clear point pencil with one of these slots, put a hunk o’ rubber around them both so they stay together, then screw the other half back onto your fixed Papermate clear point pencil, you should have a completely fixed Papermate clear point mechanical pencil. It should look something like this:
8. If all goes well, your new and improved Papermate clear point pencil will function just as it used to! All that’s left is to assemble everything back together (that little black metal ring included congratulations on, you now know how to fix a Papermate Clear Point Mechanical Pencil!
Precautions While mixing a Papermate Mechanical Pencil:
1. Keep away from children
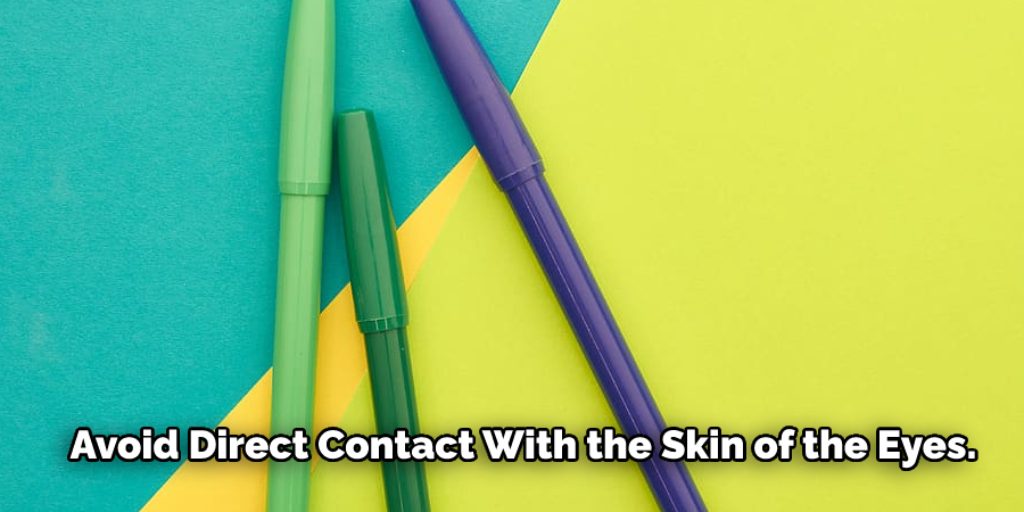
2. Avoid direct contact with the skin of the eyes. If it does, wash it off with cold water
3. Do not put the bottle near fire or on the stove to heat up
4. Do not put in microwave oven or any hot surface
5. Shake well before use
Mechanical Pencil Maintenance:
1 . Regularly clean mechanical pencils by brushing them lightly against a soft cloth or using compressed air to remove dirt buildup around the tip and grip area, don’t forget to unclog erasers when they get full of shavings, too (do not use strong pressure while cleaning it )
2 . To prevent lead breakage, apply light downward pressure as you write and use a sharpener when necessary.
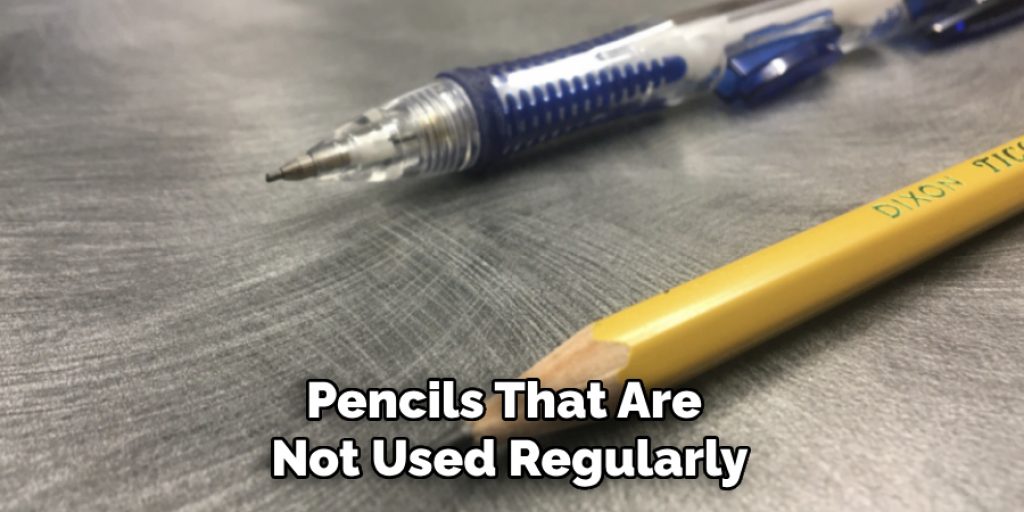
3 . Pencils that are not used regularly should be stored with their leads slightly elevated to avoid contact with the paper and other writing surfaces.
Conclusion:
Like I said earlier, Papermate Clear Point Mechanical Pencils are great for writing because of their smooth lead and comfy grip. It’s a good idea to use it the right way so the pencil won’t get broken or jammed; practicing proper maintenance will make your mechanical pencil last longer. I hope this article has been beneficial for learning how to fix a Papermate clear point mechanical pencil. Ensure all the safety precautions. Thank you and have a nice day!
Elizabeth Davis
Elizabeth is a creative writer and digital editor based in the United States. She has a passion for the arts and crafts, which she developed from a young age. Elizabeth has always loved experimenting with new mediums and sharing her work with others. When she started blogging, she knew that DIYquickly would be the perfect platform to share her tutorials and tips. She's been writing for the blog from the beginning, and her readers love her helpful advice and easy-to-follow instructions. When she's not writing or editing, Elizabeth enjoys spending time with her family and friends.


