
How to Fix a Shower Head That Broke Off
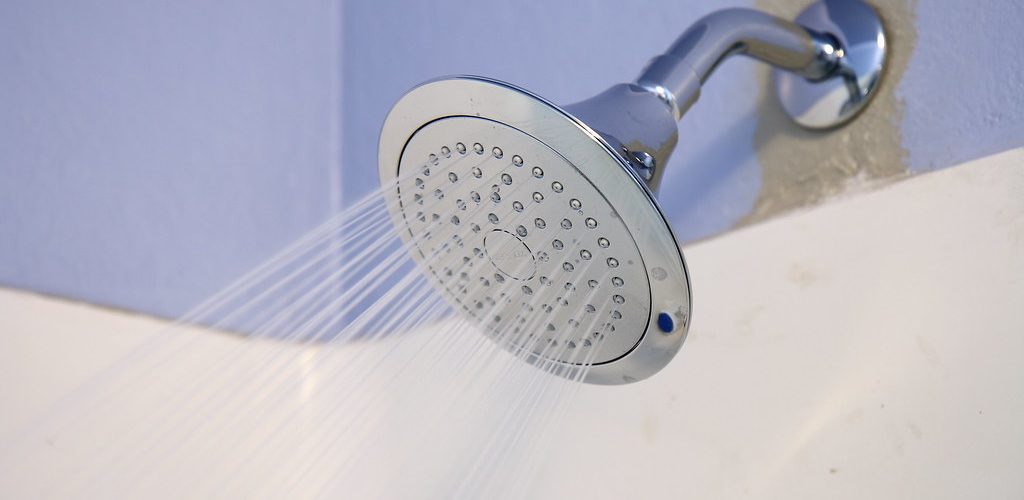
A shower head is one of the most important fixtures in your home. You use it every day, so you should take care to fix it when it breaks. This blog post will teach you how to fix a shower head that broke off.
A broken shower head can inconvenience anyone who uses it daily. Fortunately, there are many ways to fix this problem without buying a new one or calling someone out for repair service. This blog post will provide step-by-step instructions on how to reattach a broken hose and offer tips and tricks for fixing other common issues with your showerhead!
What You’ll Need to Fix a Broken Shower Head?
- Glue
- First Aid Tape
- Tape Measure
- Scissors
- Plumber’s Putty
- Wire Cutters or Tin Snips
Steps to Follow: How to Fix a Shower Head That Broke Off
Step 1:
To remove a shower head, turn off the water to the shower and let the pressure in the line equalize. Use a wrench to shut off the water supply if there is no bleed valve. If you see water coming from around your shower head, make sure to wipe it up with a towel before beginning. Once you’ve stopped the water flow, begin removing the shower head and cartridge.
Step 2:
Remove the broken shower head and take it outside. You will need to do this while wearing gloves because you may cut yourself if you touch the broken glass with your bare hands. For a shower head like the one pictured above, place a wrench around the neck of it and twist counterclockwise until it comes off.
Step 3:
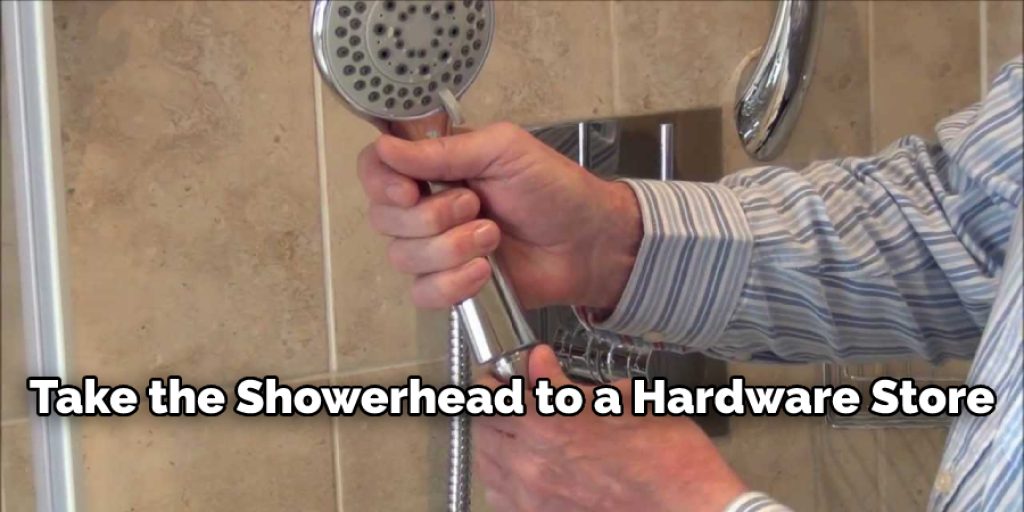
Take the showerhead to a hardware store or home improvement center and ask someone in plumbing if they can help you find a new one. If they don’t have anything like the one you need, purchase a universal adapter to make it easier for you to thread your replacement shower head onto the pipe. They come in various sizes and thread types, so it’s best to bring the old shower head with you if possible.
Step 4:
If you purchased an adapter, screw it onto the broken shower head and take it home. Pliers will help you tighten it so that the connection is tight. If you purchased a new shower head, thread it onto your replacement adapter. Both of these steps should be done while wearing work gloves to protect your hands from cuts.
Now you can put the old shower head into the garbage. The whole repair should take less than 15 minutes if your kit has all of the parts needed to complete it.
Step 5:
Place the new showerhead onto the pipe and tighten it as much as possible by hand. You can use a wrench to pull it but turn it one-quarter turn at a time to have a good grip on it before turning any farther. This should hold the showerhead in place securely. Replace the cap on the pipe and turn on the water to test for leaks. If there are no leaks, screw the showerhead onto the pipe by hand, then use a wrench to tighten it.
Step 6:
Turn the water on and test your connection. Finally, turn the showerhead to change the water flow. You may need to adjust it with pliers or a wrench if it seems too loose, but only tighten it slightly since you don’t want to break your new shower head! If you’ve completed all of these steps successfully, you should be able to shower normally.
However, if the shower head still won’t function, check the water flow at the pipe. If it is too low, try adjusting the valve with a wrench until the water flows correctly. If the water pressure seems to be normal, but your shower head still won’t function, you may need to replace the cartridge inside the shower head with a new one.
You Can Check It Out to Get a Shower Head Off That Is Stuck
Some Tips and Tricks:
1. To temporarily escape the problem, you can remove your broken shower head by using a pair of pliers. But make sure to wear gloves for this purpose.
2. Using two pairs of pliers helps you to take out the shower arm easily. You will need an adjustable wrench, the rubber gasket, and the O-ring to attach it back again.
3. This problem can be quickly sorted out if you know a few tricks to deal with it adequately. First, use the pliers to grip the little nub left from the shower arm and turn it counterclockwise to remove it from the threading of the hole cover.
4. To cover the showerhead, you need to use an O-ring about 1/2″ in diameter. Put the rubber gasket over the shower arm and wrap the O-ring around it tightly.
5. Apply some Teflon tape on both sides of the threaded end of your new shower arm before screwing it into place with your hand.
7 Other Common Issues With Shower Head:
1. Poor Water Coverage: A shower head with poor water coverage is typically caused by mineral build-up on the internal parts of the showerhead. A few ways to resolve this issue are to soak it in vinegar or clean the filters.
2. Hole too big for water flow: If a hole has become bigger than the standard size, you will want to try and twist it back into place. If that doesn’t work, you may need to replace it with a new head or use epoxy.
3. Leaking: Leaks make for an annoying showering experience; the cause could be as simple as a missing washer, which can easily be replaced. Other causes of leaks may be from a worn-out or broken o ring. This means you will need to replace the o ring with a new one.
4. Low Water Temperature: Cleaning out the showerhead can improve water temperature; it could also be that your shower arm is too high, causing the water pressure to drop. For safety reasons, you should ensure that your showerhead’s temperature remains consistent.
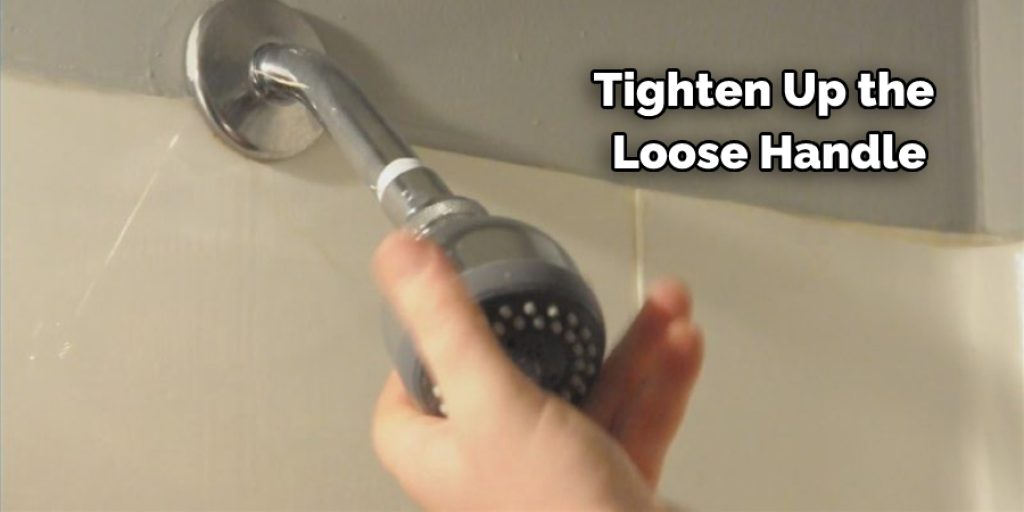
5. Loose Handle: A loose handle means you must tighten up all of its joints. If it’s still open, there might be a problem with the screw or the whole head assembly itself. To resolve this issue, you might have to replace it entirely.
6. Straight-Flow: This issue is most likely due to the removed water restrictor. If this is your case, you will want to replace it with a new one with the exact measurements.
7. No Water Pressure: If the water is constantly spraying or trickling, check to ensure all parts are in place. If there are any missing o rings, you must purchase a new one and replace it.
Frequently Asked Question
What Do You Do When Your Shower Head Breaks Off?
If your shower head breaks off, you will need to replace it. There are a few things that you can do to make the replacement process easier:
1. Remove the old showerhead by unscrewing the four screws that hold it in place.
2. Install the new shower head by screwing it into place using the same screws that were removed from the old one.
3. Make sure that the water flows towards your feet by adjusting the flexible arm on the new shower head.
4. If there is still water from the broken part of the showerhead, you will need to purchase a new one and install it yourself.
Why Did My Shower Head Break?
Your showerhead might have broken for a few reasons. One reason might be that it wasn’t installed correctly. It might have been installed too low or too high on the pipe, which caused it to become loose or brittle over time. Another reason might be that the water pressure was too low for the showerhead, which caused it to break.
Can I Use Plumbers Putty on Shower Head?
No, plumbers’ putty should not be used on a showerhead. Plumbers putty is a type of sealant that is used to close off small leaks in the plumbing system. It is not meant for use on showerheads.
Will Replacing Shower Head Stop Dripping?
There is no definitive answer to this question as it depends on the type of showerhead that you are using and the layout of your bathroom. However, if you are experiencing excessive dripping, it may be a good idea to replace your shower head.
Conclusion:
It’s not uncommon for people who have been using their showers for years without changing these things periodically to end up having leakage problems when they get older because water pressure has worn down some components inside the valve or handle assembly. This can be prevented through maintenance, though!
As you read through this post, we hope that it has been helpful for you to learn about how to fix a shower head that broke off. In addition, if the information was not what you were looking for or is something else altogether, feel free to contact us with your questions and concerns at any time; we are always happy to help!
You may also like How to Remove Hard Water Stains From Marble Shower
Angela Ervin
Angela is the executive editor of DIY quickly. She began her career as an interior designer before applying her strategic and creative passion to lifestyle and home. She has close to 15 years of experience in creative writing and online content strategy for housekeeping, home decorations as well as other niche efforts. She loves her job and has the privilege of working with an extraordinary team. She lives with her husband, two sons, and daughter in Petersburg. When she's not busy working she spent time with her family.


