
How to Fix a VCR That Won’t Play
Introduction:
The VCR is one of the most commonly used devices in homes today. Many people have them for recording TV shows and movies to watch later, but sometimes they can malfunction. If your own personal VCR doesn’t play, you are not alone! This article will walk you through some quick steps that might help get it working again. In this article, we describe how to fix a VCR that won’t play.

Steps on How to Fix a VCR That Won’t Play:
Step One: Check Your Cable Connection
Make sure that the cable from your television to your VCR is plugged into both ends properly and securely. After doing so, try turning on the device and see if this fixes it right away or doesn’t make any difference.
Step Two: Clean Your Lens
The lens on a VCR often gets dirty over time due to dust particles and fingerprints. To clean it, wipe the lens with a cotton ball or piece of tissue paper that has been dipped in rubbing alcohol.
Step Three: Clean Your Tape
If your VCR is playing tapes but not DVDs, it could be because the VCR is dirty. To clean the VCR, use water and mild dish soap on a cloth, and rub the cloth against the surface of the VCR until all the dirt comes off. Then, dry the VCR with a dry towel. After you’ve cleaned the VCR, try turning it on again to see if it works.
What Problems Might Cause VCR Not To Work?
There are many reasons why a VCR might not work. It could be an issue with the tape, or there might be a problem with the machine itself. If you have tried the easy fixes and your VCR still doesn’t work, there might be a more serious issue.
Faulty Connections
If your TV isn’t working, first check to see if the cables are loose. Then check the power cords. Finally, check the connections between the input ports. Make sure everything is snug and tight, then try again.
Disconnected Power Cord
Ensure all connections between plugs, outlets, adapters, and power cords are tight. If you are using an extension cord, make sure it’s plugged in and connected firmly to the wall outlet.
Faulty Power Cord
If your device isn’t charging, first check that the AC adapter is working by plugging another device into it. If that doesn’t work, then swap out the adapter with a spare one or take it in for testing. AC adapters are usually inexpensive, so replacing it shouldn’t be a big problem.
Dirty Record/Heads
Using cleaning tapes will help remove any dirt buildup from the surface of record platter heads and also keep them well lubricated, which can prevent tape jams.
Old Tapes
It may not sound like an issue, but old VHS tapes and even newer ones have issues; playing tapes can deteriorate and cause the video to skip. Replace old tapes with new ones if you’re experiencing this issue.

VCR not Set on the Channel for TV
There is an option to switch your input source on most TVs but double-check that it’s selected as a VHS or other compatible device type such as DVD player, game system, etc.
Faulty Video Cable Connections
There are a few things you can do to troubleshoot a TV that isn’t working. First, check that all the connections between plugs, outlets, adapters, and power cords are tight. Next, use the buttons at the front of the TV or remote control to change channels. This will help you determine if the problem is with the connection cable itself. Finally, make sure that nothing else is plugged into any of those spots while testing. For example, devices like microwaves can interfere with the TV signal. If all else fails, try swapping the cable with another one to see if the connections are loose.
Faulty VCR
This may be a symptom of an issue that needs a proper evaluation from a professional; there may be other components involved as well. If you suspect your VCR could be faulty, then it might be time to replace it by purchasing a newer model or contacting someone who can provide repair service for these devices.
Precautions While Troubleshooting a VCR:
- Cover the VCR with a thick cloth to prevent dust from falling into the machine.
- Turn off all electrical appliances in your house, as they could interfere with the process of fixing the device.
- Unplug any other electronic devices that may be plugged in near it, such as phones or lamps.
- Disconnect anything else you might have connected to an outlet nearby (like vacuum cleaners).
- Cut power to entire rooms if necessary by flipping breakers on and off at their breaker box outside your home’s walls.
- Do not touch live wires while doing this! It is very dangerous! Only flip switches when no one will touch them until they are completely done touching live wire again. These precautions are necessary to protect you from electrical shocks.
What Tools Are Necessary For Fixing a VCR?
Be sure you have the right tools necessary for fixing a VCR. You’ll need a Phillips-head screwdriver, two pieces of masking or painter’s tape (one with the adhesive side up), an LP playback head cleaner disc, and some rubbing alcohol to clean heads.
Determine if there is any damage on your video cassette player’s front panel that might be preventing it from fully closing. If so, place one piece of the tape over this area until it is closed and press down firmly to stick securely. This will help maintain its position while you work through other possible causes for the problem.
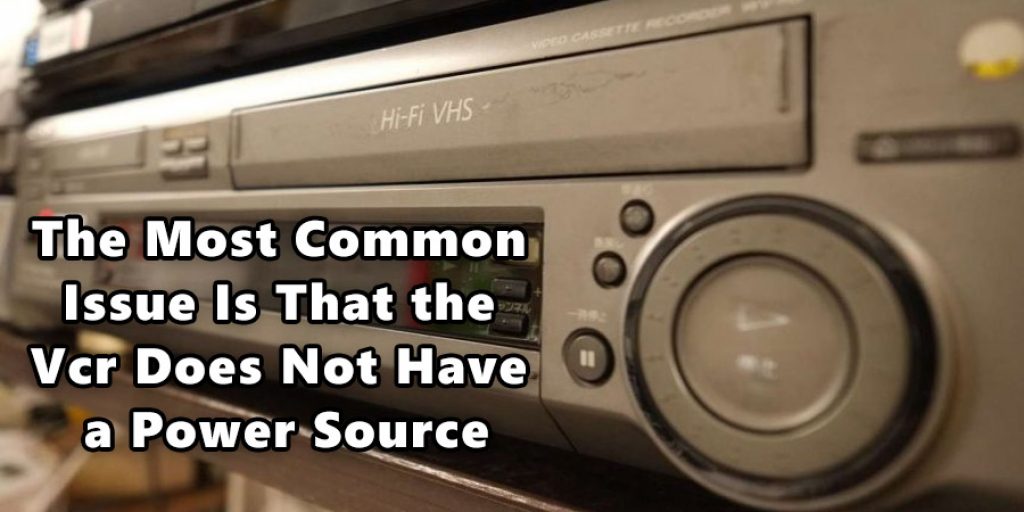
Why My VCR Shuts Off After Inserting Tape?
The most common reason for this issue is that the VCR does not have a power source. First, check to see if there are any lights on or buttons lit up. If no, plug it in and turn it back on again before trying anything else.
Another possible problem could be with the tape itself; make sure your cassette has been inserted correctly by checking both sides of the tape against each other as you slide them into place. Once they’re aligned properly, push down firmly until they can’t go any further, then let them pop out and lock automatically (or manually).
To avoid having anything stuck inside when rewinding or ejecting tapes later, make sure that everything is threaded through start-to-finish without leaving anything behind. To do this, remove the cassette, turn it over, and look for the hole where you insert your thumb to wind up or down. If there is any tape coming out of this hole, then rewind a little more before ejecting again. Remember that the top side should be facing upwards towards the ceiling when inserting into place. Hence, if you have flipped it around in error, remove it and start repeatedly.
If your VCR isn’t playing tapes properly, make sure there isn’t an obstruction blocking its access. You can also check for cables sticking out at either end if you’re trying to play it back with another device, like a TV or DVD player. If you can’t see anything blocking the access, carefully insert a needle or other object through one of the holes until you can see it at the other end.
Final Thoughts:
There are a lot of options for dealing with a VCR that won’t play. You can try to unplug it and let the power dissipate, try clapping your hands near the device, or even calling out an exorcist (joking), but if you’re reading this, then chances are none of those things have done anything. So in most cases, when someone says their VCR is broken, they really need to clean off their video head! Once everything looks clean, try playing again to see if things start working better! If that doesn’t work see our blog post on how to fix a VCR that won’t play carefully again.
Check It Out to Learn to Fix a Broken DVD.


