
How to Fix a Warped Cabinet Door
Introduction
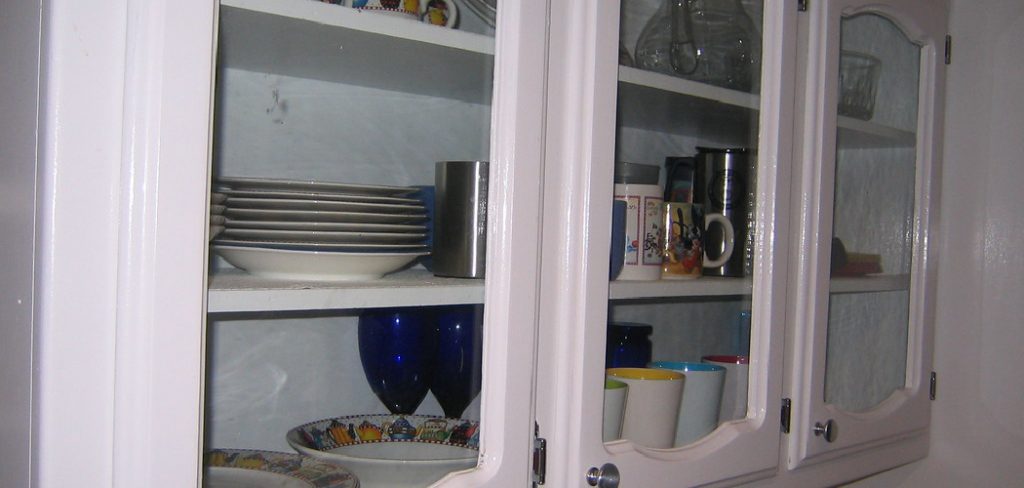
A wrapped cabinet door is a cabinet door that has been painted repeatedly or had a coating applied to it at some point in the past. The paint build-up causes the finish of the wood to be skinny and fragile and most likely peeling off in certain areas. Maintaining your cabinets doors so they continue to look nice and have an appealing finish can be easy, but sometimes if you are not careful, the damage can start to show itself, which is why I decided to write this blog post on how to fix a warped cabinet door.
What Causes Cabinet Doors to Warp
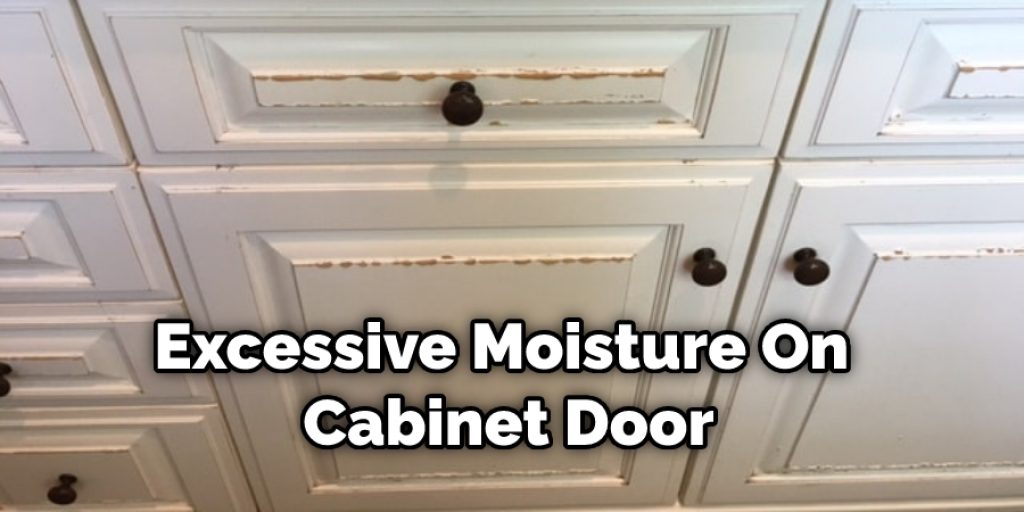
Excessive Moisture:
Water entering the home through leaks, poor ventilation, or improper installation of water supply lines is a common cause. In addition, the wood dries out and expands, warping the cabinet doors. Cabinet doors are made from softwood to withstand moisture exposure, but high levels may still warp them. Water also damages wood floors.
The most susceptible woods will include pine and fir, along with solid maple and cherry cabinetry. Oak is much more resistant than softer woods and therefore much less likely to warp when exposed to moisture. However, oak cabinetry can also be warped if it was not properly installed into its cabinets over time as the materials settle.
Stripped Screws:
If the screws holding your cabinet doors are stripped, the door will become loose and possibly warp. Cabinet doors can be easily attached using a couple of different methods: Metal screw-strip inserts or through the use of plastic screw anchors. Using these systems, keep your cabinet doors in place while not damaging them with excessive force to tighten older fastening methods. TIP! Check your local building codes and ordinances before you begin any major landscaping project.
Only One Side Is Finished:
Cabinet doors are often not evenly finished and may warp if only one side is finished. For a cabinet door to be properly installed, both sides need the same level of moisture protection found in a high-quality finish on it. If you notice that your door has warped, try using a little lacquer thinner in an attempt to even out the surface and apply another coat of finish over it on the other side. Relieve the pressure being put on the flat part of the door with a few mineral spirits, which should also help flatten any imperfections.
A Misaligned Latch:
The latch system on cabinet doors can become misaligned if the door is opened and closed too much. This small part is very important because it can cause the door to warp if it is not maintained properly. Over time, the hinges may also become loose, which can cause the door to warp in some areas when it is exposed to moisture.
An Improper or Incomplete Seal:
Cabinet doors should have a tight seal between the inside of the cabinet and the outside, preventing moisture from entering through cracks or other imperfections. If you see that your cabinet door has warped, try using a little lacquer thinner in an attempt to even out the surface and apply another coat of finish over it on both sides. Relieve any pressure being placed upon your door with a few mineral spirits, which should also help flatten any imperfections.
Step-wise Guide on How to Fix a Warped Cabinet Door:
Step 1: Remove the Door:
The first thing you need to do is remove the door itself from the cabinet. Then, using a drill, take out the screws that hold it up and put them aside somewhere safe. Do this very carefully to ensure you do not damage any of your doors in the area.
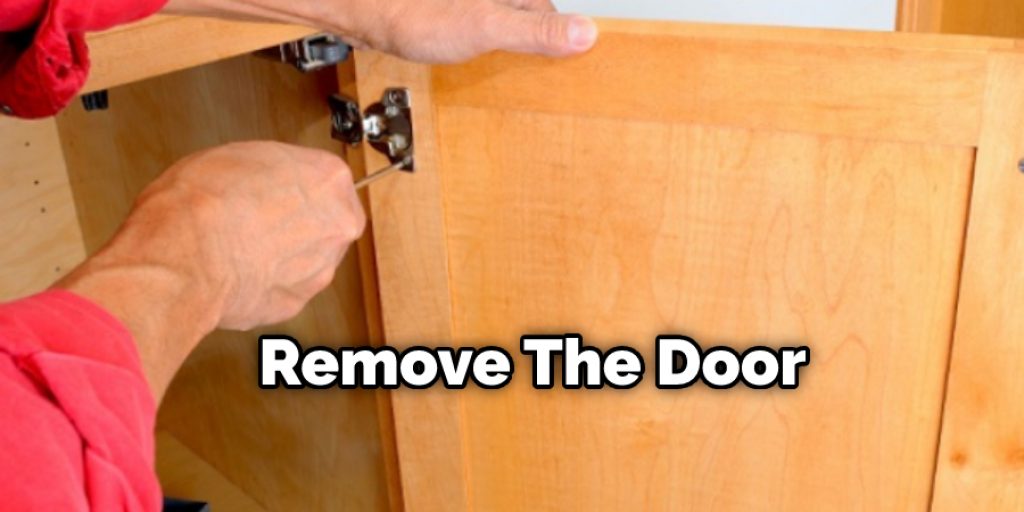
Once undone, set the door on a table or bench standing upright. You can check for warping by looking at how far out from its resting place each side sticks past. If there’s no noticeable difference between the left and right sides, then your door isn’t warped, and you should ignore all the following steps as well as this article! To fix the door, first use the 2×4 or 2×6 to pry up on the side that’s furthest from its resting place.
Step 2: Sanding:
Next, sand down the area you wish to fix. You want to remove any splinters and anything that looks brittle. This will help your polyurethane adhere better and create a stronger bond between the 2 layers of wood. Next, add a layer of polyurethane to the area you just sanded. Use about 3 coats and let dry for about 30 minutes between each coat.
To do this, use a belt sander with fine grain sandpaper or if you don’t have access to these tools, use a hand sander for now. Once all nails are removed, proceed to use finer paper until you reach 400 grit.
Step 3: Fix the Jambs:
Next, if your hinges are warped or have fallen off due to the warping of your door, this is when you fix those. Use the same sanding technique on them as you did for the door itself and then reattach them to the door.
Once this is done, set up a piece of plywood in an incline over 2 saw horses to act as a ramp. Next, place your warped cabinet door onto it with its flat side facing downwards towards the ground.
Step 4: Flatten the Bowed Wooden Cabinet Door:
Pour a liberal amount of wood glue all over the face of your door. Ensure it’s evenly covered on both sides, and then place 4 pieces of heavy wood onto each corner. This adds more weight to the bowed areas, pushing them outwards and flattens them down to an acceptable level.
Step 5: Replace the Door:
Once the glue has dried, set up your ramp again with your cabinet door on top of it and rub some wood glue onto this underside as well. This will help reinforce any weak spots that remain from before and provide a stronger adhesive for the polyurethane to stick to.
How to Prevent Warping of Cabinet Doors:
Here are some common mistakes to avoid because they can cause your cabinet doors to warp:
What Not to Do:
Make sure you’re not storing wood products with a moisture content of over 20%. The higher the moisture content, the more likely warping will occur. Dry times vary with species and climate. Plain old yellow pine in sunny South Carolina may dry in 8-12 months, whereas cherry or walnut from the Pacific Northwest could take a lot longer.
But regardless of what wood you use, keeping the moisture level as low as possible is key. A good rule of thumb is if there’s water present on one side, it should be dried out before placing anything on top or storing it next to it. If you have air conditioning, it’s best to store wood inside during the winter. If possible, try not to have your project in a room with temperatures below 60 degrees and above 90 degrees.
Do not build cabinets in direct sunlight or areas affected by heat from an air conditioning duct. This is because the warmer temperature will cause moisture to evaporate faster, resulting in high humidity inside your cabinets, contributing to the warping of cabinet doors and drawer boxes.
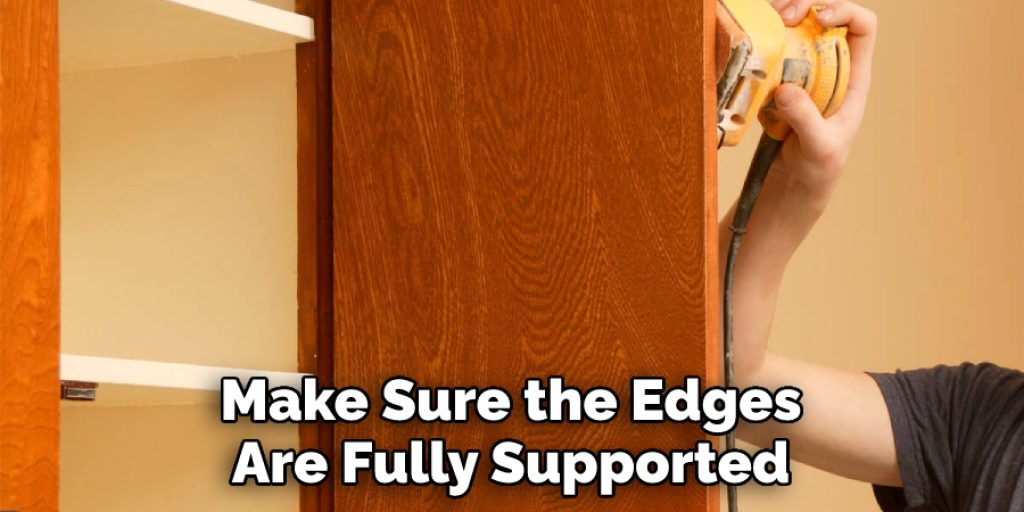
When you are cutting your door parts, make sure the edges are fully supported. If possible, use a shop-made sled for ripping rather than freehanding it with a circular saw or handsaw.
A good setup is to supply a dust barrier and have all holes drilled before any sanding is done; then, sand the rough areas really well, and finish sand only needs final attention. In addition, many woodworkers like to leave at least one corner on each panel sanded by hand to touch up that section after the machine has been used on the other surfaces. This way, you can stay off the freshly cut area while still leaving no dips or ridges from uneven handling.
Precautions While Performing How to Prevent Warping of Cabinet Door
If the warped cabinet door is making too much of a problem, you should not try to straighten it out by yourself. It may be because your door has suffered from any impact with full force, and the attached hinges have been locked in place. If so, then there are chances for the wood parts of your cabinet to tear apart while trying to straighten them out independently. And this can lead to a real mess if your countertops or frame are part of one whole piece since they might crack open.
When trying to fix a warped cabinet door, never use a belt sander or other motorized power tool because this can quickly cause further damage to the surface of your cabinets, and when I say “further,” I mean beyond repair! Now for those wondering how they can identify what kind of distortion their cabinet doors have, here’s a quick rundown. If you have a sagging drawer or cabinet, chances are the door is bowed outward in the middle, but if it’s pinched inward at the center and bulges out toward each end, then your door is bowing inward.
Conclusion
Most doors will warp in time, whether because of poor installation or some other reason. But sometimes, they can be fixed with relative ease, and the methods above are a great way to start. If you want to prevent warping, one of the best things to do is get them off the ground.
If you have cabinets that have warped but don’t need replacing, fill each cabinet door gap with silicone caulk and then sand it smooth when dry. I hope this article has helped you learn how to fix a warped cabinet door. Thank you, and have a nice day!
Angela Ervin
Angela is the executive editor of DIY quickly. She began her career as an interior designer before applying her strategic and creative passion to lifestyle and home. She has close to 15 years of experience in creative writing and online content strategy for housekeeping, home decorations as well as other niche efforts. She loves her job and has the privilege of working with an extraordinary team. She lives with her husband, two sons, and daughter in Petersburg. When she's not busy working she spent time with her family.


