
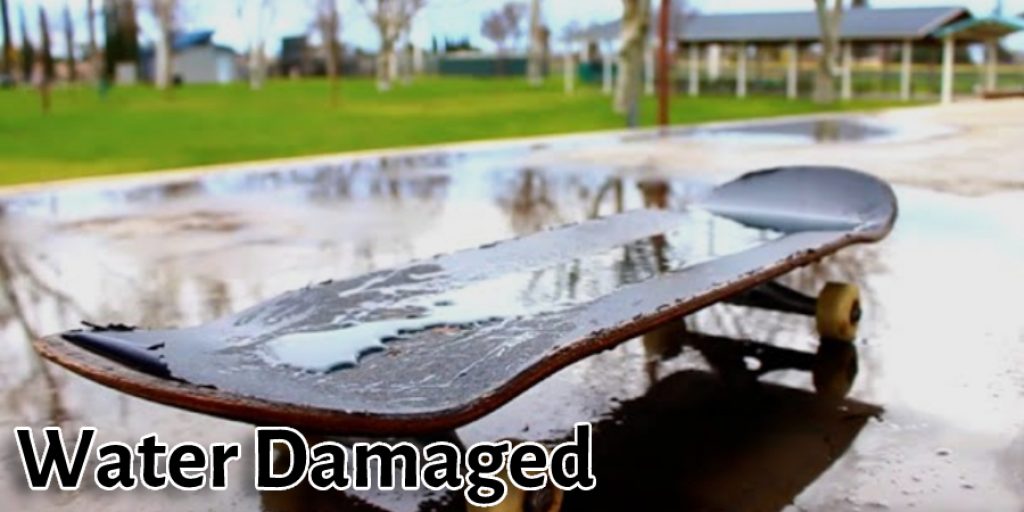
How to Fix a Waterlogged Skateboard
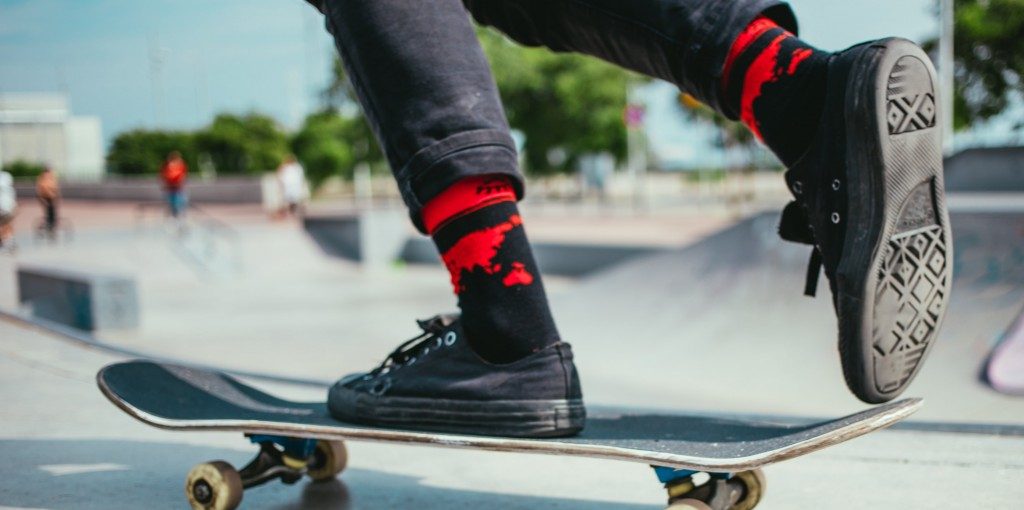
Have you ever had your skateboard get wet? What happens? Some people think that their board is ruined forever, but it isn’t. This post will explain how to fix a waterlogged skateboard and how to keep this from happening again in the future. If you have ever had your skateboard in water up to or more than the trucks, your deck has absorbed some amount of water. Water can cause many problems for your board’s performance, so let’s see what we can do about getting it out (if possible) and preventing this from happening again!
Step-Wise Guide on How to Fix a Waterlogged Skateboard
Step 1:
Check your skateboard to see if the grip tape is sticking or not. If it is, use a hairdryer to dry it off and try again with the hot water. If it isn’t sticking well enough, you need to use a stronger adhesive on the grip tape. Let the board dry out for about 20 minutes before attempting this step.
Step 2:
Warm up your deck and grip tape with a heat gun or hairdryer. Wait until they are both comfortable to touch. While they are warming up, get some new gum/adhesive from your local skate shop or hardware store. Make sure it’s good quality so you get a good bond.
Step 3:
Coat your deck’s grip with some glue (you can use any caulk or hot glue gun, which is much stronger than superglue). Lay it on thick, too, because we’re going to screw up most of it anyway. Please wait at least 5 minutes for anything other than the grip tape to tack up before starting to roll it around while applying pressure through the board into the grip tape so that they both stick together and stay stuck together even when you remove them tomorrow. The longer you wait, the better-bonded everything will be, but I would wait no more than 10-15 minutes for this step.
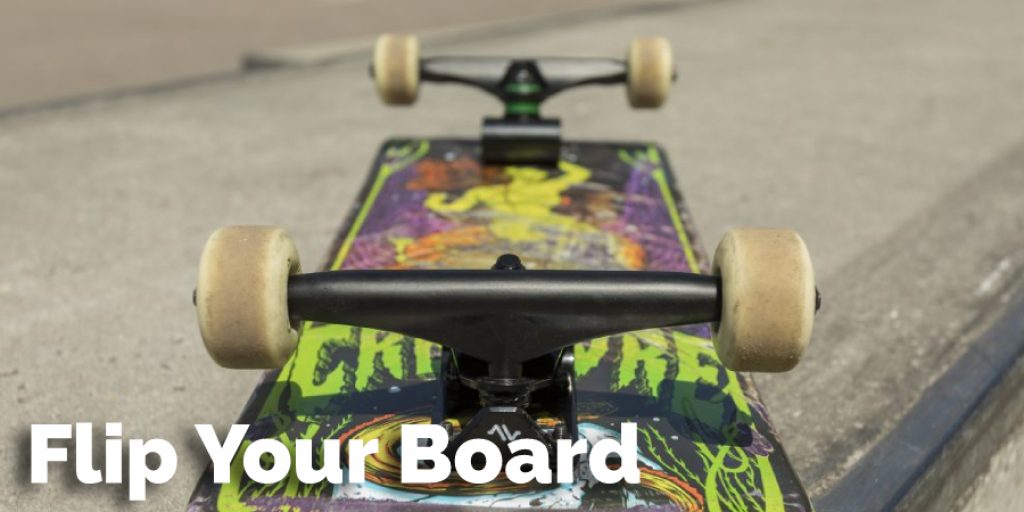
Step 4:
To make your skateboard, you will need to glue the bottom of your deck. First, flip your board over and apply glue to the bottom. Make sure you coat it perfectly and wait a few minutes to ensure everything has stuck together well enough for skateboarding. Then check if any bubbles formed by smoothing out the adhesive with your finger, but don’t worry about them too much – this all happens at least 50% of the time anyway. When you are done with that, let your board sit overnight just so that everything can dry and tack up nicely.
You might have some loose bits of grip here and there if you rushed things, which is why I recommend leaving things long enough for them to stick together fully.
Step 5:
The next day, take some sandpaper and rough up the top layer of your deck. This will help any grip that isn’t stuck in place to come off easily. Then get a hairdryer and heat the grip tape. You only need to heat it enough to make it sticky again. If you don’t use protection when removing it, you could scratch your board or tear the grip tape. If you don’t apply this step, it may be difficult to remove all the loose bits of grip without damaging anything else.
Step 6:
Get a razor blade (a strong, fresh one) and slice the grip tape off the deck. Press hard through the blade to get all of it out quickly because you don’t want a massive chunk of goo hanging around on your board and making this process very difficult. If you do happen to rip or tear any of the grips off along with the grip tape as well, don’t worry about that yet – make sure not to touch anything but the top layer to keep from getting adhesive in places on your deck where it shouldn’t be. The last thing we need is sticky hand-prints all over our skateboards!
Step 7:
After you’ve sanded your deck with 80-grit sandpaper, move up to 220-grit sandpaper for a smoother finish. The more you sand, the better it’ll look, but any amount of sanding will help to make your deck nice and smooth. When you are done with this step, take some water and a sponge/dishrag (or something similar) and wipe off all the dust that ended up on your board.
Precautions While Fixing a Waterlogged Skateboard
- Water-damaged decks are very delicate and must be handled with care!
- This guide is for a wooden deck; if your deck is made of some other material, you need to be careful not to use the wrong materials on it, or you could ruin your deck completely! So don’t try this if your deck isn’t made of wood.
- When working with water-damaged boards, always wear protective gear such as rubber gloves and safety goggles.
- Always work in a well-ventilated area while fixing the board using vinegar! The fumes from the vinegar can cause headaches, so make sure there’s plenty of ventilation!
- Don’t handle the board after applying acetone to it, as it will prematurely age the board and cause it to become brittle!
- Don’t store your skateboard with water still in it! The wood will absorb the water and turn into a soggy mess that’s pretty much ruined forever. Instead, dry your board out completely after letting it dry out for a day before proceeding further.
- Never use sharp, hard tools to scrape off material from the deck while fixing a waterlogged skateboard! This will permanently damage the wood of the board! Instead, use only soft, blunt materials such as Q-tips or cotton balls if you need to remove gunk from an area where there’s been a lot of erosion due to moisture damage.
Conclusion
That’s about all there is to it. This method will let you learn how to fix a waterlogged skateboard and make it last as long as a new board would, so just try to remember the necessary precautions for fixing your deck properly. You’ll see that getting your old shred stick back up and running won’t be that difficult after all!
You may read also


