
How to Fix Broken Self Propelled Lawn Mower Cable
The self-propel feature of a lawnmower is activated by a lever found on top of the handlebar. This helps make it easier for you to push your lawnmower around without using as much energy or strength. However, you may notice that the self-propel function isn’t working anymore, which can be really frustrating!
Fortunately, there are many things you can do to fix this problem, and we’re going to explore them in detail! In this blog post, we will cover how to fix a broken self-propelled lawn mower cable so that your self-propel function is back up and running in no time!

Common Mistakes When Fixing Your Own Self-Propelled Lawn Mower Lever:
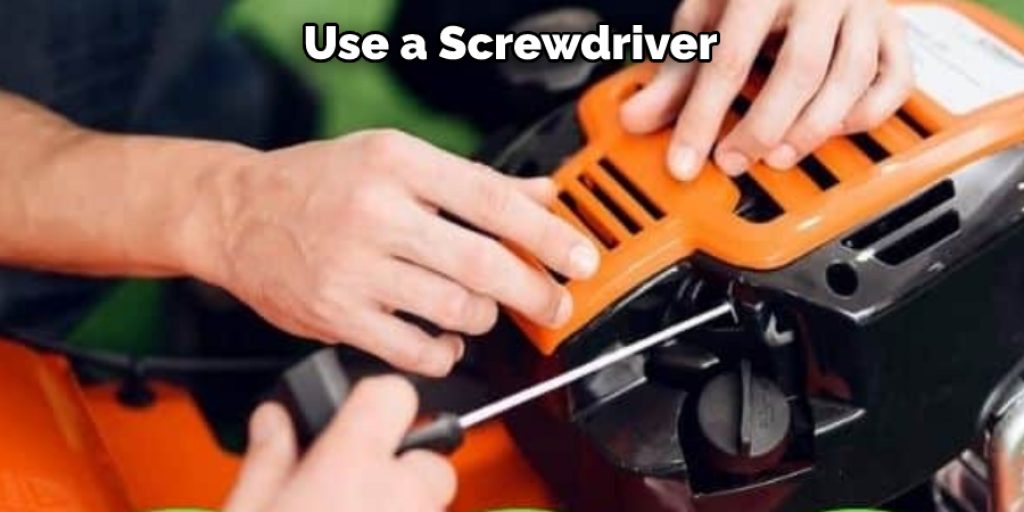
Most people will try to use a screwdriver or any other sharp object to pry the lever back into place. However, this is not the way it works! Using a flathead screwdriver or any other tool with an edge could damage your lawnmower by scratching its handlebars. So, when you’re trying to fix your self-propelled lawnmower, make sure that the lever returns to its original position.
That’s why it’s recommended that you use a pair of needle-nose pliers for this activity. Also, whenever you’re trying to fix a self-propelled lawnmower, ensure the blade is disengaged, or else it could cause damage to your machine.
This occurs because a blade safety release mechanism is located under your lawnmower’s deck. This ensures that no one can accidentally cut their hands while using the lawnmower.
10 Methods on How to Fix Broken Self-Propelled Lawn Mower Cable:
Here are ten methods on how to fix broken self-propelled lawn mower cable:
1. Replace the Cable
This is one of the most common fixes for a broken self-propel function. However, it can be difficult if you don’t have any experience with lawn mower repair, so make sure that you consider this before proceeding.
To do this, first, check how your self-propel function is activated. For example, if you have a lever on the top of the handlebar, it’s possible that one of the ends came loose or broke off.
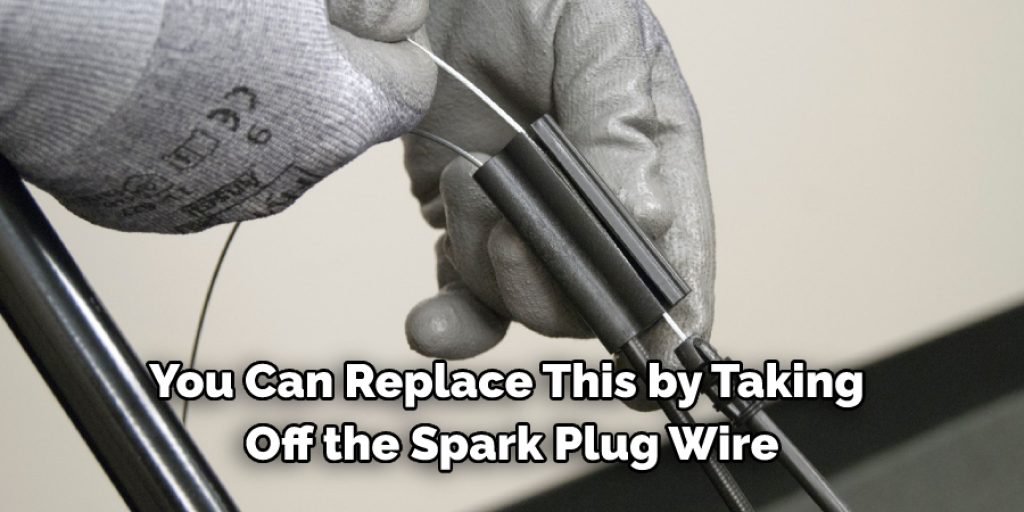
You can replace this by taking off the spark plug wire and then removing all parts to get to where your cable is connected. Once you’ve done this, detach it from where it is connected. Then, after removing your old cable, connect a new one by placing the metal end into the gap and tying a knot around the screw to ensure it’s tight!
2. Replace Wires
If replacing the cable doesn’t work, try checking if there are any loose wires. This is really easy to do since you must find where the wire that controls the self-propel feature is connected.
You can usually find it near or under your lawn mower’s engine. If there are any loose wires, ensure they are all securely attached to their corresponding parts. If they aren’t, use insulated wire to replace them.
3. Move Lever Downward
If there are no loose or broken parts, try moving the lever downward. This may be a bit difficult because it’s usually quite stiff. However, if you’re persistent enough, you should be able to move it downwards and thus activate your self-propel function again!
4. New Pivot Point
If your pivot point is no longer working, resulting in the self-propel function not activating, you can fix it by replacing the pivot point. You can usually find this part under or near your lawn mower’s engine.
Once again, detach it from where it is connected by unscrewing the screw that holds it down. After removing this part, you can replace your old pivot point by attaching a new one. Again, make sure that the screws are fastened tightly!
5. Reattach Pivot Point to Mounting Bracket
If replacing the pivot point doesn’t fix your self-propel function, try reattaching it to its mounting bracket. For example, you should be able to find the mounting bracket attached to your lawn mower’s handle. If you detach it and find that there isn’t any screw or other part holding it down, use some extra pieces of metal to secure it properly again.
6. Check if Screws are Fastened Properly
Like most other parts attached to a lawnmower, screws are important for keeping your self-propel function in place. Sometimes the problem is caused by a screw or other part not being fastened securely enough. If this is the case, check if any of these parts have come loose and reattach them properly again!
7. Remove the Cable Transmission
If you’ve tried all of the above and none of them have fixed your self-propel function, this may be a problem with your cable transmission. To check if this is the problem, detach your lawnmower from its pull cord so that the engine stops running.
Now start up your lawnmower again, and if the engine starts running but your lawnmower doesn’t move, it’s likely this is a problem with your cable transmission.
8. Check for Broken Parts
If you’ve tried everything and your self-propel function still doesn’t work, there is likely a broken part. To check this, detach the cable from where it is connected under or near your lawn mower’s engine. After doing that, take off all parts to see the inner parts and check if there is a broken part.
9. Remove the Cable Assembly
If you’ve tried all of the above and your self-propel function still doesn’t work, there may be something wrong with your cable assembly. To check this, detach both cables from where they are connected under or near your lawn mower’s engine.
10. Check if the Needle or Plate is Bent
If you’ve tried all of the above and nothing has worked, it’s definitely possible that your lawn mower’s needle assembly is bent. To check if this is the problem, remove the cable assembly by unscrewing any screws holding it in place.
If there isn’t any, be sure to detach it carefully, so you don’t damage anything. After doing that, look at the needle assembly inside your lawn mower’s engine and see if it is bent or otherwise damaged.
You Can Check It Out to Fix Surging Lawn Mower
Different Ways You Can Clean and Lubricate Your Propelled Lawn Mower Cable:
When you know how to fix a broken self-propelled lawn mower cable, then you also want clean and lubricate your propelled lawn mower cable. There are many different ways to clean and lubricate your propelled lawn mower cable. Some of the steps you may need to take are below:
1. Check the oil level in your lawnmower –
You’ll need to ensure that the oil is flowing properly. Change the oil if necessary.
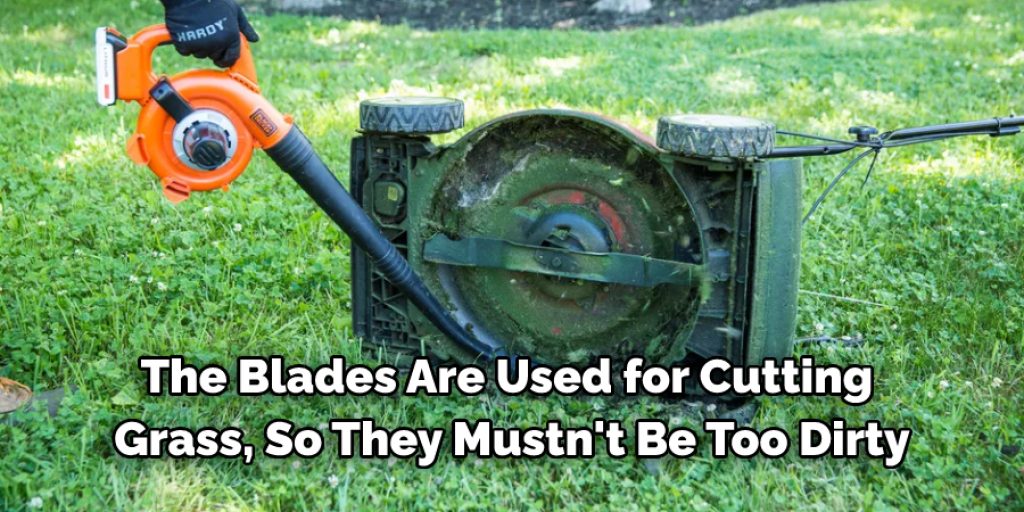
2. Take care of any dirt on the lawnmower blades –
The blades are used for cutting grass, so they mustn’t be too dirty. However, dirt can cause them to get stuck together or jammed up at intervals, which means that your self-propel function won’t work properly. So be sure to clean them with a damp cloth periodically!
3. Find out why your cable is broken –
If you have a broken cable, your self-propel function won’t work at all! You’ll need to get it back on track if you want to continue using the self-propel feature.
4. Get rid of all material that’s stuck in between gears –
Any pieces of grass or other material stuck in between the gears can cause the gears to be skewed and jam up. Take some tweezers and a small screwdriver to get rid of anything stuck there.
5. Fix your cable –
If your cable is broken, you’ll have to replace it with a new one specifically designed for lawnmowers. Again, make sure you purchase from a reputable dealer to know its high quality.
6. Lubricate the cable wire casing –
Be sure to lubricate all of the wires that come into contact with the cable wire casing. This will prevent a lot of friction that can cause your self-propel function to stop working altogether.
7. Add oil to the engine –
It’s important to keep your engine running smoothly. If you’re unsure how much oil is in there, check with the dealer or manual that came with your lawnmower.
You Can Check It Out to Store a Lawn Mower in Garage
How Do You Fix a Throttle Cable on a Lawn Mower?
When the throttle cable in a lawnmower breaks, it can be very frustrating. However, if you know how to fix broken self-propelled lawn mower cables, you will have no trouble running your mower again.
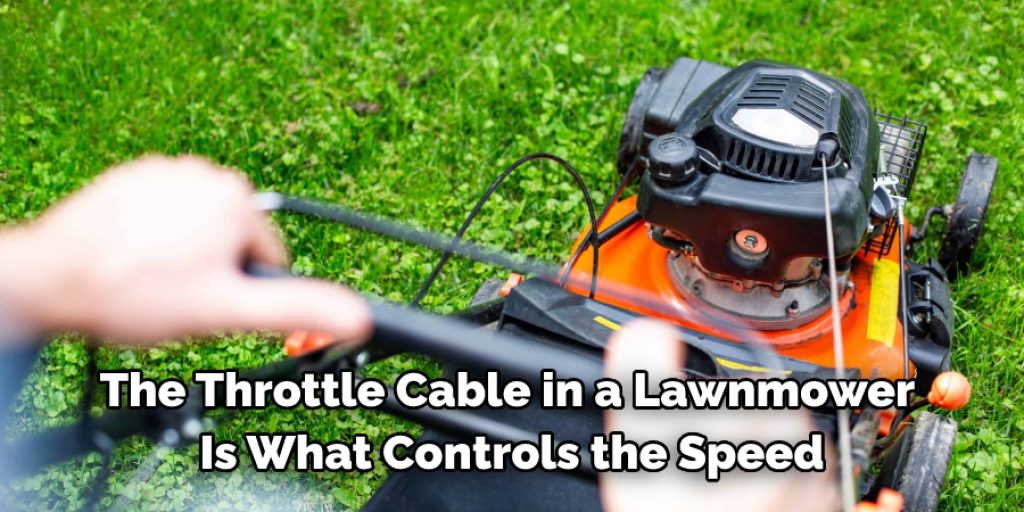
The throttle cable in a lawnmower controls the speed at which the blades rotate. This needs to work correctly because you don’t want it spinning too fast. Otherwise, your motor could get burned out.
The first thing to do is inspect the cable where it attaches to the throttle lever, which should be located near the top of your mower handle. If that part is good, you must remove the cowling where your motor and blades are housed.
Once you have done that, check the cable and look for any damage that may have occurred. If the cable is broken, then you need to remove it from your lawnmower. If you want to know more, read this blog on fixing broken self-propelled lawn mower cable.
How Does the Lawn Mower Self-propel System Work?
When you start the engine, it engages with the belt, creating tension that causes the wheel to turn. By pushing down on the handlebar and releasing the belt, you can control its speed and direction. This allows you to direct your mower through different paths within your lawn or garden.
The self-propel system also ensures that you have better control over the operation of your mower. It helps in maintaining consistent speed and reduces wear and tear on parts due to uneven and hard surfaces.
The system also provides extra power when needed when going up steep inclines or slopes. All these factors combine to offer a convenient way to mow your lawn efficiently, making it a great choice for those who don’t want to spend hours doing manual labor.
Conclusion:
If you want to know how to fix a broken self-propelled lawn mower cable, you should first ensure that it’s not just a loose wire. If you notice any fraying or signs of wear and tear, this will be something worth looking into because this could affect how well the cable can move up and down, which would cause a problem with the self-propel function.
You’ll also want to check if any objects are stuck between both parts of the handlebar where they meet. Finally, note whether or not one side has more tension than another when pulling back on either side of the handlebar.
We hope this blog post has been helpful in giving you some insights about fixing broken self-propelled lawnmower cable! Also, if your answer is not listed above, please leave it in the comments below. We love to hear from our readers!


