
How to Fix Cloudy Water Based Polyurethane
Today, we’re going to show you how to fix cloudy water based polyurethane with the help of a few household items that most people have lying around. We’ll start by showing you what causes it and why it’s important, then go through the steps on how to get rid of it for good!
What is Polyurethane?
Polyurethane paint is a type of paint that is typically found in satin and eggshell finishes. It protects surfaces from dirt, stains, mold, and mildew by sealing them off so that those things can’t penetrate through to the underlying layer.
This means you can keep your house looking clean for years without having to put up with all the time-consuming maintenance tasks associated with painting, because water-based polyurethane doesn’t peel as oil-based paints do!
Types of Polyurethane
1) Water-based polyurethane:
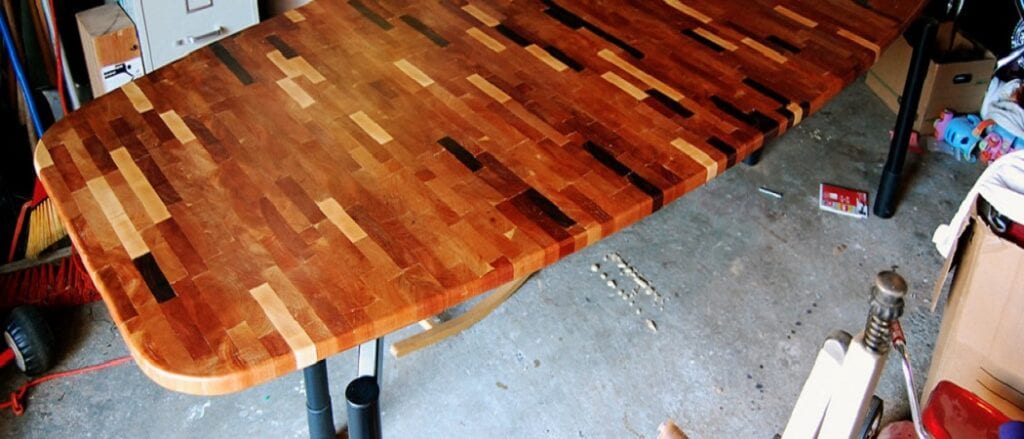
Water-based polyurethane is best used on wood surfaces. It may not be as durable as oil-based poly, but it’s much easier to clean and dries faster – so you can have your furniture done sooner! If water-based poly starts to turn cloudy or yellowish in color (usually because of dust particles), here are the steps to revive it:
To clean surfaces and apply a new coat of sealant, start by using elbow grease with soap and clean water. If that doesn’t work, try mineral spirits as a last resort. Avoid wiping surfaces with lacquer thinner, as that will remove the protective finish entirely. When applying any urethane product, always use sanding blocks and apply the sealant sparingly.
2) Oil-Based Polyurethane:
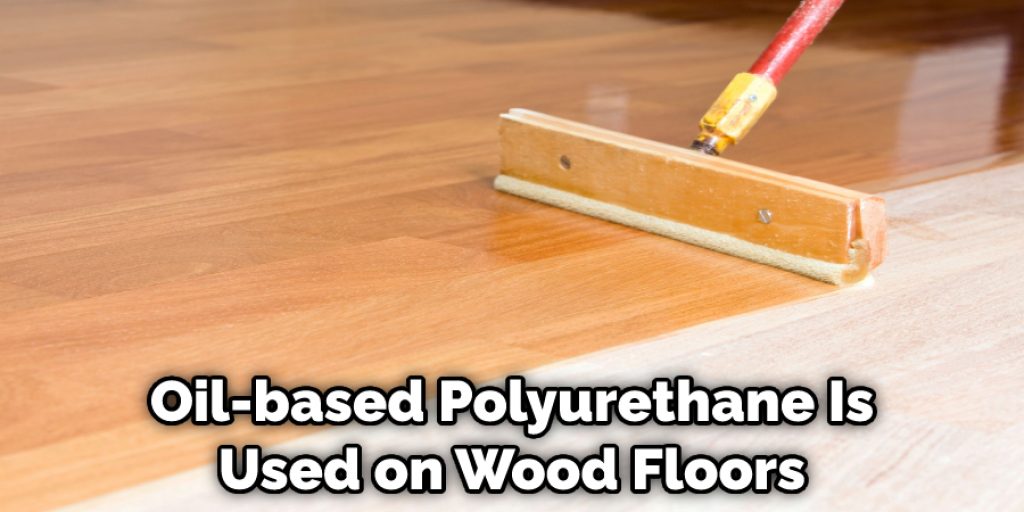
Oil-based polyurethane is the original finish that was used on wood floors. It’s durable and easy to apply, but it does have some drawbacks. First, oil-based finishes take a long time to dry, about 24 hours in most cases. Secondly, they’re much more difficult to clean up than water-based products because you’ll need mineral spirits or paint thinner (or lacquer thinner) for cleanup.
3) Lacquer-Based Polyurethane:
While lacquer is the same type of finish as oil-based, it’s typically thinner in consistency and dries much faster (usually within one hour). Lacquers are more difficult to clean up than water-based products because you’ll need mineral spirits or paint thinner.
These solvents are so potent that if misused, they can literally remove the protective urethane layer from your surface! Furthermore, this type of sealant emits harmful fumes while drying, so adequate ventilation is required when applying it indoors.
Reasons Why Water-Based Polyurethane is Cloudy
Your water-based polyurethane is cloudy because there is too much hardener in the solution, which makes it impossible for light waves to pass through and be absorbed by thinner molecules in the liquid, causing them not to be seen as clearly when applied. This can lead to several problems, including:
- A worse overall finish quality.
- Difficulty with sanding because the cloudy areas are more abrasive than clear areas.
- Uneven drying can lead to cracking or bubbling if allowed to dry too long before being recoated.
- Paint that doesn’t dry because it’s not curing properly
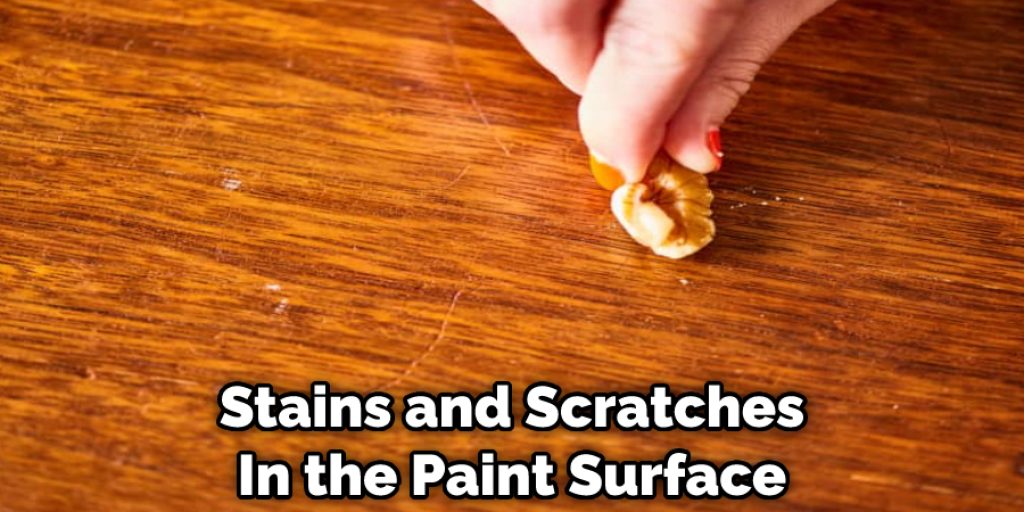
- Stains and scratches in the paint surface due to a lack of glossiness
- Dull appearance after drying leads to more work, such as sanding or reapplying multiple coats.
Things You’ll Need
- A bucket (or large glass)
- Water
- A clean cloth
- Polyurethane
- Rubbing alcohol or denatured alcohol
- ¼ teaspoon oxalic acid crystals per gallon of water
- White vinegar
Instructions: How To Fix Cloudy Water Based Polyurethane
To fix this problem, you will need a few household items that most people should have lying around already! In order from the first thing needed to last, we’ll start by using these steps and walk you through them all in detail below:
Step One: Fill Mason Jar With Warm Tap Water
For this step, fill your mason jar halfway with water, then add a chemical cleaner to the water. To help make sure it’s mixed well, you can use a spoon to stir up the mixture and then pour it into another jar or container with more clean water.
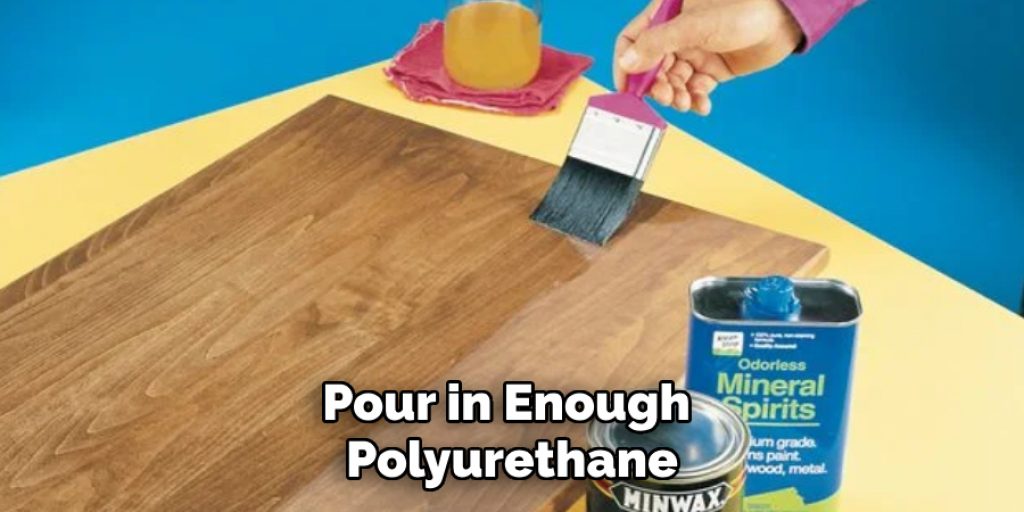
Step Two: Add Polyurethane
Pour in enough polyurethane so that about an inch of liquid is left at the top of your mason jar.
Step Three: Shake Jar Until Mixture Is Well-Mixed
For this mixture to work properly, you’ll need to shake the mixture together thoroughly before using it! This will ensure that all parts are fully coated in a chemical cleaner if needed, which could lead to cloudy-looking surfaces on your project down the line!
Step Four: Apply The Solution
Once you have mixed the solution well, use a paintbrush or similar tool to apply it to any areas on your project that are clouding up. Be sure not to miss spots!
Step Five: Wait For Solution To Dry
It could take up to 24 hours for this mixture of polyurethane and water-based cleaner to dry completely before using again. You’ll know when it’s time because the surface will feel slightly tacky at first, but as you continue waiting, any residue leftover should disappear so that your work is shiny and new once more!
Step Six: Add Extra Protection
The solution also contains a few ingredients that will help to further protect your project from any future water-based spills or other accidents!
Step Eight: Enjoy Your Newly Protected Project
If you have been using the original steps but are still noticing spots, it could be because of mineral deposits leftover on the surface. These can happen if tap water is used in distilled, which should only be done by professionals for things like this.
Tips To Prevent Cloudy Water-Based Polyurethane
- Go for a quality water-based polyurethane product. Try to avoid the cheapest products you see at hardware stores as they may not have high enough “tack” (adhesion).
- When applying, use slow, even strokes with light pressure and work in small areas of about two square feet at a time. The more coats applied, the less likely it is that any bubbles will develop during application or curing.
- Use an inexpensive paintbrush like one from Walmart because brushes made specifically for water-based primer are expensive and can be difficult to clean off properly when finished painting.
- Keep your surface cool by using indoor projects on warm days, painting in the evening hours, or painting outside where there’s ample breeze.
- To avoid brush strokes or leave a distressed look, use an inexpensive sponge roller with the same water-based primer product and apply in long smooth strokes for even coverage.
- Allow each coat of paint to dry thoroughly before applying additional coats – usually, at least 24 hours between coats is required.
Check it out to learn to clean the brush after polyurethane.
Frequently Asked Questions
How To Fix Cloudy Water-Based Polyurethane
How Long Will It Take Before Cloudy Water Based Polyurethane Goes Away?
It actually depends on the type of surface you are trying to fix. It could take anywhere from a few hours up to several days before the problem clears up, depending on what surfaces were applied, how thickly they have been applied, and whether or not additional coats were added after noticing that the first coat was starting to dry.
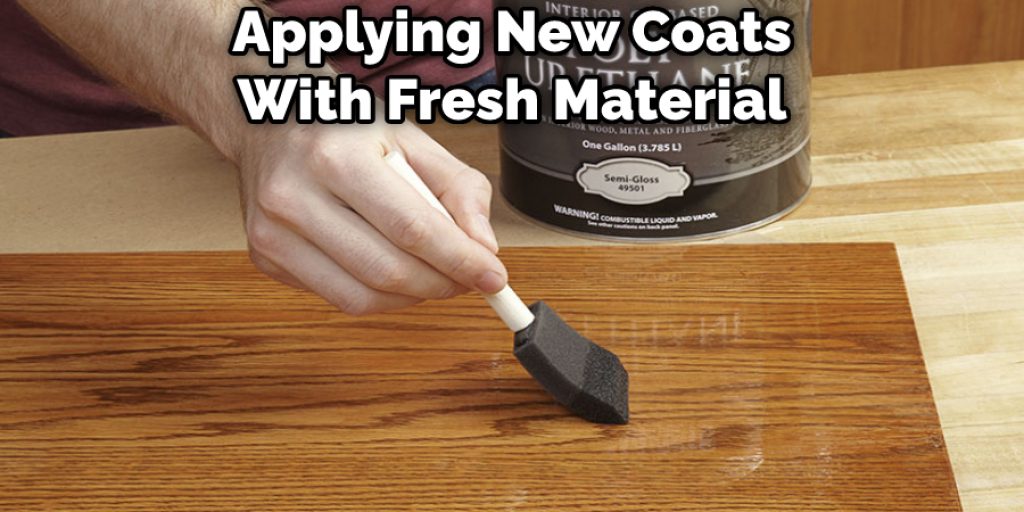
In some cases, if heavy amounts of paint had been piled onto one area, then it can sometimes stay visible even when more layers get put over the top as well. The only solution, in this case, is sanding down all of these areas until a layer called primer has been reached and then applying new coats with fresh material. This should result in better coverage and less chance of the original color peeking through.
Can Water-based Polyurethane Get Wet?
An occasional problem with water-based polyurethanes is their tendency to become cloudy when they get wet. This can be a particular concern for projects with frequent contact with water, such as kitchen cabinets or tables and chairs in an outdoor setting. The good news is that there are ways of solving this problem, so it doesn’t come up at all!
The first thing you’ll want to do if your project has just gotten wet and the finish became foggy or hazy is wiping off any excess moisture. Take paper towels, sponges, or soft cloths and gently blot away from the surface until only a light haze remains on the top of the finish.
Next, you’ll want to apply a thin layer of water-based polyurethane over the entire surface with a brush or rag. This will seal in any remaining moisture and prevent it from becoming cloudy when exposed to humidity or water. To keep your project looking great for years, be sure to use high-quality materials like Zinsser brand tung oil finishes that are specially formulated for wood applications such as cabinets, furniture, and floors!
How To Prevent Future Clouding
Some people have had problems with the cloudy appearance of their polyurethane. This is often attributable to many things, including too much moisture in the air during the application or curing process, which can cause condensation on the surface and later lead to cloudiness as it evaporates and leaves behind an oily residue obscures light passing through it.
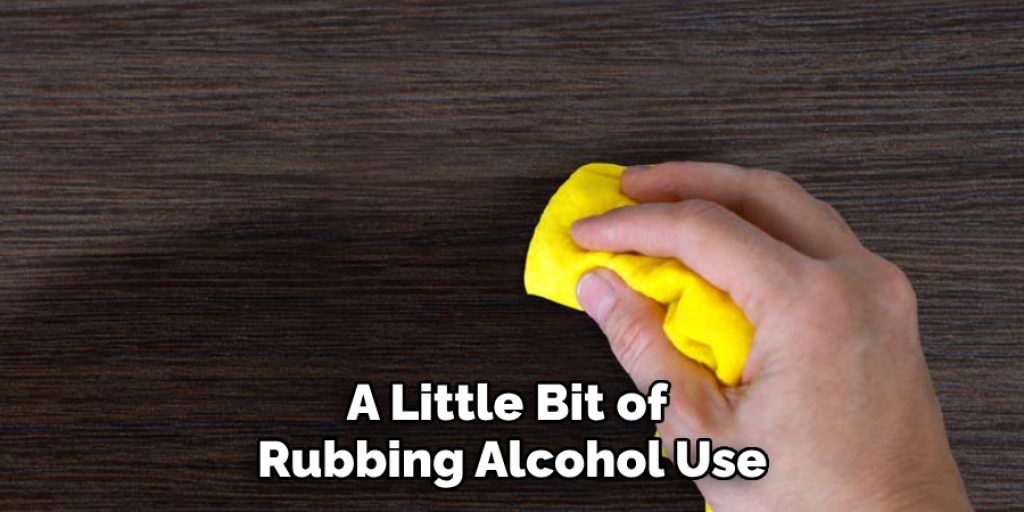
If you want to prevent clouding in the future, a simple solution will do wonders. Mix up some clear water with a little bit of rubbing alcohol and use it for your last two steps instead! You might find this step helpful if you are working on older projects as well, where any leftover solvents could react poorly with fresh polyurethane.
Conclusion
If you want to have a water-based polyurethane that is long-lasting and stays clear, follow the steps mentioned in our blog post on how to fix cloudy water based polyurethane. The best way to fix this problem is by wiping down the surfaces thoroughly with mineral spirits (or another solvent) before applying additional coats of polyurethane.
But make sure you use soapy water for any areas where dirt may still be present after cleaning! We hope this article has helped you understand the steps to fix cloudy water based polyurethane. If you have any questions, don’t hesitate to contact us!


