How to Fix Crack Where Wall Meets Ceiling
Cracks in walls can be a nuisance that not only affects the appearance of your home but also poses potential structural issues. While some cracks are harmless, others may indicate deeper issues within the foundation or structure of your home. One area that is particularly prone to cracks is where the wall meets the ceiling.
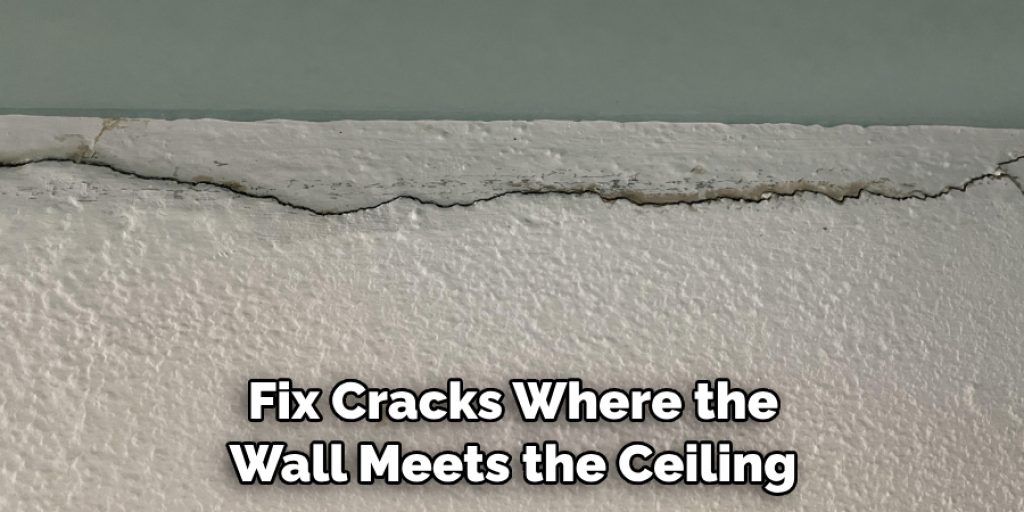
Cracks where the wall meets the ceiling are a common occurrence in houses and buildings. These cracks can be caused by various factors such as settling of the foundation, temperature changes, or simply aging of the building materials.
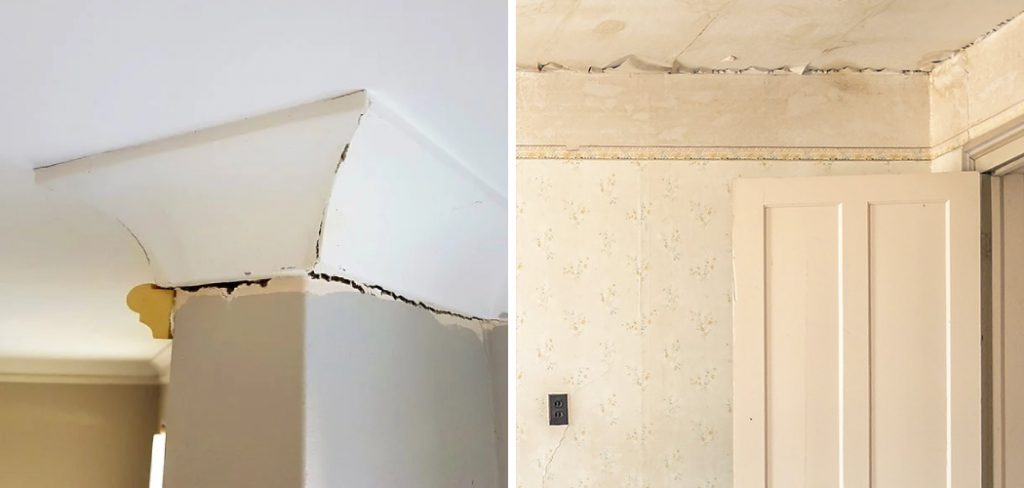
While they may seem like a minor issue, if left untreated these cracks can lead to bigger problems such as water leaks or structural damage. You can find step-by-step instructions on how to fix crack where wall meets ceiling in this blog article.
Step-by-step Instructions for How to Fix Crack Where Wall Meets Ceiling
Step 1: Inspect the Crack
The first step in fixing a crack where the wall meets the ceiling is to carefully inspect it. This will help you determine the cause of the crack and how extensive it is. If the crack is only on the surface, it can be easily fixed with some joint compound. However, if the crack goes deeper into the wall or ceiling, more extensive repairs may be needed.
Step 2: Prepare the Area
Before starting any repairs, it is important to prepare the area. This includes removing any loose debris and cleaning the crack with a wire brush to ensure proper adhesion of the repair materials. Using joint compound, fill in the crack completely ensuring that it is level with the surrounding surface. You can use a putty knife to smooth out the surface and remove any excess compound.
Step 3: Let it Dry
The joint compound needs time to dry before moving on to the next step. Follow the manufacturer’s instructions for drying times, but generally, it takes at least 24 hours for the compound to completely dry. Once the joint compound is dry, use right grit sandpaper to smooth out the surface and make it even with the surrounding area. This will help create a seamless repair.
Step 4: Apply Primer
Before painting over the repaired area, apply a coat of primer to ensure better adhesion of the paint. Let it dry according to manufacturer’s instructions. Now it’s time to paint! Use the same color and type of paint as the surrounding area. Apply at least two coats for a smooth finish.
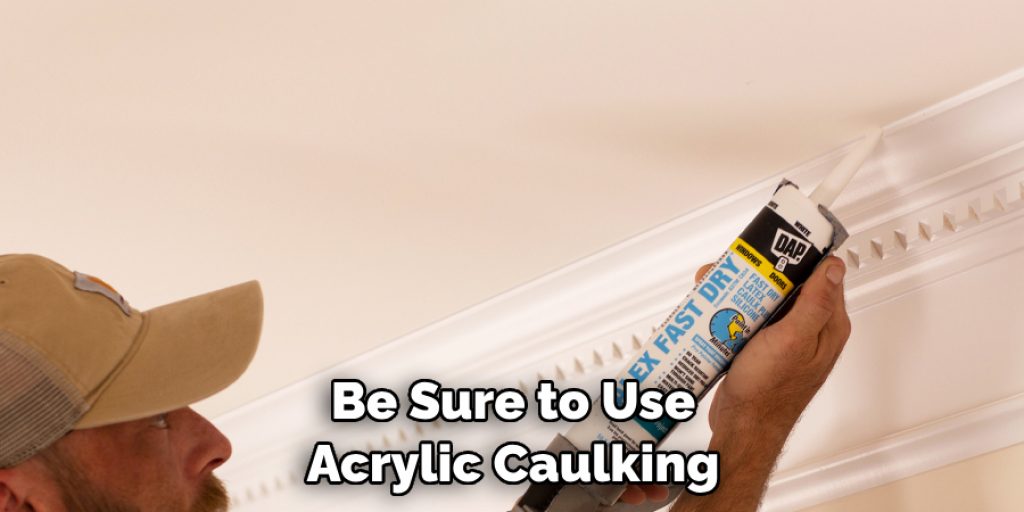
Step 5: Caulk if Necessary
If there are any remaining gaps or cracks, you can fill them with caulk. Be sure to use acrylic caulking that can be painted over. If you used caulk in the previous step, sand down the surface and apply another coat of paint to blend it in with the surrounding area.
Step 6: Monitor for Further Issues
After completing the repair, be sure to monitor the area for any further cracks or issues. If more cracks appear, it may be a sign of a bigger underlying problem that needs to be addressed.
With these step-by-step instructions, you can easily repair small cracks and prevent them from turning into bigger problems. Regularly inspecting your walls and ceilings for cracks can save you time and money in the long run. Remember to always follow safety precautions and consult a professional if needed.
Safety Precautions for How to Fix Crack Where Wall Meets Ceiling
- Wear protective gear such as gloves, safety glasses, and a dust mask when working with joint compound or sanding.
- Use a sturdy ladder when inspecting cracks near the ceiling. Make sure it is properly secured and on a level surface.
- Be cautious when handling tools and materials to avoid injury.
- If dealing with electrical wires near the crack, turn off the power to that area before starting any repairs.
- If the crack seems too extensive or difficult to repair on your own, consider hiring a professional for safety and quality reasons.
- Keep children and pets away from the work area to avoid accidents.
- Read and follow all safety instructions on product labels carefully.
In addition to these safety precautions, it is important to have a basic understanding of how your house or building was constructed and the potential causes of cracks. This can help you determine the best course of action for repairing and preventing future cracks where the wall meets the ceiling.
What Causes Cracks Where the Wall Meets the Ceiling?
As mentioned before, there are various factors that can cause cracks where the wall meets the ceiling. Some of the most common causes include:
- Temperature Changes: As temperatures fluctuate, building materials expand and contract, leading to cracks.
- Foundation Settling: If your house or building is not properly built on a stable foundation, it can lead to settling and movement, causing cracks.
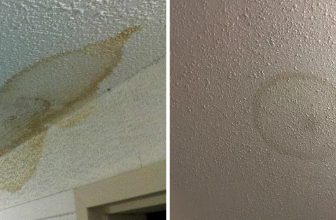
- Water Damage: Leaks or moisture can weaken the structure of walls and ceilings, making them more prone to cracking.
- Age of Building Materials: Over time, building materials can deteriorate and become less stable, leading to cracks.
- Poor Construction: Improper installation or use of low-quality materials during construction can result in cracks appearing later on.
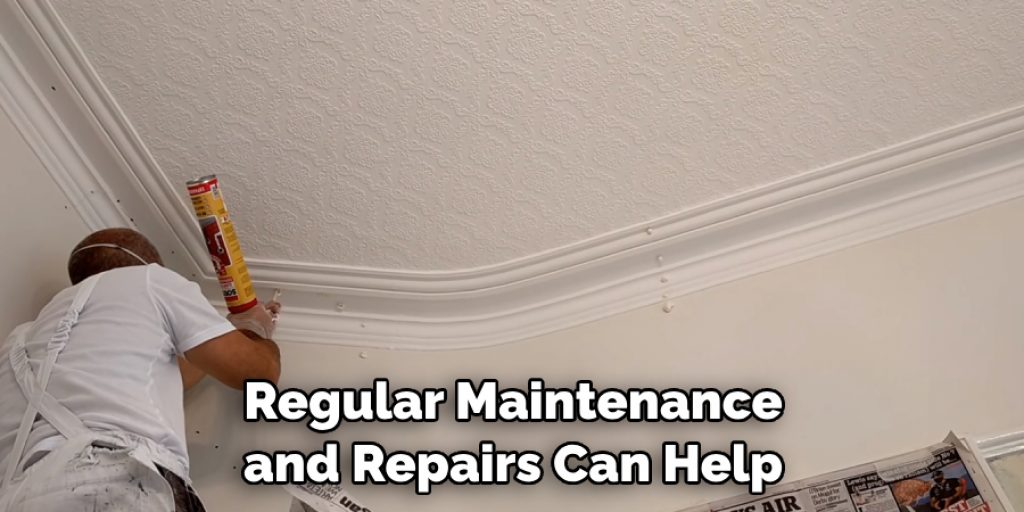
Knowing the possible causes of cracks can help you address any underlying issues and prevent future cracks. Regular maintenance and repairs can help prolong the lifespan of your building materials and prevent more costly problems down the line.
Can You Fix the Crack Yourself or Do You Need to Hire a Professional?
If you notice a crack where your wall meets the ceiling, you may be wondering whether you can fix it yourself or if you need to hire a professional. The answer depends on several factors, such as the severity of the crack and your level of experience with home repairs. Firstly, it’s important to assess the size and depth of the crack.
If it is small and shallow, you may be able to fix it yourself using simple tools and materials. However, if the crack is large or extends deep into the wall, it may require more specialized equipment and techniques that are best left to a professional.
Another factor to consider is your level of experience and skill with home repairs. If you have little to no experience with fixing walls or ceilings, it may be best to hire a professional. Attempting to fix the crack yourself without proper knowledge and skills could result in further damage to your wall or ceiling.
Additionally, fixing a crack where the wall meets the ceiling can be a time-consuming and labor-intensive task. If you have a busy schedule or limited availability, hiring a professional may be more convenient for you.
Preventing Ways for Cracking Where the Wall Meets the Ceiling
Cracks in the wall where it meets the ceiling can be a common problem for homeowners. They can occur due to shifting foundations, moisture issues, or simply as a result of natural wear and tear over time. Regardless of the cause, these cracks are not only unsightly but can also indicate potential structural damage. In this guide, we will discuss five preventive measures you can take to fix cracks where the wall meets the ceiling.
1. Monitor and Repair Moisture Issues
Moisture is one of the leading causes of cracks in walls and ceilings. It can occur from leaks in plumbing, poor ventilation, or even from excess humidity in the air. If left unaddressed, moisture can weaken the integrity of your walls and lead to cracking.
To prevent this, regularly inspect your home for any signs of water damage and address the issue immediately if discovered. This may involve repairing leaks, installing proper ventilation or dehumidifiers, as well as waterproofing your walls.
2. Ensure Proper Foundation Maintenance
Cracks in the wall where it meets the ceiling can also be a sign of underlying issues with your home’s foundation. If the foundation is not properly maintained, it can shift and cause cracks to form. To prevent this, regularly inspect your foundation for any signs of damage or shifting and address them promptly. This may involve hiring a professional contractor to repair any issues or make necessary adjustments.
3. Use Flexible Caulking
Another preventive measure for fixing cracks where the wall meets the ceiling is using flexible caulking. This type of caulk is specifically designed to move and expand with your walls, preventing cracks from forming. It can be applied along the joint where the wall meets the ceiling, filling in any gaps or cracks that may have formed. Make sure to choose a high-quality caulk that is paintable for a seamless finish.
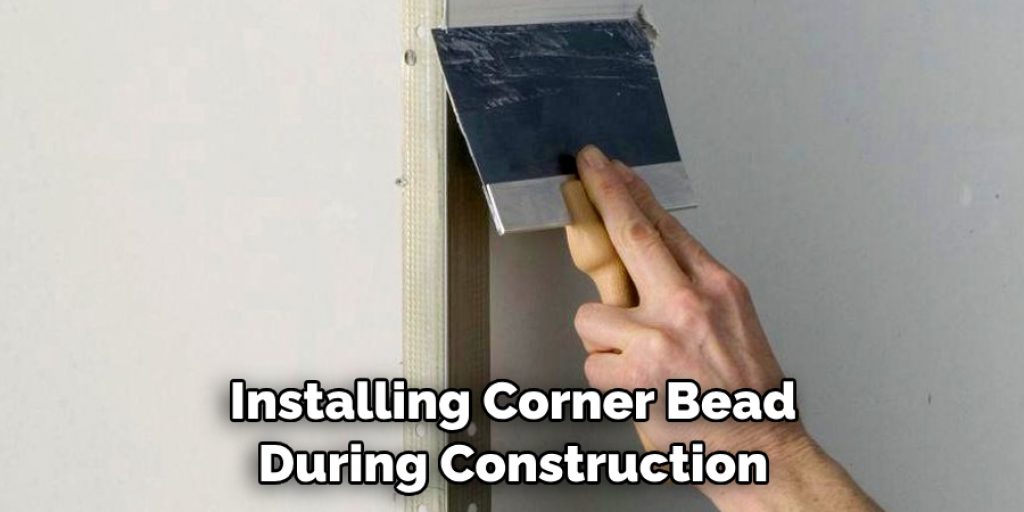
4. Install Corner Bead
Corner bead is a metal or plastic strip that is used to reinforce the corners where walls meet the ceiling. It can prevent cracks from forming in these areas by providing additional support and stability. Installing corner bead during construction or renovation can help prevent future cracking, but it can also be added after the fact to fix existing cracks.
5. Regularly Paint Your Walls
Painting your walls not only gives your home a fresh look but can also help prevent cracking. As walls age, the paint can become brittle and cracked, causing cracks to form in the underlying plaster or drywall. Regularly painting your walls with a high-quality paint can help maintain their flexibility and prevent this type of cracking.
Are There Any Common Mistakes to Avoid When Repairing a Crack Where the Wall Meets the Ceiling?
When it comes to fixing a crack where the wall meets the ceiling, there are certain mistakes that homeowners and DIY enthusiasts should avoid. These mistakes can not only make the repair process more difficult, but they can also result in a less-than-perfect outcome. One common mistake is not properly preparing the surface before attempting to fix the crack.
This includes removing any loose debris or paint, and cleaning the area thoroughly. If this step is skipped, the repair material may not adhere properly and the crack may reappear.
Another mistake to avoid is using a low-quality or incorrect type of repair material. It’s important to choose a product specifically designed for repairing cracks in walls and ceilings. This will ensure that it has the proper strength and flexibility to withstand movement and prevent the crack from coming back.
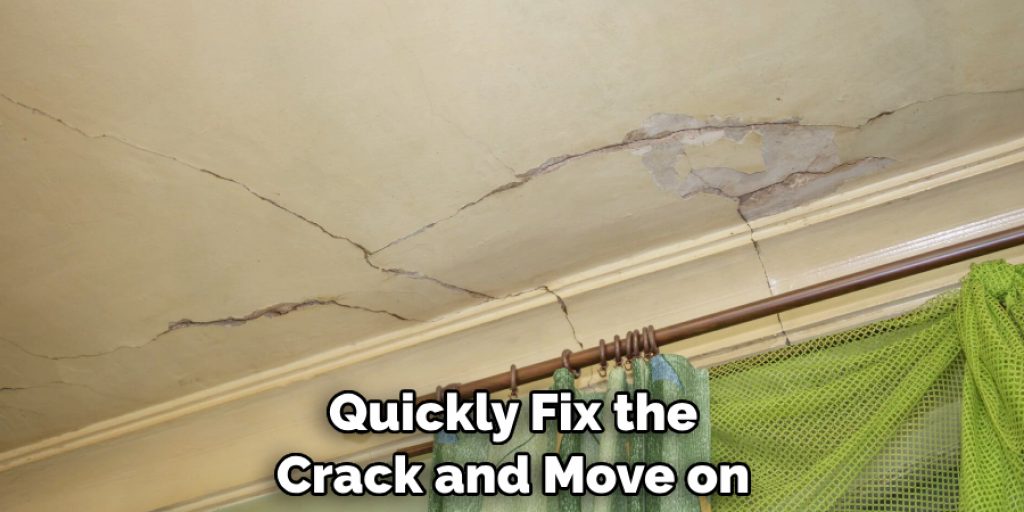
One last mistake to avoid is rushing through the repair process. While it may be tempting to quickly fix the crack and move on, taking your time and allowing each layer of repair material to fully dry before adding another will result in a stronger and more durable repair.
Conclusion
In conclusion, fixing cracks where walls meet the ceiling can be a challenging and time-consuming task. However, it is essential to address these cracks promptly to prevent further damage and potential safety hazards.
One of the main disadvantages of fixing cracks where walls meet the ceiling is the level of difficulty involved. It requires skill and knowledge to properly repair these cracks, especially if they are significant or recurring. Inexperienced individuals may struggle to fix cracks properly, leading to a less-than-ideal outcome or even causing more damage.
I hope this article has been beneficial for learning how to fix crack where wall meets ceiling. Make Sure the precautionary measures are followed chronologically.
Angela Ervin
Angela is the executive editor of DIY quickly. She began her career as an interior designer before applying her strategic and creative passion to lifestyle and home. She has close to 15 years of experience in creative writing and online content strategy for housekeeping, home decorations as well as other niche efforts. She loves her job and has the privilege of working with an extraordinary team. She lives with her husband, two sons, and daughter in Petersburg. When she's not busy working she spent time with her family.