
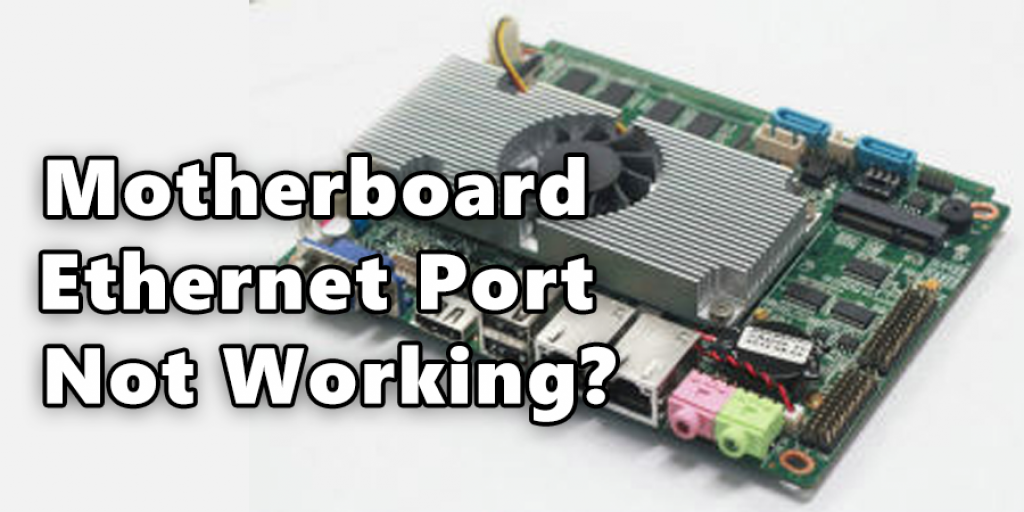
How to Fix Ethernet Port on Motherboard
This article will guide you through the process of troubleshooting and knowing how to fix ethernet port on motherboard. It is important to note that this type of repair requires some knowledge about computers in general and specific information about the motherboard for your computer. First, you need to determine if the problem is with the ethernet port or with the cable. If you are using a laptop, you can unplug the ethernet cable from the port and plug it into another computer.
Required Tools:
- Phillips Head Screwdriver
- Motherboard Test Kit (Jumper)
- Digital Multimeter
- Scotch Tape
- Flux
- Desoldering Pump (Desolder Wick)
- Soldering Iron
Instructions – How to Fix Ethernet Port on Motherboard
Step One: Check the Input Voltage and Power Supply Requirements
You need to make sure that your motherboard is receiving power by plugging in a monitor to the video port on the back of it. If you see a screen, then power is getting through to your machine. Now you need to make sure that the input voltage is correct for your motherboard. Check this by looking at the sticker on top of it or using a digital multimeter. If you have found an issue, then move onto step two. If not proceed to step three.
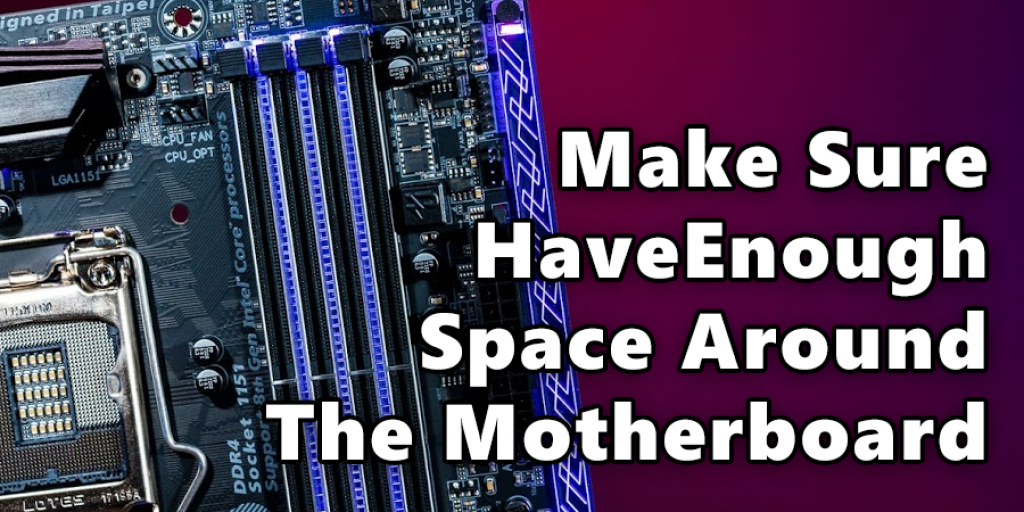
Step Two: Make Sure You Have Enough Space Around The Motherboard
Check around the back of your motherboard to ensure that there is enough space to work on it. If you can, then proceed onto the next step; if not, move into a different position that gives you more room around the board. Unscrew the four screws that are holding down your motherboard.
Step Three: Check How The Motherboard Is Connected To Your Case
Make sure that all connections from your power supply and other cables plug incorrectly. Ensure this matches what is stated on either the sticker on top of your case or elsewhere when connecting things such as wires for a better connection. Once satisfied, turn off the computer and unplug the power cord. This could save time troubleshooting issues later down the line and prevent any potential damage or shorting out components by having them plugged in incorrectly.
Step Four: Disconnect The Case Cables From Your Motherboard
Remove any cables or wires that are connected to the back of the case. This includes PCI/PCIe cards, SATA connectors, and IDE drives if they’re plugged into your motherboard. Also, remove any floppy drive cables for safe measure, and don’t forget about power connections too to be extra careful with safety as this can lead to a lot of issues down the line when everything isn’t hooked up correctly.
Step Five: Remove Any Cards That Are Connected To The Front Of Your Case
If there’s anything on your front panels, such as USB ports, CD-ROMs, or even things like fan controllers or power switches, it’s time to remove them now. It might sound like a lot of work, but removing these items can be the difference between being able to use your system again and not getting any access at all. If you’re unsure about removing something, don’t—just leave it on and keep going. You can always go back to this step later and check a forum or search online for help with removing that particular item.
Step Six: Remove All Peripherals
This includes hard drives, floppy disks, or anything else you have plugged into the backside of your computer case so that they’re also out from in front as well for good measure. If cables are running up along the side of your cabinet, then consider unplugging those too, to make sure nothing is going to accidentally touch something while you’re working on this project so far.
Step Seven: Find The Screws Holding Your Chassis Together
This may sound like a lot, but it will ensure that your motherboard doesn’t get damaged by any outside influences during repairing this issue. This will also let you take off all of the metal plates from around the chassis so that you can see everything underneath, including where these ports are located on your motherboard. Now that your computer is in a safe place and all of the metal plates are off, you can start to look for anything that may be wrong with the port itself.
Step Eight: Unscrew The Port Failing To Work Properly
Once more screws have been removed, and you’ve had time to inspect what’s beneath, then find out which cables were responsible for providing power or data transmission over an Ethernet connection in the first place and replace them with new ones if they’re still available. Otherwise, consider using some electrical tape wrapped around the wires to provide a little more stability for your Ethernet connection.
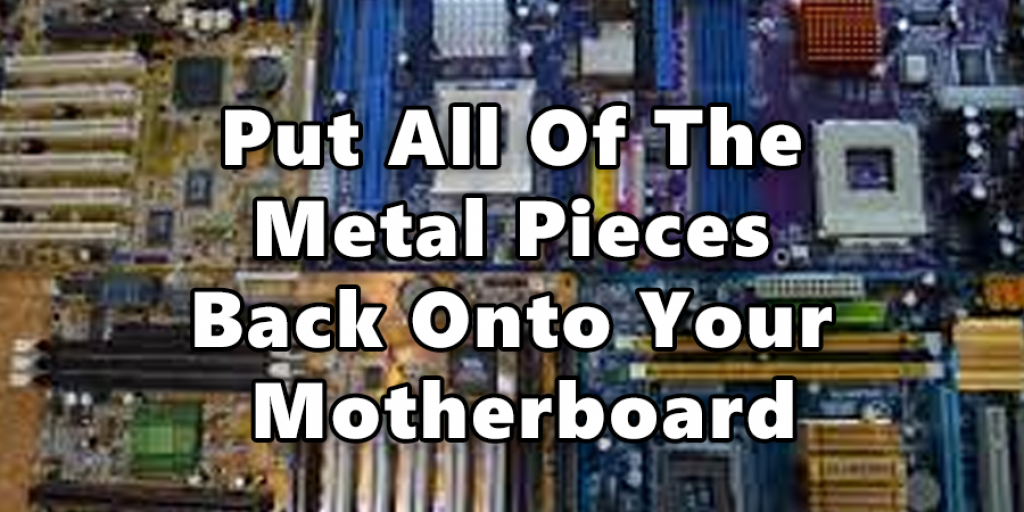
Step Nine: Put All Of The Metal Pieces Back Onto Your Motherboard
To put everything back together, replace all of the metal pieces that you took off earlier before screwing them in securely and tightening them with a screwdriver.
This will ensure that there is no loose wiring on your motherboard or anywhere else inside of it and allow you access to other ports if need be without having to remove every single piece again.
Step Ten: Test Your Ethernet Connection
Finally, plug the power cord back into your machine and turn it on. After a few seconds, you should receive all of your data, including the internet connection, as usual if everything was done correctly. If there is still an issue with some loose wire or due to damage from static electricity, this can often be solved by replacing damaged wires (or those that are improperly connected), so make sure you check for any missing pieces before reassembling anything else.
Frequently Asked Questions:
Q: Why Is My Motherboard Ethernet Port Not Working?
A: The ethernet port on your motherboard may have died. To fix this, you will need to replace it with a new one.
This may not be an easy process, so be prepared for some frustration when doing this project yourself, or give us a call, and we’ll handle everything!
Q: How Much Will This Cost Me?
A: The cost of fixing your Ethernet port on your motherboard can vary depending on the type of port you need. The cost will include labor and parts, so it is best to call us for an accurate quote!
Conclusion:
Ethernet ports are important for communication between your laptop and other devices. If you need to fix an ethernet port on a motherboard, the following steps mentioned on how to fix ethernet port on motherboard blog post should help you get back up and running in no time!
What have been some of your most difficult computer troubleshooting situations? Have any of them involved in fixing an ethernet port on a motherboard? Tell us about it in the comments below!
Follow these instructions to replace the broken ethernet cable or repair damaged wires with electrical tape.
You may read also How to Fix Audio Jack on Motherboard


