
How to Fix G-Pen Coil
A G Pen or vape pen is a handheld battery-operated vaporizer that is extremely lightweight and compact. The in-built atomizer heats the wax concentrate in a small tank called an oil chamber that produces vapors. Vape pens allow you to take your dabbing on the go easily without being bulky or noisy.
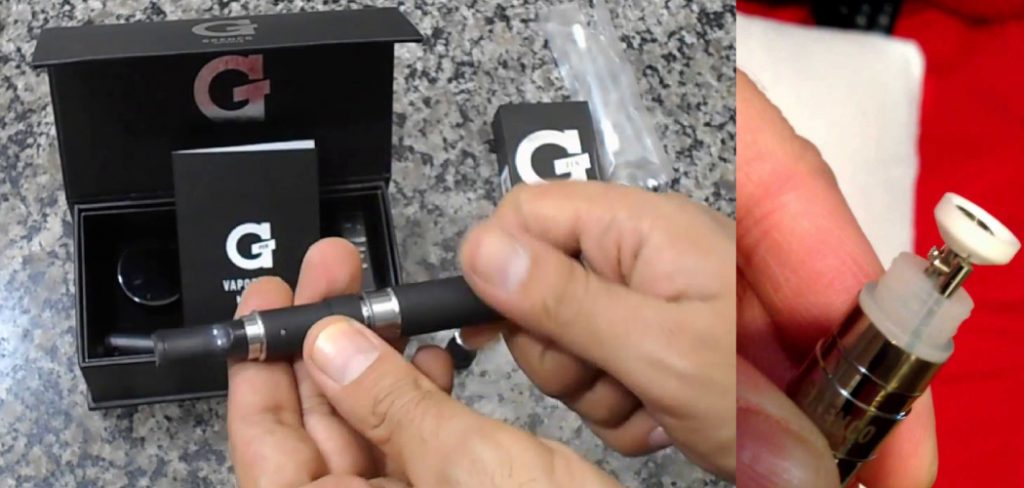
Regarding high-quality devices, G Pens are all over the market, offering excellent value for money with their durable designs and fancy features. Instead of purchasing expensive replacement coils, it’s much cheaper to buy new vape pens if they break down, but this recently changed when manufacturers introduced cheap atomizers, which can be damaged within days of use resulting in users going through numerous devices each week to obtain satisfactory results. In this article, I will discuss how to fix the G-Pen coil.
Step-wise Guide on How to Fix G-Pen Coil
Step 1. Cleaning Coil Hole:
The first thing you want to do is clean out your coil hole with a small screwdriver or any metal object that can fit in between the coils but is not too big not to damage anything inside your atomizer.
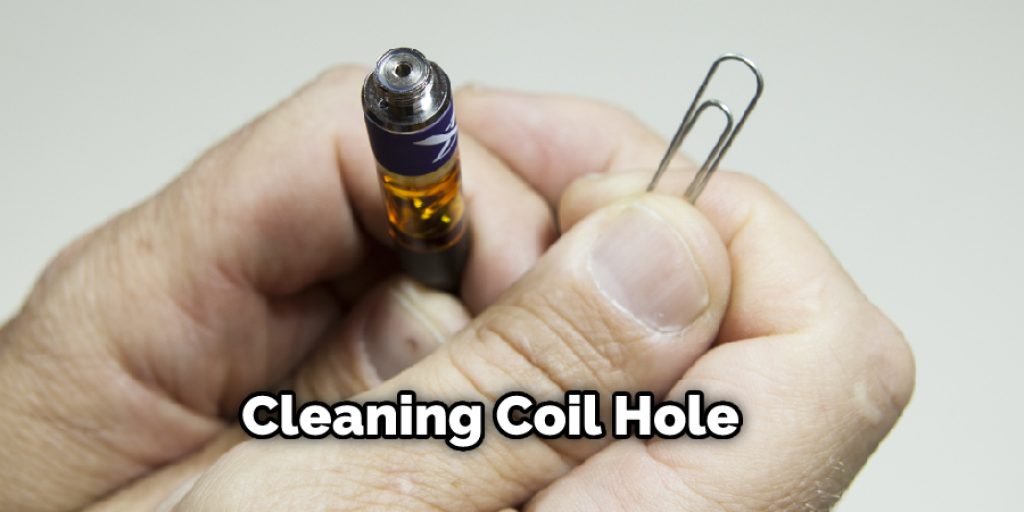
Next, you just want to scrape off whatever residue (if any) that’s on top of your coils. This will be very helpful for rebuilding later on because you’ll have a clearer view of what’s happening inside the coil hole, and it will be much easier to reattach the new coils.
Step 2: Removing Excess Cotton, Applying New Cotton, and Re-Attaching Coils:
The second step is to grab your small pair of tweezers and remove any excess cotton you don’t need. Of course, if there’s none, then go on ahead to the next part! Then take your G pen cleaning tool or a regular paper clip, and remove about 1/4th of an inch of cotton from the inner walls of your atomizer.
This will leave enough room for a fresh new wad of cotton. The old cotton will be extremely compressed and maybe even hard to pull out, so use caution when pulling it out. Grab a new wad of cotton and stuff it into the coil hole when you’re done with that. If you have a rebuild kit, now is the time to use it! But if not, don’t worry, because all you need is your hands and some patience!
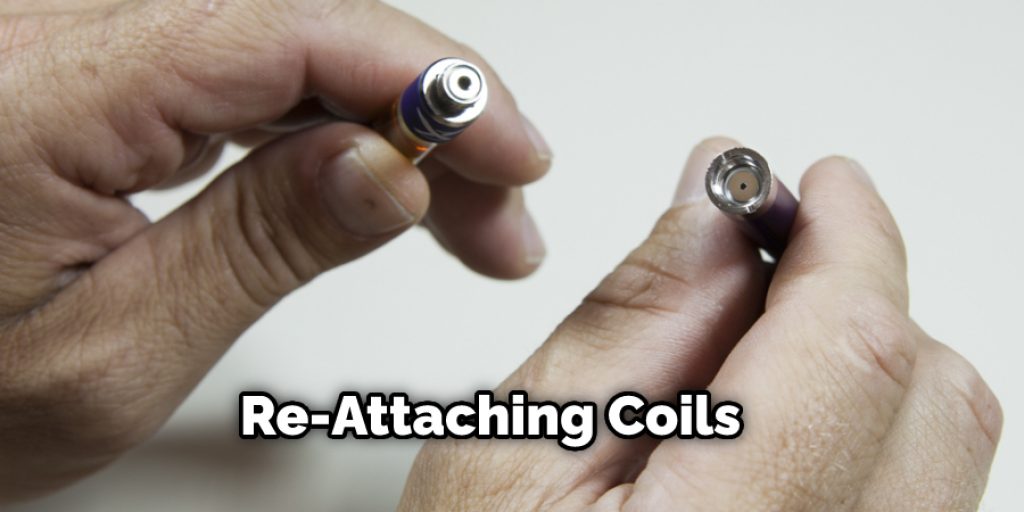
Step 3: Re-Attaching Coils:
The third step is to reattach your coils back into their respective places. Make sure they are pushed all the way down until they can be seen from underneath. It may take a few tries to get it just right.
Once you have attached the coils into place, hold onto your G pen’s body as if you’re going to fire it but don’t do so! You want to look at the holes in which the new coils are sitting and see if they look nice and tight. If the cotton is too loose, there will be a lot of wiggle room for air to pass through between your coils.
This is bad because the juice soaking into these cracks/rough patches is burned rather than vaporized when air goes through these tighter cracks. So make sure that everything looks good and snug before moving on!
Precautions While Fixing A G-Pen Coil
- The g-pen coil is very delicate. Make sure you do not burn yourself while fixing, or else the g pen will burst.
- Make sure that the coil has no spots on it, as this may lead to a shorter lifespan of your coil and cause issues like burning your material.
- Be careful with the battery connection wires; misconnecting them may damage the product completely, so if this happens, then contact an expert immediately.
- If you feel any problem with your performance after repairing, switch off the device and wait for some time before switching it on again or visit an expert immediately.
- You are doing it at your own risk and can be held responsible for any problems that occur in the future due to negligence in the procedure.
- Never try to build a coil manually, as it can be hazardous for your health and might lead to injuries.
- Do not hold the coil or battery with wet hands. This may dissolve the components of your device, which cannot be guaranteed to be replaced by any manufacturing company.
Conclusion:
This article should provide some helpful guidance if you’re looking for a way to fix your g-pen coil. The first step is to clean the area with a small metal object and scrape off any residue on top of the coils. Next, remove excess cotton from inside the atomizer by scraping it off or using tweezers.
Finally, reattach new coils into place while checking that they are secure and snug against the respective holes in which they sit (and ensure not to touch them when wet!). I hope this article has been beneficial for learning how to fix the G-Pen coil. Thank you, and have a nice day!


