How to Fix Heater in House
Fixing your own heater in the home can save you time and money. Professional furnace repair services can be expensive, so being able to troubleshoot and fix common issues on your own is a great way to avoid those costs. Furthermore, if the issue occurs during colder months when it’s harder for repair companies to fit you into their schedule, you can be assured that your heater will start working again quickly.

One of the main advantages of learning how to fix a heater in your house is the cost savings. Hiring a professional to complete the job can be expensive and often requires specialized knowledge or skills that most homeowners are not equipped with.
Fixing your own heater will save you money on labor costs and potentially costly parts and materials that may be beyond your budget. Plus, you can take pride in the knowledge that you have increased the safety and efficiency of your home’s heating system. In this blog post, You will learn in detail how to fix heater in house.
Step-by-step Instructions for How to Fix Heater in House
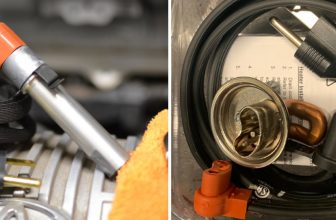
Step 1: Inspect the Power Cord
Start by inspecting the power cord, ensuring that it is firmly plugged into a working outlet and that all connections are secure. If an extension cord powers the heater, check to ensure it has enough wattage for the appliance’s requirement.
Step 2: Clean Out the Furnace Filter
The furnace filter should be checked every month and replaced when needed. A dirty filter can block the airflow to the furnace, causing it to overheat and shut off. The pilot light should be on a steady blue flame. If it is flickering or not lit at all, then there may be an issue with the gas line connection or with the thermocouple.
Step 3: Examine the Thermostat
Make sure the thermostat is set correctly and that all connections are secure. If it is not, turn off the power before making any adjustments. Look for signs of debris or rusting in the air ducts. If the heater is having trouble delivering heat, then it could be due to a clogged or disconnected vent.
Step 4: Check for Leaks in Gas Lines
Ensure no visible signs of gas leaks around the furnace and that all connections are secure. If you smell gas, immediately turn off the power and call a professional. If you have an electric heater, ensure all connections are secure, and the elements are not corroded or damaged.
Step 5: Check For Problems With The Blower Motor
Make sure the blower motor is running smoothly and efficiently. If it is noisy or slow, it could be due to a problem with the fan belt or capacitor problem. If you have a condensing furnace, ensure the condensate drain is clear and not clogged up with debris.

Step 6: Test Heater Operation
Finally, turn on the power and test the heater. If it still isn’t working, then you may need to call a professional for further assistance. With these steps, you should be able to troubleshoot any problems with your heater and get it running properly again in no time. Be sure to follow all safety guidelines when dealing with gas connections or power cords, and always consult a professional if you have any doubts.
Safety Tips for How to Fix Heater in House
- Always wear protective equipment like gloves, goggles, and a dust mask before you start working on your heater.
- Make sure that the power source to the heater is completely off before starting repairs.
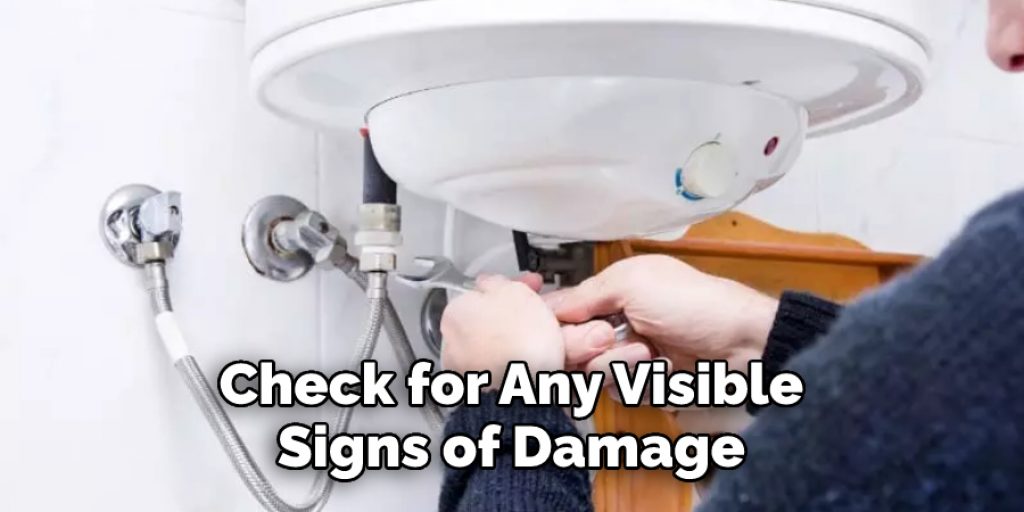
- Inspect any parts for damage or abnormal wear and tear prior to attempting repairs.
- Check for gas leaks in the heater by using a special solution that indicates any present leak.
- Check for clogged air filters and replace them if necessary.
- Make sure to turn off all power sources before touching the electrical components of the heater.
- Have a fire extinguisher handy when working on your heaters in an emergency.
- Always contact a heating specialist if the repairs are beyond your skill level or you don’t feel confident in performing the repair.
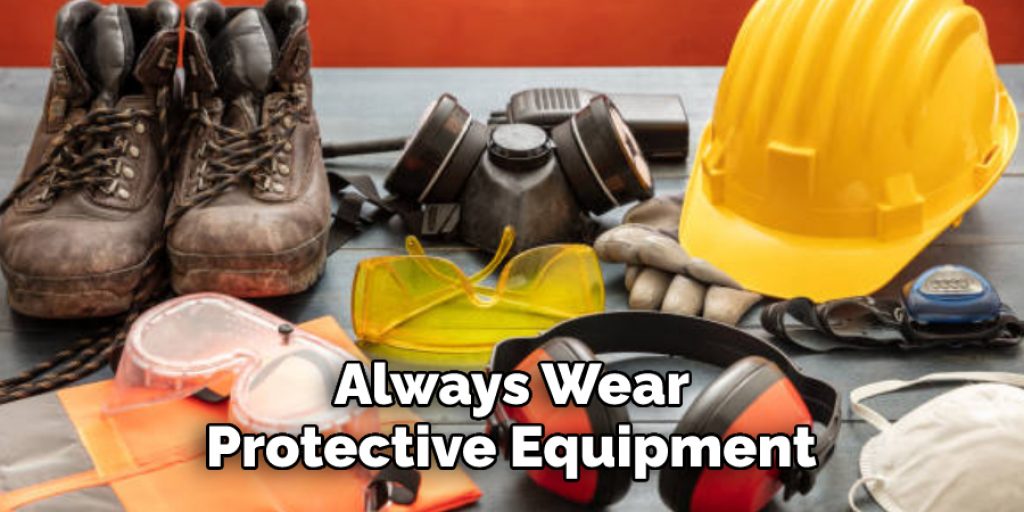
These safety tips should help you keep safe while attempting to fix your heater in the house and minimize any potential risks.
How Should You Clean the Air Filters for Your Heater?
If your heater is running inefficiently or not at all, the issue may be with the air filters. Before taking other measures to fix your heater, it’s important to check and clean the air filters. To do this, you’ll need a vacuum cleaner with a brush attachment and some replacement air filters.
First, turn off the power to your heater and remove the air filter from its slot. Then you can use the vacuum cleaner’s brush attachment to gently clean off any dirt, dust, and debris that has accumulated on the filter. Once it’s been thoroughly cleaned, replace it with a new filter and put it back in place.
It’s important to remember that your air filter should be cleaned and changed at least every few months. Doing so will help ensure your heater runs efficiently and prevent dust and other particles from entering the inside of the unit. With regular cleaning, you can save yourself both time and money in the long run by avoiding costly repairs due to a dirty air filter.
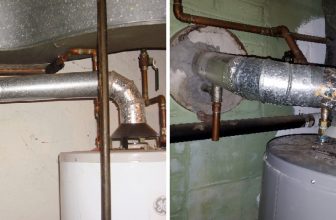
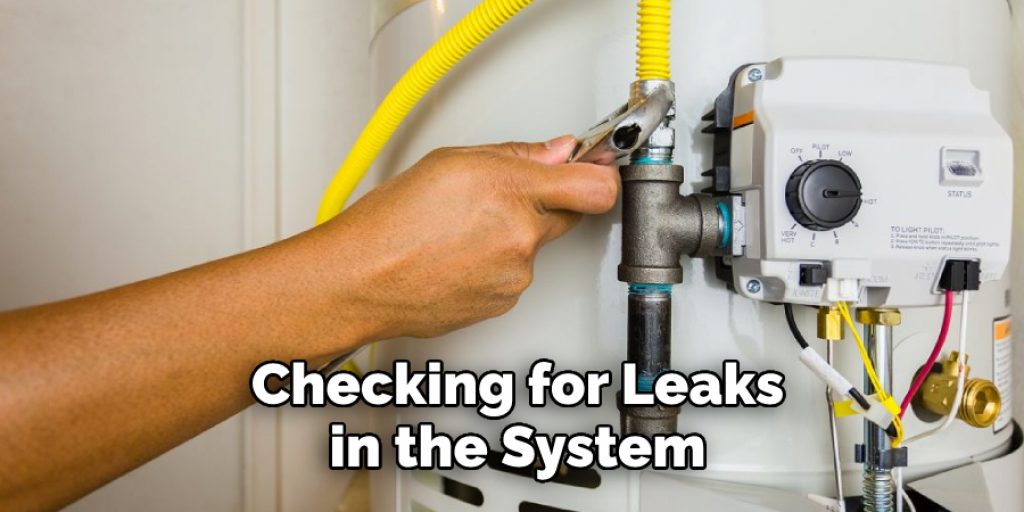
How Can You Check for Leaks in the System?
When it comes to fixing your heater in the house, one of the most important steps is checking for leaks in the system. This can be done by visually inspecting all connections and tubes in your furnace. Additionally, you can check for any signs of corrosion or water damage on the components around your furnace.
If a leak is present, it is important to contact a professional technician to repair or replace it. Additionally, it is important to check that all of your doors and windows are properly sealed when inspecting for leaks. This can help prevent any warm air from escaping through the openings, making your furnace work more efficiently and keeping your home warmer during the winter months.
Once the inspection is complete and any leaks have been identified and repaired, it’s time to check the furnace filter. It should be replaced every three months or so to keep your heating system running at optimal levels. Finally, it is essential to have a professional technician inspect your furnace annually for tune-ups, safety checks, and repairs. This will help ensure that your heating system is running smoothly and safely.
How Can You Troubleshoot Common Problems With Your Heater?
If your heater isn’t working properly, there are a few common issues that you can check for and try to fix before calling a professional. One of the most common problems with heaters is that the thermostat may not be set correctly.
To troubleshoot this, start by checking the temperature setting on your thermostat and ensuring that it is set a few degrees higher than your desired comfort level. It’s also important to ensure that any furniture or curtains do not block the thermostat, as this can impede its ability to sense temperature changes.
If your heater appears to be running but isn’t producing enough heat, it could result from clogged air filters. Check your filter and see if it needs to be replaced. If it is clogged with dust and debris, this can impede the airflow in your heater, leading to reduced heating efficiency.
Are There Any Preventative Maintenance Tasks That You Should Do Regularly?
Yes, there are some preventative maintenance tasks that should be done regularly to keep your heater running optimally and reduce the chance of a major repair. Once a year, you should replace the filter on your unit and check for any visible signs of damage or wear and tear. Also, ensure all vents are clear from debris or blockages and that you have taken steps to reduce any dust buildup in the area.
Finally, if you haven’t had a professional inspection of your system in the last year, it is recommended that you do so as soon as possible. This can help identify any minor issues before they become major problems, saving you time, money, and hassle in the future.
If any of these preventative maintenance tasks seem too complicated or are outside your comfort level, don’t hesitate to contact a professional who can take care of them for you. Taking good care of your heater now will help ensure that it runs reliably and efficiently for years to come.
Conclusion
The main disadvantage of fixing the heater in-house is its cost. Depending on the type of heater and the extent of the repair needed, you may have to spend a large amount on parts, labor costs, and other related expenses.
Additionally, if you try to perform DIY repairs, there is always a risk that you could cause additional damage or even injury if the repair job is not done correctly. Taking a heater to a professional technician is always recommended to ensure that it functions properly and safely.
In conclusion, fixing a heater in your house can be intimidating. However, by understanding the basics of diagnosing and repairing a heating system, you can avoid costly mistakes and quickly get your heater up and running again.
Check the filter, vent pipe, thermostat, pilot light, or electrical component depending on the heater installed in your home. I hope this article has been beneficial for learning how to fix heater in house. Make Sure the precautionary measures are followed chronologically.
Angela Ervin
Angela is the executive editor of DIY quickly. She began her career as an interior designer before applying her strategic and creative passion to lifestyle and home. She has close to 15 years of experience in creative writing and online content strategy for housekeeping, home decorations as well as other niche efforts. She loves her job and has the privilege of working with an extraordinary team. She lives with her husband, two sons, and daughter in Petersburg. When she's not busy working she spent time with her family.