
How to Fix Led Light Remote
Having a working remote for your LED light can be incredibly convenient. It will allow you to adjust the brightness easily, change colors and even turn it off without getting up. Unfortunately, sometimes the remote stops working or malfunctions – but luckily, some simple solutions could help you fix your led light remote.
LED light remotes offer a variety of advantages compared to other lighting options. LED lights are energy efficient and long-lasting, making them an ideal choice for many lighting applications. They also produce less heat than traditional incandescent bulbs, which helps reduce cooling costs in hot climates.
Additionally, LED lights require fewer replacements due to their long lifespan. LED light remotes provide added convenience by allowing users to remotely control the dimming and color temperature of the lights from anywhere in their home. In this blog post, You will learn in detail how to fix led light remote.
Step-by-step Instructions for How to Fix Led Light Remote
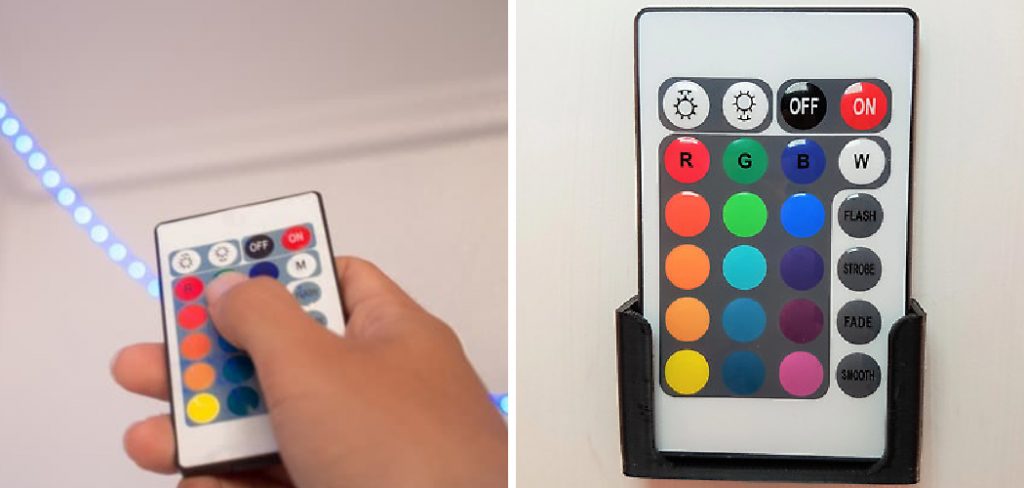
Step 1: Inspect the Remote
First and foremost, check the remote for any visible signs of damage. You may need to get a new remote altogether if there are physical issues. Most remotes use batteries as their source of power. Changing out old batteries or dead ones can sometimes be enough to fix your problem.
Step 2: Check the Remote’s Frequency
If the remote seems to be in working condition, but you still have trouble getting it to work, check if it is on the right frequency. Some remotes will work just fine at certain frequencies and ignore signals from others. If this is the case with your remote, try to adjust the frequency and see if that helps.
Step 3: Check the Distance Range
Sometimes your remote may not be able to send signals far enough to reach your LED lights. You can test this by moving closer or farther away from the light source and see if it makes a difference. If not, try resetting the receiver and transmitter, or use a stronger source of power.
Step 4: Check the Batteries
If the remote is still not working, it may be due to weak batteries. Change them out and see if that fixes the problem. If not, try resetting the receiver and transmitter. Sometimes, moving the LED lights to a different position can help get your remote to work. Try this first before attempting any other troubleshooting steps.
Step 5: Reset the Receiver and Transmitter
If none of the above mentioned methods seem to be working, you should try resetting the receiver and transmitter. This will reset all settings to factory defaults, allowing you to start over with a clean slate. If your remote still isn’t working properly, it may be due to signal interference from other devices in the area. Move any such devices farther away and then test if your remote begins to work.
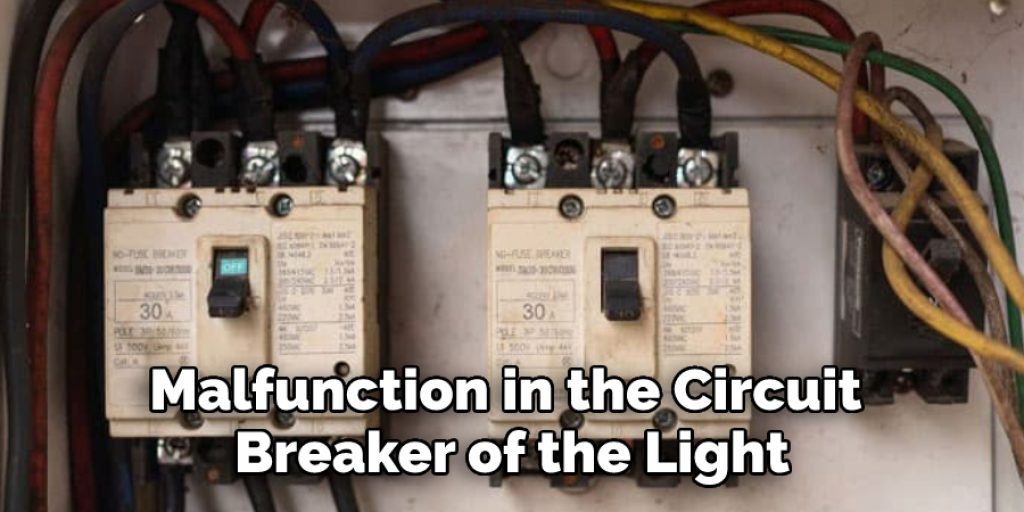
Step 6: Check the Light Source’s Circuit Breaker
Sometimes, a malfunction in the circuit breaker of the light source can cause interference with your remote. Ensure it is turned on and running properly before attempting other troubleshooting steps. If all the above steps fail, you may need to replace damaged parts in the remote or the light source. Make sure you purchase the right type and size of replacement parts to avoid any further trouble.
Step 7: Get Professional Help
If all else fails, seek professional assistance from an electrician or someone with the right type of experience. This way, you can ensure that your LED lights and remote are all in perfect working condition and will last for a long time to come.
Following these steps should help you solve any issues that you may be having with your LED light remote.
Tips for How to Fix Led Light Remote
- Ensure the area around you is clear of combustible materials and that it has been properly ventilated before beginning any repair work.
- Wear protective gear such as safety goggles, gloves, and a dust mask while performing maintenance or repairs on the LED light remote system.
- Disconnect power to the LED light remote system at the fuse box prior to beginning any work.
- Check the wiring connections for loose or corroded terminals and replace them as needed.
- Ensure the LED light remote system is compatible with existing hardware and firmware versions before attempting repairs.
- Test all LED light remote system components after installation to ensure proper operation before restoring power.
- Do not attempt to repair any components of the LED light remote system unless you are sure of your abilities and have all the necessary tools and materials.
- Always read and follow the manufacturer’s instructions when performing maintenance or repairs on a LED light remote system. If you do not feel comfortable with any part of the repair process, consider seeking professional help.

By following these safety tips and precautions for Fixing Led Light Remotes, you can ensure that your repair process is successful and safe.
How Do You Determine if the Issue is in the Wiring of Your Led Light?
If your LED light is not responding to the remote, there are several steps you can take to determine if the issue is with the wiring. First, check all the connections and make sure that they are secure. Ensure that there are no loose wires or gaps in any of the connections. If everything looks correct, then move on to testing the wiring.
You can use a multimeter to test the wiring of your LED light for continuity. This will determine if there is an issue with the wiring that is preventing your remote from functioning correctly. Connect one lead of the meter to each end of the wire and test for continuity by looking at the display on the meter. If there is no continuity, the wiring is faulty and must be replaced.
If your LED light has no exposed wires, then you can use a continuity tester to check that the wiring is intact. Connect one lead of the tester to each end of the wire and press the button on the tester. If there is no continuity between the two points, then the wiring is likely faulty and needs to be replaced.
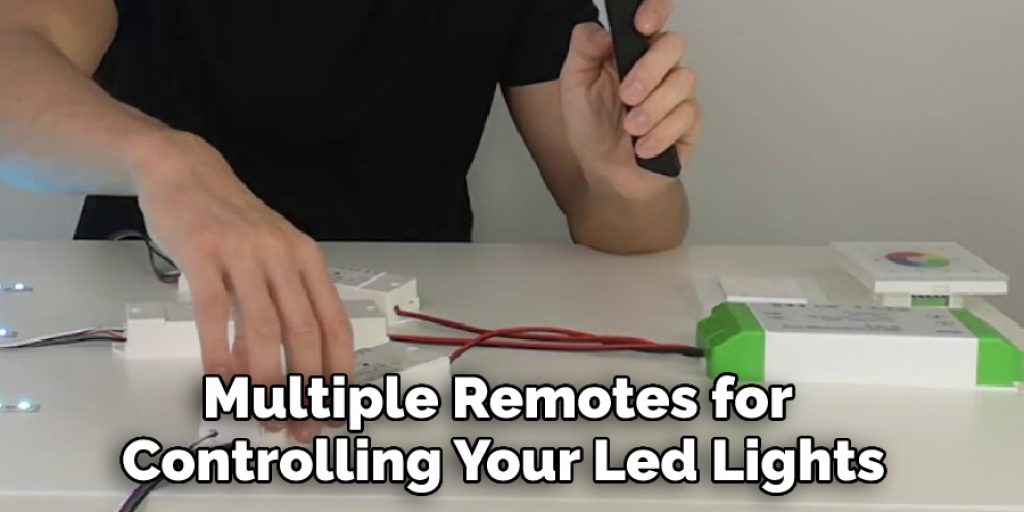
How Can You Program Additional Remotes to Control Your Led Lights?
If you have multiple remotes for controlling your LED lights, it’s important to know how to program them correctly. There are a few different ways to do this, depending on the type of remote you have and the brand of lighting system you’re using.
One method is a “pairing process,” where you press a button on the remote and then select an option from the menu. This will allow your remote to sync with the lighting system and control all of your lights.
Another way is to reset your LED light’s receiver unit settings. Most systems come with a “pairing code,” which you can use to connect your remote to the lights. This code will be provided in the instructions that come with your lighting system.
If you don’t have the instructions, check for it online – most manufacturers provide a user manual on their website. Once you have the pairing code, simply enter it into your remote and press the “pair” button. Your LED lights should now be ready to control with your new remote.
How Do You Find a Replacement Remote for Your Led Light?
If you’ve lost your LED light remote or stopped working, you may be wondering how to get a replacement. Fortunately, there are several options available to find the right one!
The first step is to identify what type of remote control you need. Different brands and models of LED lights may require different types of remotes. Depending on the brand and model, you may be able to find a universal remote that is compatible with your LED lights. If not, you’ll need to determine your LED light’s exact make and model so you can get an appropriate replacement remote.
Once you’ve identified what type of remote you need, it’s time to start looking. You can usually find remotes for LED lights at hardware stores, home improvement stores, or online retailers. When shopping online, ensure that the product description matches your LED light and remote requirements before ordering.
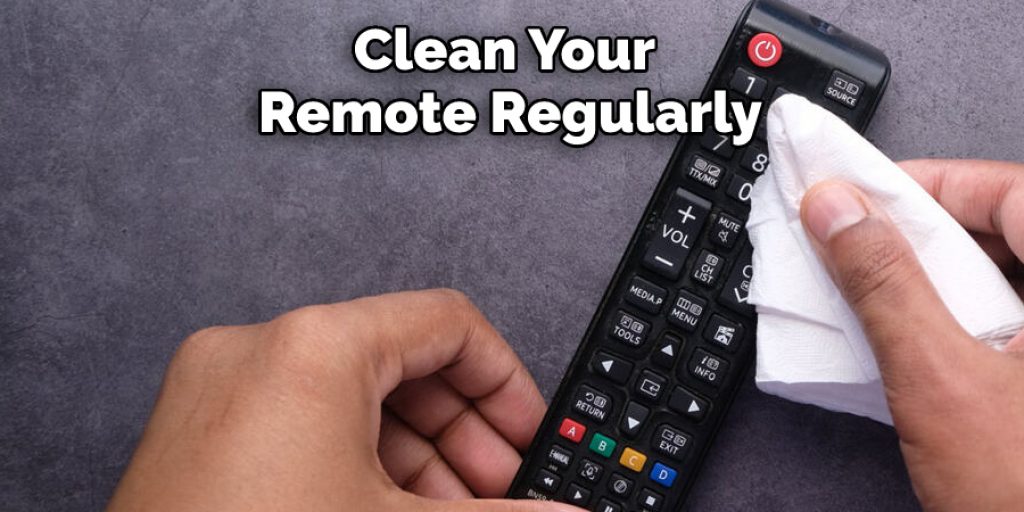
How Should You Clean the Remote to Ensure It is Working Properly?
It’s important to make sure that you clean your remote regularly to keep it functional. To do this, use a damp cloth or dry cotton swab and gently wipe down the buttons and other surfaces of the remote.
This will help remove any dust, dirt, and grime build-up that can interfere with the connection between the remote and the LED light. If necessary, use a mild soap and water solution to help remove stubborn dirt. Avoid using any type of solvent or chemical cleaner, as this could damage the plastic surface of the remote. Once you’ve finished cleaning it, allow it to air dry before testing its functionality.
If your LED light is still not responding to the remote after cleaning, you may need to try resetting the connection between the two. To do this, locate a physical button on the LED light near the power cord. Hold down this button for several seconds until you hear a beep sound indicating that the reset has been successful. Then test your remote again and see if it is now working with the LED light.
Are There Any Accessories That Can Be Used With Your Led Light and Remote?
Yes, there are a variety of accessories that can be used with your LED light and remote. Accessories such as dimmers, motion sensors, timers, and color-changing controllers can all be used to enhance the lighting experience in any room.
Depending on your remote type, some accessories may require special adapters or additional wiring to make them compatible. Check the instructions for any accessories you purchase to ensure they are compatible with your LED light and remote.
In addition, many LED lights can be controlled through a smartphone app. These apps may provide additional features such as scheduling on/off times, setting dimming levels, or changing the color of the lights on your phone. Be sure to check the manufacturer’s website for more information on compatible apps and how to get started.
How Can You Reprogram Your Led Light to a Different Setting Using the Remote?
The process is relatively simple if you have a remote-controlled LED light and want to reprogram its settings. For starters, you’ll need to locate the “Learn” or “Pairing” button on the remote itself.
This could be located inside the battery compartment or anywhere else on the device. Once you locate the button, press and hold it until a light appears on your remote; once the light is illuminated, quickly release the “Learn” or “Pairing” button. At this point, your LED light should be unpaired from its original settings and ready to accept new ones.
Now that your LED light is ready to accept new settings, you can use the “Program” or “Set” button on your remote to reprogram it. The exact steps may vary depending on the specific remote and LED light combination you are using, so consult your user manual for more information.

Once you have successfully reprogrammed your LED light with the desired settings, press and hold down the “Learn” or “Pairing” button for a few seconds to save these new settings. Your LED light should now be paired with your remote and able to accept changes using it.
Conclusion
In conclusion, fixing your LED light remote is an easy and straightforward process. All you need to do is check the batteries, remove any obstructions between the remote and receiver, reprogram the remote, or reset it all together. If these steps don’t work, then there might be a problem with the LEDs themselves, in which case you should contact a professional.
With these tips in mind, you’ll be able to enjoy your LED light remote for years to come! Thanks for reading, and happy troubleshooting. I hope reading this post has helped you learn how to fix led light remote. Make sure the safety precautions are carried out in the order listed.


