How to Fix Picture Frame Corners
Picture frame corners are often bent or broken while transporting them or even when hanging them up. Luckily there is a quick and easy solution for fixing these minor damages, so they look as good as new in no time! If desired, all you need is some glue, an old toothbrush, wood putty, sandpaper, and paint. Of course, you want to ensure that whatever product you use matches your frame and is compatible with the surface underneath.

There are several different methods for fixing picture frame corners, so let’s look at some of them now. In these articles, we will go over different ways how to fix picture frame corners. One of the easiest ways to update an old picture frame is by fixing the corners. The corners can become damaged over time, and you might want to fix them before hanging your new artwork in it. This is also an excellent way to fix up a vintage picture frame that has seen better days.
Tools and Supplies Needed:
- Hammer
- Picture frame
- Glue (E6000 preferred)
- Ruler/tape measure
- Sandpaper or nail file
Step by Step Guide: How to Fix Picture Frame Corners:
Step 1: Remove Loose Glue
When fixing corners, two steps have to be taken for it to look professional and last a long time. The first step is removing any loose pieces of glue, so they do not show through the picture frame. To do this, you simply dampen a cotton swab with some rubbing alcohol and then dab it along the inside corners of the frame. The glue should come right off after doing this.
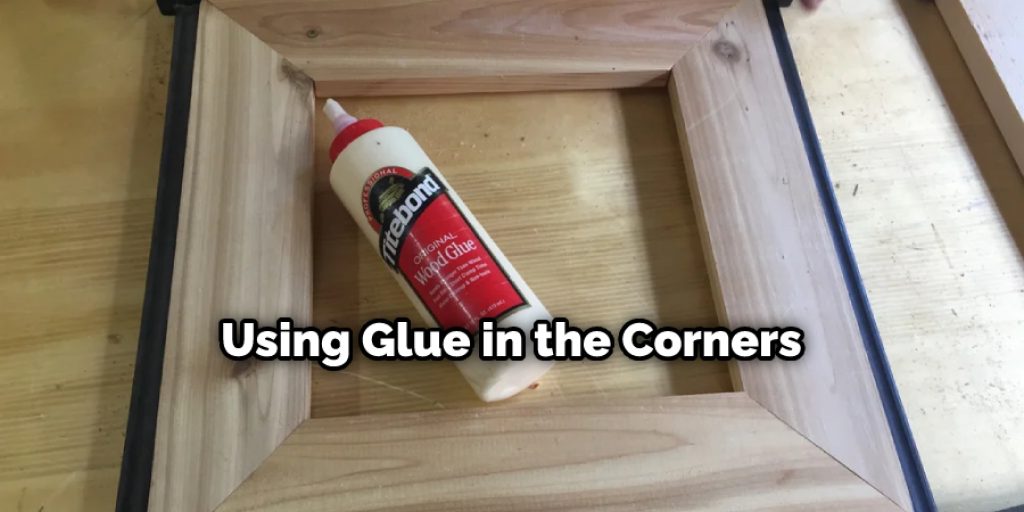
Step 2: Glue in Corners
The second step is gluing in the corners at each side of the frame, but you will need a small plastic card to do this. Dip the card in some glue and then put it into place at each corner to flatten them out. You should let this dry for about an hour or two before proceeding with the next step if you want your corners to be extra flat and hold for a long time.

Step 3: Place the Picture in Frame
Once you have let your glue dry, it is safe to go ahead and place your picture in the frame. If you do this to fix a damaged picture, you can replace it with another photo or printout. For example, if the frame was just damaged on the corners, reinsert the old picture after placing it in your replacement before putting any mats or glass back into place.
Step 4: Reinsert Matting and Glasses
Once your picture is in place, you can reinsert any mats or glass originally in the frame. You may have to adjust for it all to fit correctly again, but once you have things lined up where they should be, it will be fairly easy to get your picture frame back together correctly again.
Step 4: Trimming Corners with Scissors
With the picture inside the frame to help you get a sense of how big your trimming needs to be, cut corners off with scissors to square and not rounded. You can use any sharp pair of standard household scissors for this task, as there is no need to use anything fancy.
Step 5: Cleaning Up Edges with a Razor Blade
It’s time to clean up any excess glue along the inside edges. You can use a razor blade to scrape away excess dried glue that will be in the way and then wipe away any mess made with a paper towel moistened with rubbing alcohol. The rubbing alcohol will also help remove any fingerprints from your picture frame. Of course, you must let your glue dry overnight before putting anything in or on the picture frame.
Step 6: Apply Clear Sealant over Glue
The final step in this process is to seal the newly glued corners so that they do not tear or come apart later on, and you can use a clear spray sealant for this purpose. You should lightly coat all four corners with this protective finish to keep your picture frame looking nice and last much longer.
You Can Check It Out to Keep Pictures From Sliding Off Shelf
Some Tips and Suggestions:
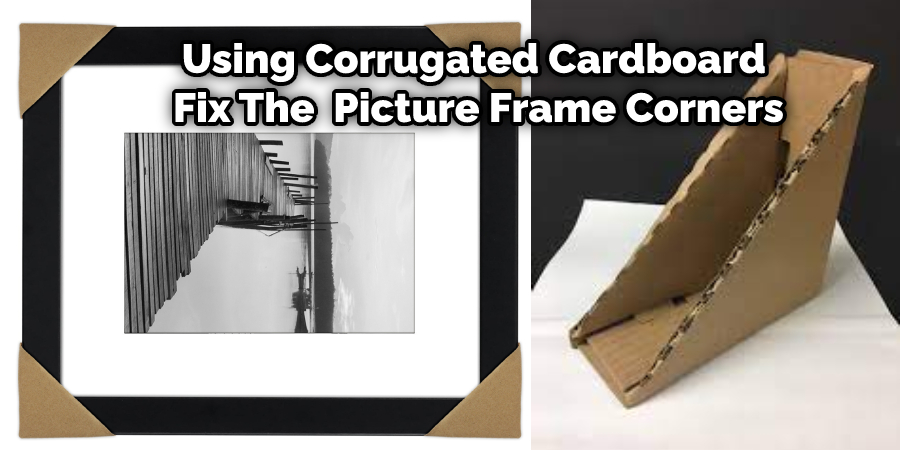
- Be gentle. The cardboard is delicate; try not to bend it too much or make any creases or tears in it.
- You can still use the original piece of corrugated cardboard that came with your frame if you have it. However, if you don’t have it anymore, get a new piece of corrugated cardboard from an art supply store and cut it into pieces the same size as the ones in your frame.

- The cardboard pieces we give you should fit precisely in your frame, but if they don’t, just cut them a little shorter or longer to make them fit into place. Or use bigger or smaller pieces of corrugated cardboard until you get it right.
- If you like, you can add a thin piece of wood to each side of the cardboard to make it rigid and sturdy, but this is optional; if you use wood, use really thin pieces because the corrugated cardboard is already quite stiff on its own.
- You don’t have to cover the back of your frame with corrugated cardboard, but this is another solution if you have a problem with it being shaky or weak.
- You can use Mod Podge to seal the cardboard and give it a glossy finish.
- You can also add a picture to the front of your frame for extra decoration!
Conclusion:
Picture frame corners are one of the most common issues that can arise during frame making. They’re usually caused by a lack of adhesive or improper cutting, which causes the picture to fall off. You may fix this problem with simple fixes at home, such as glue and tape. We recommend placing clear packing tape over any edges where there is no glass before adding your next piece of glass for added protection against falling picture frames.
The glue will also work if applied in specific places on both sides of the corner without sealing them together. We hope this blog post on how to fix picture frame corners has been helpful. If you still have trouble with the process or want more information on how best to utilize these tips, don’t hesitate to reach out for help. Our team is here 24/7, ready to assist whenever needed.


