
How to Secure the Back of a Picture Frame
Fame is a defensive and artistic border for an image or a photograph. It keeps the artwork safe and offers an aesthetic look on the wall. So, if you have got some beautiful pictures that you want to show on the wall, you must use a high-quality picture frame. But due to some unwanted reasons, the picture frame can get damaged eventually. Improper boards, low-quality adhesive, airborne pollutants, and a lot more things can damage the back of the board eventually. As it protects your beautiful picture, you should also take some proper steps to secure the back of your picture frame. Do you want to know how to secure the back of a picture frame?
Don’t worry; it is not a hard job, and you won’t have to spend millions of dollars on this process. You can create a protective shield for the back of your picture frame with some simple tactics, with the help of some household items. You may have to buy something if they are not in your home, but that will cost only some pennies. Let’s have a look at the three most widely used ways for securing a picture frame.
- The backing boards
- The frame sealing tape
- The frame bumpers
How to Secure the Back of a Picture Frame?
Now, it’s time for the main action. The back your picture frame can be protected with several other items, too, but I have selected the common ones. The good part is that they are easy to find in any grocery store. So, grab one of them and follow the instructions below.
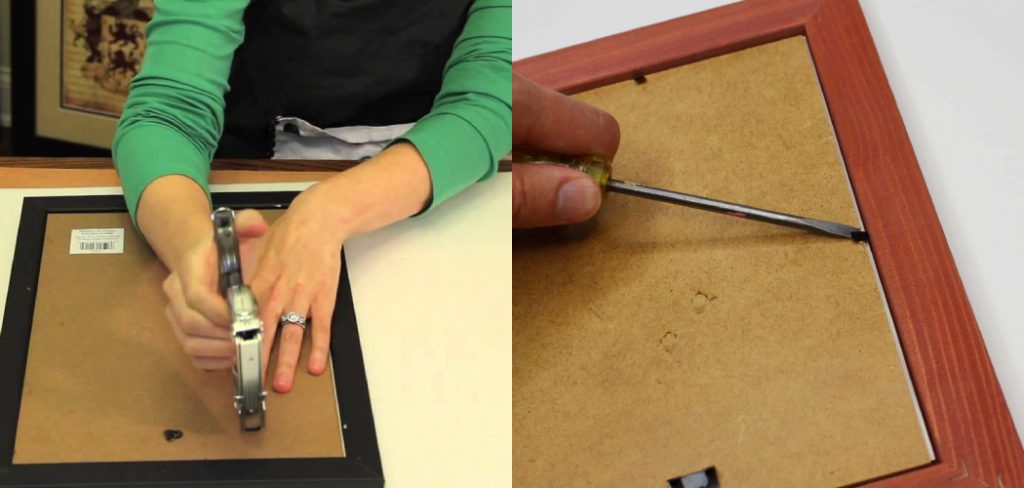
The Backing Board
The backing board is generally used to protect the frame and other materials within it. It is a stiff board that can be cut to size. There are several types of boards for this purpose, like foamcore, corricore, and MDF. MDF boards create a lot of dust, so keep that in mind before buying one.
The Frame Sealing Tape
This tape is used to protect picture frames. It is placed at the edges of the frame to seal the gap and prevent dust, insects, or anything else from getting in. When applying the tape, you must make sure it is properly adhesive and put it tightly at the corners of the frame.
I didn’t use the adhesive tapes because they fall eventually. Instead of those regular tapes, I used the gummed tapes. So, it is recommended to use this type of tape. By the way, make sure to brush the frame and make the surface prepare before applying this tape.
The Frame Bumpers
These round felt pads usually equipped at the bottom corners of the frame help keep the frame protected while hanging against the wall.
How to Fit a Wrapped Canvas into a Floater Frame?
Floater frames are an excellent way to display wrapped canvas artwork. They offer a clean and modern look without detracting from the artwork itself.
To fit a wrapped canvas into a floater frame, gently push the canvas onto the backside of the frame, ensuring it is securely fitted within all four sides. Next, use screws or nails to attach the canvas to the frame’s edges firmly. Lastly, secure any additional corner pieces in place using screws or nails if necessary. Once done, your artwork is now ready for display in its new floater frame!
Frequently Asked Questions
What Do You Put on the Back of a Picture Frame?
A picture frame is an important part of any home and should be treated with care. You should always clean it regularly to keep it looking new. Here are some tips on how to clean a picture frame:
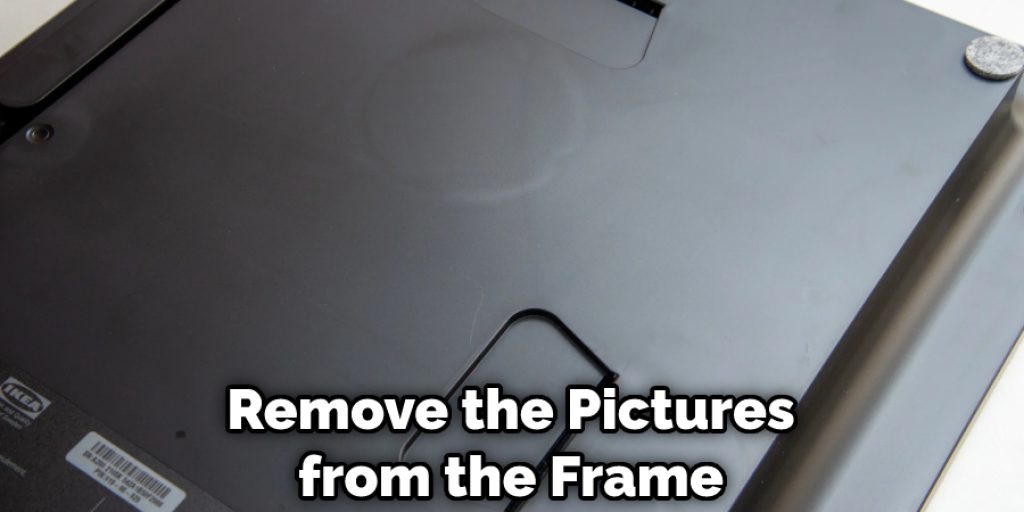
1. Remove the pictures from the frame and dry them off with a cloth.
2. Apply a mild cleaning solution to a cloth and wipe down the glass surface of the frame.
3. Wipe off any excess solution with a dry cloth.
4. Replace the pictures in the frame and re-attach the hanging wire or ribbon.
What is Float Mounting?
Float mounting is the process of fixing a graphic or photo to a piece of wood or metal using magnets. This technique is often used in advertising and promotional materials, such as business cards, brochures, and posters.
You can use magnets to change the look of your graphics without having to start from scratch every time you need to make a new batch. This saves you time and money.
Additionally, float mounting allows you to create high-quality prints that are ready for use right away. You won’t have to wait for the ink to dry before you can start printing, which means that your prints will be more accurate and less likely to suffer from color distortion or fading.
What’s a Floating Frame?
A floating frame is a type of digital advertising that is placed on a website or blog. It is an image that is shown on the left side of the screen and scrolls along with the content on the page.
Floating frames are most commonly used to promote products or services, but they can also be used to promote content or to generate leads.
There are two types of floating frames: static and animated. Static floating frames remain unchanged throughout the duration of the ad, while animated floating frames change appearance depending on the user’s interaction with them.
For example, if a user clicks on an animated floating frame, it will start moving around the page. This helps create a more engaging experience for users and increases click-through rates (CTRs).
Can You Paint Backing Board?
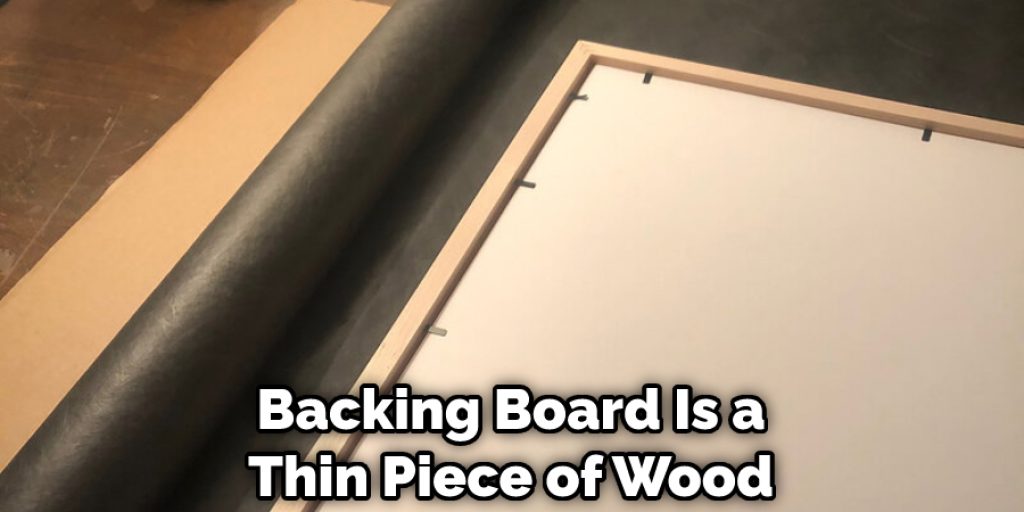
No, you cannot paint the backing board. A Backing board is a thin piece of wood that is used to support the weight of a painting and is not meant to be painted.
What Is the Difference Between a Floating Frame and a Regular Frame?
A floating frame is a type of framed wall that hangs from the ceiling or walls by means of brackets, hooks, or nails. It is a popular choice for commercial and residential applications because it is easy to install and provides an attractive look.
A frame is a type of wall that stands on its own and has two sides that are attached at the top and bottom. It is more expensive than a floating frame, but it can be more versatile because it can be used in both commercial and residential applications.
Conclusion
Hopefully, the above guide will help you a lot. If you are still confused, let me know through the comment section. Don’t forget to share the guide with others. If you have any queries or suggestions, feel free to comment below.
Elizabeth Davis
Elizabeth is a creative writer and digital editor based in the United States. She has a passion for the arts and crafts, which she developed from a young age. Elizabeth has always loved experimenting with new mediums and sharing her work with others. When she started blogging, she knew that DIYquickly would be the perfect platform to share her tutorials and tips. She's been writing for the blog from the beginning, and her readers love her helpful advice and easy-to-follow instructions. When she's not writing or editing, Elizabeth enjoys spending time with her family and friends.


