
How to Keep Pictures From Sliding Off Shelf
Introduction:
Picture frames are rectangular pieces of wood, metal, plastic, or glass that you hang on a wall to show off your cherished pictures. There are several different types of picture frames. The standard ” floater ” is the most common style, hinged at the top and bottom, and has no backing behind the framed area.
The other type is the “introvert” (also called an “invisible”) frame which has no outer edges; it appears to be only the photograph itself surrounded by a mirror-like reflective surface. I will discuss how to keep pictures from sliding off shelves in this article. So let us get started.
Why Do They Move?
If you have an older house or one with especially heavy wallpaper, there’s a good chance that humidity has caused the wallpaper border to swell slightly, causing the shelf to bow away from the wall. This can cause a condition where your pictures will fall off the shelf.
A Detailed Stepwsie Guide on How to Keep Pictures From Sliding Off Shelf:
1. Clean the shelf, dry it thoroughly, and scrape and sand down any rough spots (for example, where a corner of a frame has chipped off). This will prevent the picture from catching on sharp edges as you change its position.
2. You should cut your gummed paper into approximately five inches long strips and three-quarters of an inch wide. Then, you should stick these strips onto each frame section with the sticky side facing outwards. Next, you should take the rest of your gummed tape and use it to stick your picture securely to your chosen surface.
3. Repeat step two to display multiple pictures on a single shelf. However, you’ll need to be more creative with your spacing this time. Again, it sounds trickier than it is; the idea is to stagger the strips at different heights and positions across the entire length of one side of each frame so that when they are all finally stuck down onto the shelf, no gap appears between any picture/frame section.
4. Ensure there’s a gap between frames to make room for the non-sticky tape pieces needed to secure everything in place. If you wish, you can choose whichever side of each picture sits against the edge of your shelf, depending on how far back from it you want them placed.
Sometimes, it might be preferable not to have your picture frames hanging over the edge at all. If this is more to your liking, then buy yourself some more gummed tape (you may need more depending on how many pictures you plan to hang on this one shelf), and positioning it underneath each frame, gently lift the front of the first picture away from the surface it is stuck to.
You can now either choose to use any remaining strip pieces to attach every other/alternate photo in line with its hanging partner (this will depend once again on where you want them placed) or leave some distance between every frame.
5. Every photo has a backboard that can be used as an anchor point for non-slip strips, too, but only if their surface is flat enough, which should hopefully be the case. If you find your backboard is slightly warped and any strips you use to secure it cannot grip onto it successfully, then simply attach them to the frame itself.
If one isn’t strong enough, try connecting two next (both sticky sides facing outwards and touching), and they’ll prove twice as effective again.
6. When following this method for hanging pictures on a wall, remember that all walls are not equal; some may be painted or papered, made from plaster or brick, etc., which will require different types of non-slip strip material such as rubber, plastic or foam depending on what’s being hung up.
This is where an old thing comes in incredibly useful – a sample piece! Take one with you when buying your materials, and it’ll give the shop assistant a chance to advise what would best suit your intended purpose.
7. If you are hanging pictures onto textured walls or wallpaper, attach the non-slip strips to the bare wall first before placing any images on them. That way, they’ll stay in place until you’ve finished displaying all of your photos without half of them sticking just to each other!
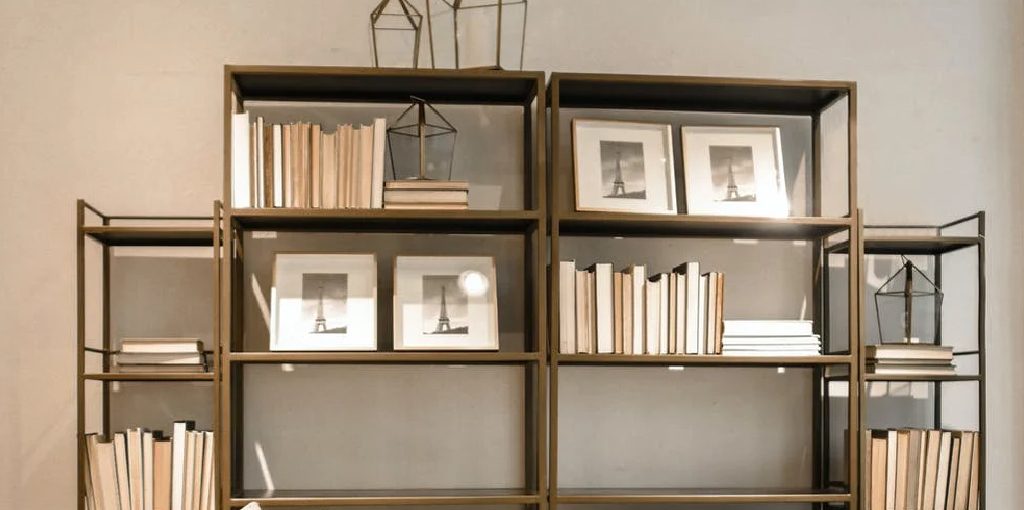
8. Place larger/heavier frames towards the bottom of your shelf so that weight is distributed evenly across its entire surface area. This will help prevent the wood from bowing over time.
9. When using two hooks, always position one above the other rather than side by side so that there’s enough room to hang your pictures safely.
10. To avoid the risk of wall damage when hanging anything on them, always drill a pilot hole in first! This will mean you can screw the hook/nail in place straight away and with far less force too. If things look a little shaky when it’s finally hung up, add some extra security by using a picture wire to run from one side of the frame to another before attaching it securely to the wall.
11. For more stability, use two screws instead of one but equally spaced apart from each other, not end-to-end otherwise, you’ll almost certainly split either shelf or frame right down its middle!
12. If using two screws, ensure that they are placed at least 6 inches apart from each other and the frame’s edge; otherwise, you risk splitting it in half!
Precautions While Keeping Pictures From Sliding Off Shelf:

When you are hanging pictures on shelves, it is essential to follow precautions not to slip off. If they slide down, then damaged results can be seen. You must maintain proper distance between the wall and the back of the picture frame. So that if there is any difference in the level of the floor, the pictures can remain straight without moving out of place.
Generally, people only care about the top portion but miss out on the lower end, which results in problems. When using nails to hold your valuable photo frame or painting on a shelf, make sure you use good-quality ones. It should not bend when the hammer hits it. Otherwise, nothing will be able to hold your valuable frame.
Conclsuion:
I hope this article has offered you all the necessary instructions regarding how to keep pictures from sliding off the shelf. Ensure all the precautions are correct. Thank you, and have a nice day!


