How to Fix Soft Spot in Ceiling
Fixing a soft spot in the ceiling is something that many people put off because they don’t want to deal with the hassle. However, ignoring this problem can lead to bigger issues down the road and can even compromise the structural integrity of your home. Learning how to fix a soft spot in your ceiling can save you time, money, and headaches in the long run.
There are several advantages to learning how to fix a soft spot in your ceiling, rather than hiring a professional. First and foremost, fixing the issue yourself can save you a significant amount of money. Professional repairs can be costly, especially if they require extensive work or materials. In addition to cost savings, learning how to fix a soft spot in your ceiling can also give you a sense of satisfaction and accomplishment. You can find step-by-step instructions on how to fix soft spot in ceiling in this blog article.
How to Identify Soft Spots in Ceiling
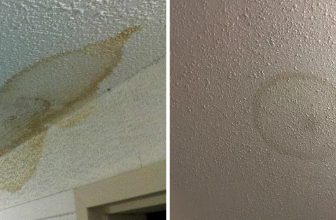
1. Discoloration
Look for areas on the ceiling that are darker than the rest. This could indicate water damage and a potential soft spot.
2. Sagging or Drooping
If you notice any areas of the ceiling sagging or drooping, it could be a sign of a soft spot as the materials have weakened and can no longer support weight.
3. Soft or Spongy Feeling
If you press on the ceiling and it feels soft or spongy, it is a clear sign of a soft spot.
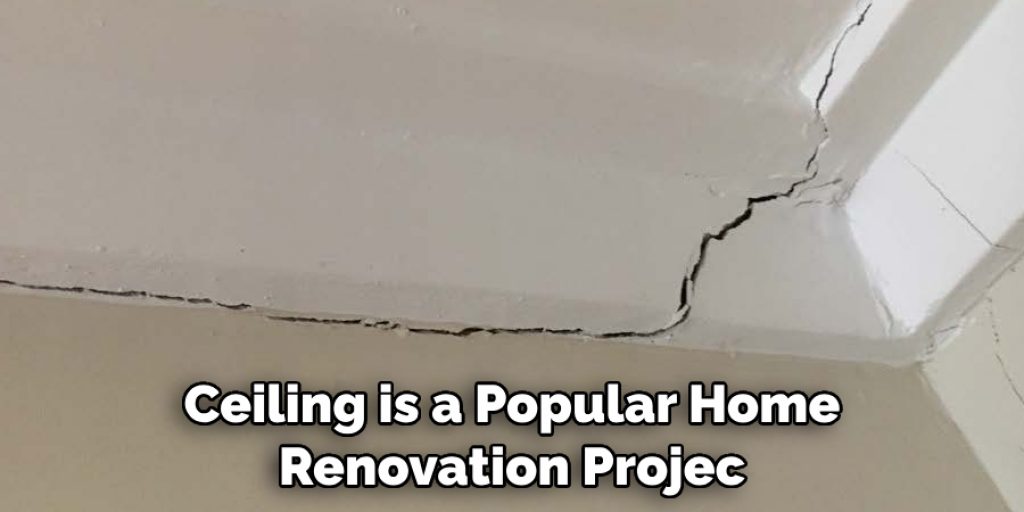
4. Cracks or Holes
Inspect the ceiling for any cracks or holes, as these can also be signs of a soft spot. These openings can allow moisture to seep in, causing the materials to deteriorate and become soft.
Step-by-step Instructions for How to Fix Soft Spot in Ceiling
Step 1: Inspect the Area
Begin by carefully inspecting the soft spot in your ceiling. Look for any signs of water damage or other underlying issues that may be causing the problem. Take note of the size and severity of the soft spot, as well as its location.
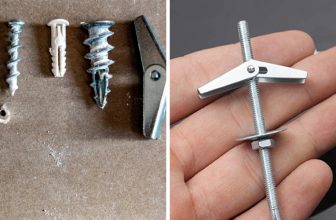
Step 2: Gather Materials
Before beginning any repairs, make sure you have all necessary materials on hand. This may include a ladder, drywall patching compound, putty knife, sandpaper, and paint. Once you have gathered your materials, prepare the area by laying down a drop cloth or tarp to catch any debris. If necessary, move furniture out of the way or cover it with plastic.
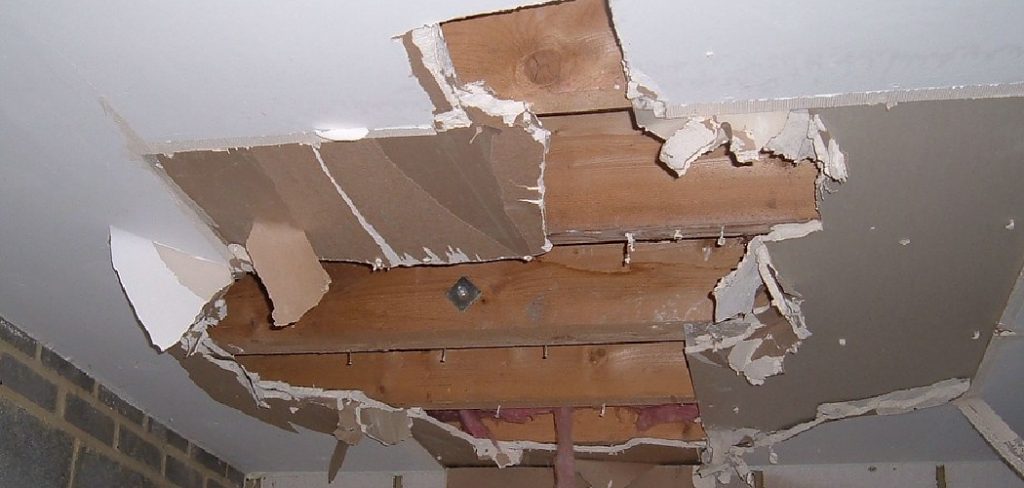
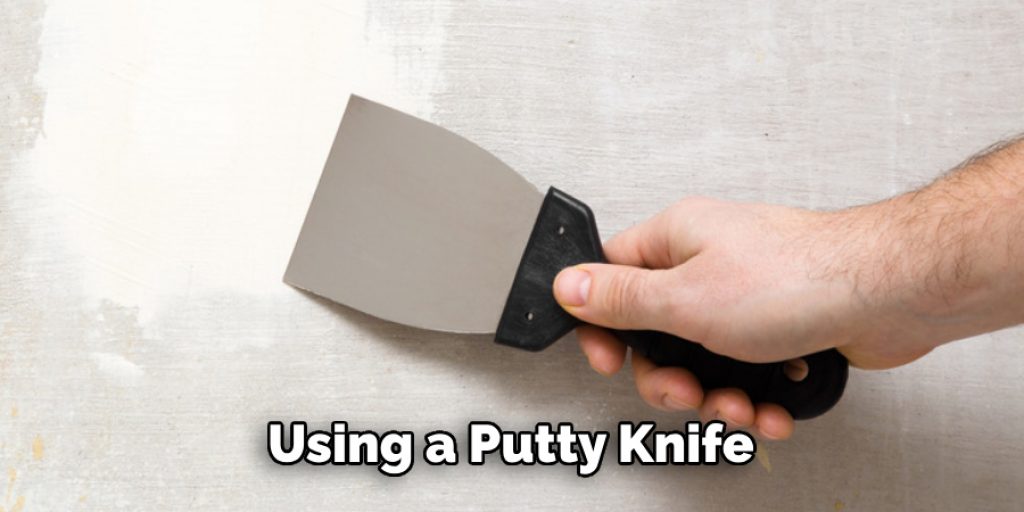
Step 3: Remove Damaged Drywall
Using a putty knife, carefully remove the damaged drywall from the soft spot area. Be sure to wear gloves and protective eyewear during this step. If the soft spot is caused by weakened or damaged ceiling joists, you will need to reinforce them before proceeding with the repair. This may involve installing additional support beams or using metal bridging.
Step 4: Cut a Replacement Piece of Drywall
Measure and cut a new piece of drywall to fit the size of the hole in your ceiling. Be sure to leave extra space around the edges for securing the patch. Using drywall screws, secure the replacement piece into place. Make sure it is flush with the surrounding drywall.
Step 5: Apply Drywall Patching Compound
Using a putty knife, apply a layer of drywall patching compound over the edges of the patch. Smooth out any excess and allow it to dry completely. Once the compound is dry, sand down any rough edges and apply primer and paint to match the surrounding ceiling.
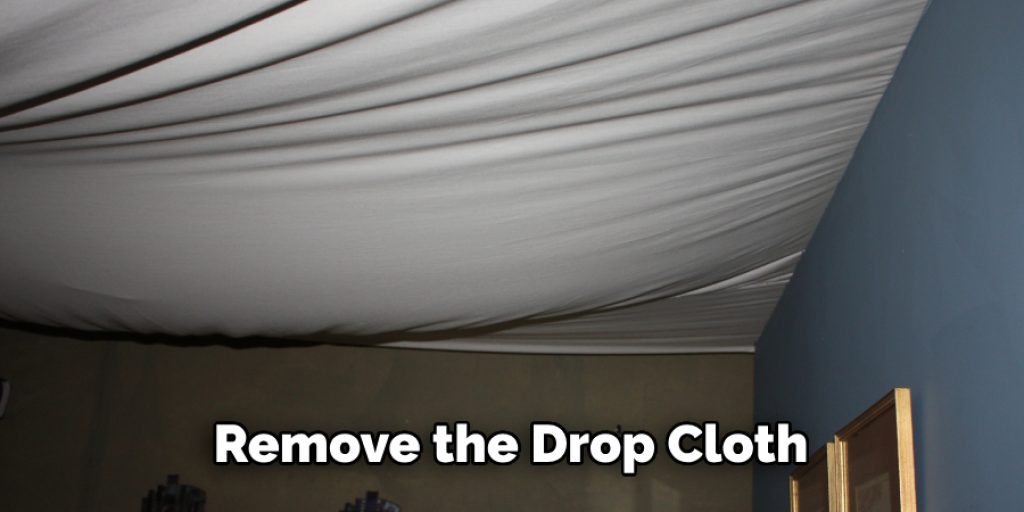
Step 6: Clean Up
Remove the drop cloth and any protective coverings, and clean up any debris. Your soft spot should now be successfully repaired.
By learning how to fix a soft spot in your ceiling, you can not only save money but also gain valuable knowledge and skills. Remember to always take proper safety precautions when working on any home repairs, and don’t hesitate to consult a professional if needed.
Safety Tips for How to Fix Soft Spot in Ceiling
- Identify the cause of the soft spot in your ceiling before attempting to fix it. This will help you determine the best course of action and ensure that you don’t cause further damage.
- Wear appropriate protective gear such as gloves, safety glasses, and a dust mask when working on your ceiling. Depending on the severity of the issue, additional precautions may be necessary.
- Make sure to turn off the power in the affected area before starting any repairs. This will prevent potential electrical hazards.
- Use sturdy and stable ladders or scaffolding when working at heights. Avoid using chairs or other unstable objects as they can easily tip over.
- Always have a fire extinguisher nearby, just in case of any accidents while working on your ceiling.
- If you’re not confident in your ability to fix the soft spot, it’s best to hire a professional contractor. Attempting repairs without the proper knowledge and experience can lead to further damage and potential safety hazards.
- Regularly inspect your ceiling for any signs of water damage or other issues that may cause soft spots. Addressing these problems early on can prevent larger and more costly repairs in the future.
These safety tips are crucial to keep in mind when fixing a soft spot in your ceiling. It’s important to prioritize your safety and take all necessary precautions before starting any repairs. By following these tips, you can ensure that the process is completed safely and efficiently.
Causes of Fixing Soft Spot in Ceiling
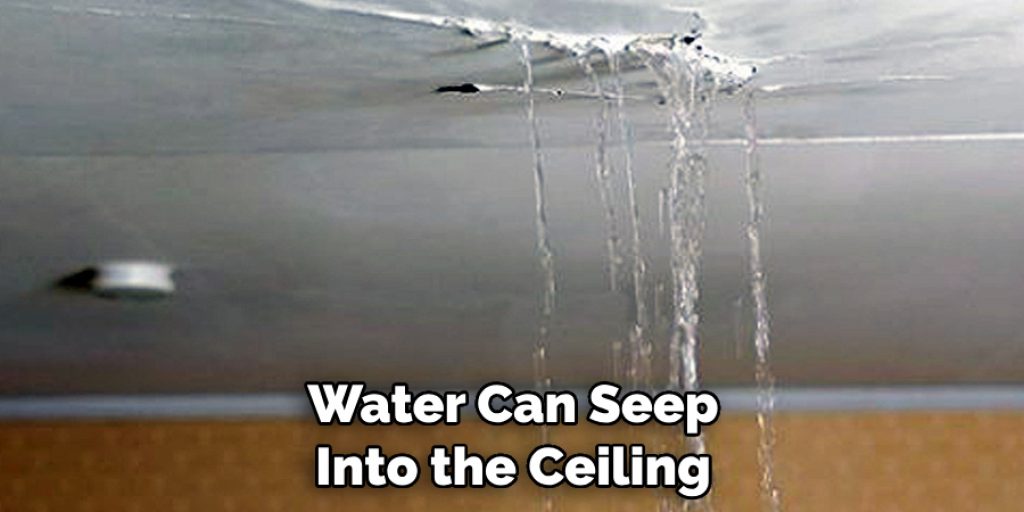
1. Water Damage
This is one of the most common causes of soft spots in ceilings. If there is a leaky roof or plumbing issues, water can seep into the ceiling and cause it to weaken and become soft.
2. Age
As houses get older, their structures may start to deteriorate, including the ceiling. The materials used to build the ceiling may weaken or become damaged over time, resulting in soft spots.
3. Poor Installation
If the ceiling was not installed properly to begin with, it may develop soft spots over time. This is because the materials were not secured correctly and are now starting to give way.
4. Excessive Weight
Ceilings are designed to support a certain amount of weight, but if there is too much weight added, it can cause soft spots to form. This can happen if heavy furniture is placed in the room above the ceiling or if there is excessive moisture from a bathroom or kitchen.
5. Insect Infestation
Certain insects, such as termites, can cause damage to the materials used in ceilings, making them weak and prone to developing soft spots.
Can a DIY Method Be Used to Fix a Soft Spot in the Ceiling or Should Professional Help Be Sought Out?
When it comes to fixing a soft spot in the ceiling, it is important to assess the severity of the issue before deciding on a course of action. In some cases, a DIY method may be sufficient, while in other cases, professional help may be necessary. If the soft spot in your ceiling is small and has been caused by minor water damage or age, you may be able to fix it yourself. Here are the steps to follow:
- Identify the Cause of the Soft Spot and Fix It: If the soft spot is caused by a leaky roof or plumbing issue, address that first before attempting any repairs on the ceiling.
- Dry Out the Area: Use a fan or dehumidifier to dry out the area. This will prevent any further damage and help solidify the ceiling materials.
- Cut Out Damaged Area: Use a utility knife to carefully cut out the soft spot in the ceiling, making sure not to damage any surrounding areas.
- Replace With New Drywall: Cut a piece of drywall to fit the hole and secure it in place with drywall screws. Cover the seams with joint compound and let it dry.
- Sand and Paint: Once the joint compound is dry, sand it down to create a smooth surface and then paint over it to match the rest of the ceiling.
What Are Some Common Mistakes to Avoid When Fixing a Soft Spot in the Ceiling?
When attempting to fix a soft spot in the ceiling, there are some common mistakes that should be avoided in order to ensure a successful repair:
1. Neglecting to Identify the Cause of the Soft Spot
It is important to address the root cause of the issue before attempting any repairs on the ceiling. If the cause is not identified and fixed, the soft spot may return.
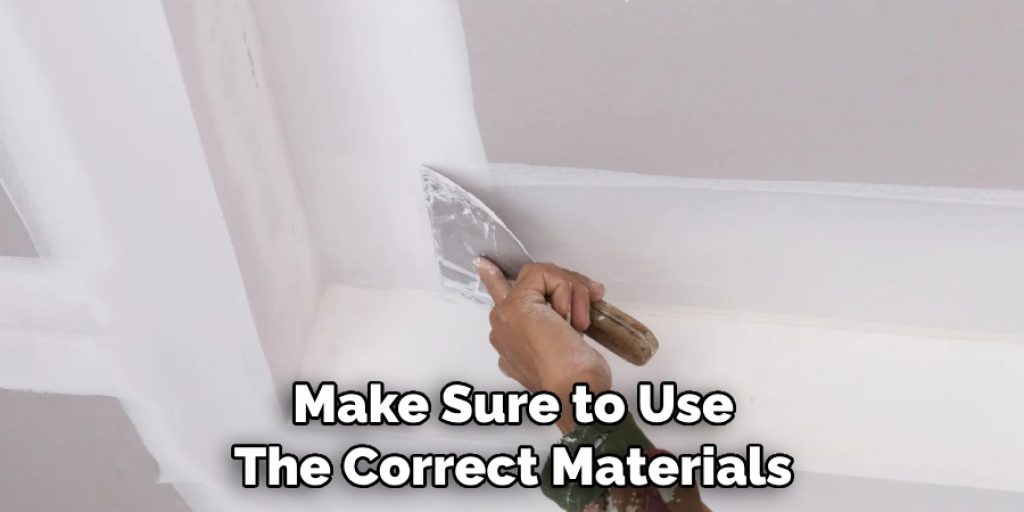
2. Using the Wrong Materials
Make sure to use the correct materials for repairing a ceiling, such as drywall and joint compound. Using the wrong materials can result in a shoddy repair job and potentially cause further damage.
3. Not Properly Securing the New Drywall
When replacing the damaged area with new drywall, make sure to securely screw it in place. If it is not properly secured, it may lead to sagging or a weak spot in the future.
4. Rushing the Repair Process
It is important to take your time and ensure that each step of the repair process is done correctly. Rushing through the job may result in a less than perfect repair and could cause further damage in the long run.
5. Not Seeking Professional Help When Necessary
If the soft spot is large or caused by a more serious issue, it may be best to seek professional help. Attempting to repair a complex issue without the proper knowledge and experience could potentially make things worse.
Overall, taking the time to properly identify the cause of the soft spot and using the correct materials and techniques will ultimately lead to a successful repair and ensure the longevity of your ceiling. If in doubt, it is always best to seek professional assistance to avoid any mistakes or further damage.
Conclusion
In conclusion, fixing a soft spot in the ceiling can be a daunting task, but it is not impossible. It requires patience, careful planning and the right tools to get the job done effectively. While there are numerous advantages to knowing how to fix a soft spot in the ceiling such as preventing further damage and maintaining the structural integrity of your home, there are also some disadvantages that should be considered.
One of the main disadvantages is that fixing a soft spot in the ceiling can be time-consuming and physically demanding. It may require climbing ladders, working in tight spaces and using heavy equipment. This not only requires a lot of effort but also puts you at risk for potential injuries if proper safety precautions are not taken. I hope this article has been beneficial for learning how to fix soft spot in ceiling. Make Sure the precautionary measures are followed chronologically.
Angela Ervin
Angela is the executive editor of DIY quickly. She began her career as an interior designer before applying her strategic and creative passion to lifestyle and home. She has close to 15 years of experience in creative writing and online content strategy for housekeeping, home decorations as well as other niche efforts. She loves her job and has the privilege of working with an extraordinary team. She lives with her husband, two sons, and daughter in Petersburg. When she's not busy working she spent time with her family.