How to Flatten Knitting Curling
When you complete a knitting project, joy and satisfaction will be literally endless. But sometimes, a little imperfection can ruin all these satisfactions in the blink of an eye. That’s why you should follow the exact techniques and pay proper attention while stitching. Curly edges are one of those common imperfections that most home-knitted garments face. But if you know the exact techniques, it can be fixed easily without any stress. So, do you know how to flatten a knitting curling? Don’t worry; I am here to help you out. I have prepared some easy-to-follow steps in this article that will make the edges flatten without stress. So, let’s have a look at them.
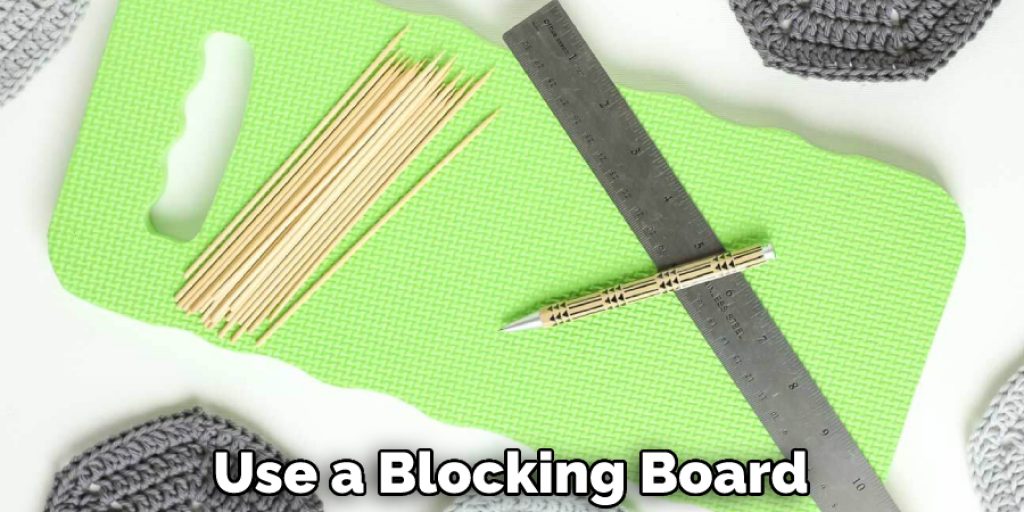
Things You Will Need
- Blocking board
- Spray bottle
- Water
- Blocking wires or pins
How to Flatten Knitting Curling
Concentrate on the steps below if you have all the required items stated in the above list.
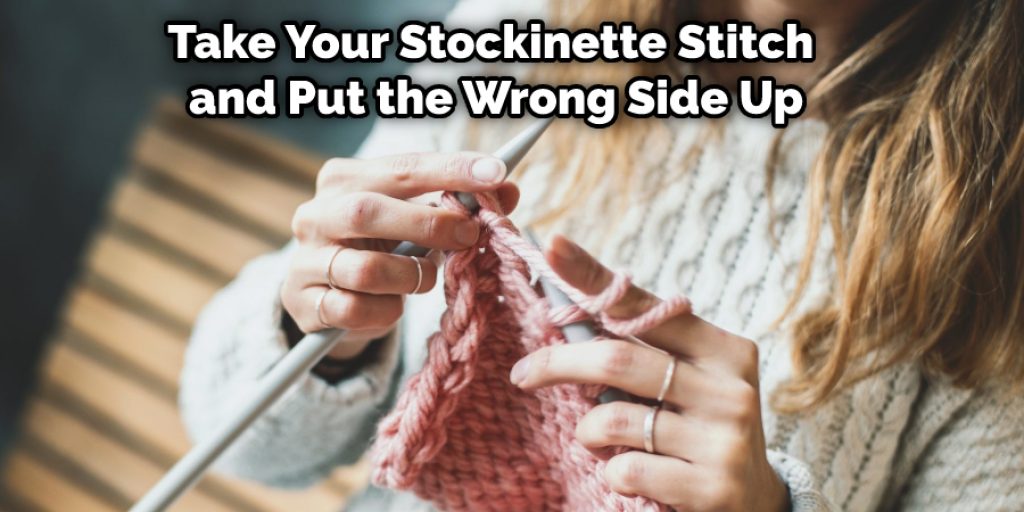
Step 1: First, you must spread your garment out. You can use a blocking board for this. Take your stockinette stitch and put the wrong side up. In this case, all other projects should be right-side up. Now arrange the garment according to its shape and measurements you have intended to keep when the project is finished.
Step 2: After you finish sewing your quilt top, you need to block it. To do this, take your blocking board and pin the edges to it. Make sure to keep a few inches of space between them. If you notice that some edges are rolling inside the pins, you can add some more to hold it straight. The pins can increase the risk of puckering at some spots. If you want to reduce that, you can also do the job done with the thread blocking wires in the same way.
Step 3: Take the spray bottle and spray water alongside the edges. Mark the places where it rolls and saturate that fabric area properly.
Step 4: Use your hand to smooth and arrange the garment where you want it to be flattened. Make sure to do this carefully and evenly.
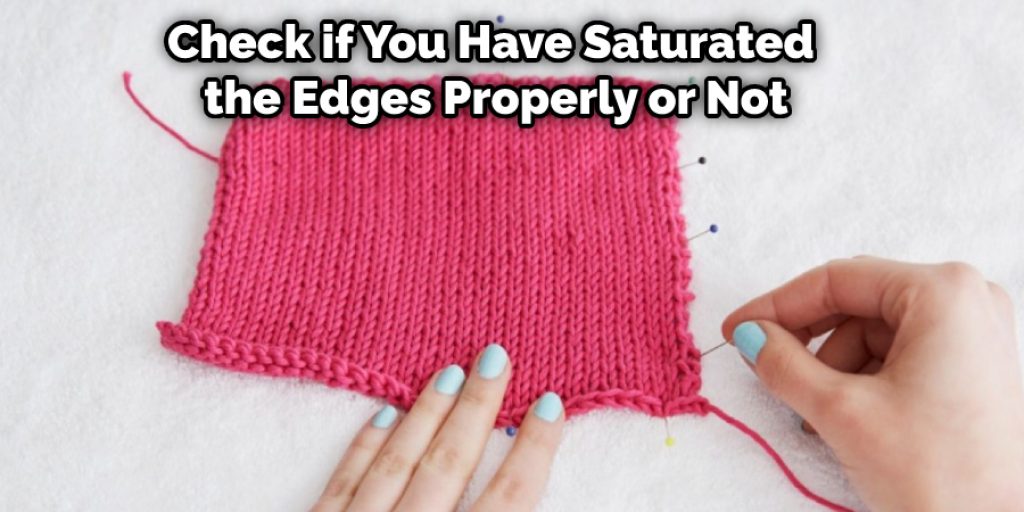
Step 5: Okay, check if you have saturated the edges properly or not. If everything is okay, leave the project, and don’t pick it up from your blocking board until it becomes dry completely. It may require some days (generally two or three) to dry properly. Once you reach the desired dryness, unpin the garment or remove the blocking wires. That’s it; your curly knitting will become flatten just as you wished it to have.
Hopefully, you have understood the process. If you got any questions, ask me through the comment section below. I am eagerly waiting to hear from you.
Frequently Asked Questions
Can You Flatten Knitting?
There is no one-size-fits-all answer to this question, as the amount of flattening required will vary depending on the type of knitting being done. However, most knitting fabrics can be flattened using a pressing cloth or a flatiron.
Press a knitting fabric with a pressing cloth, wet it, and wring it out to moisten evenly. Then place the fabric over the pressing cloth and use your hands to press down firmly on the fabric. Make sure to apply pressure evenly across the entire surface of the fabric.
To flatten a knitting fabric using a flatiron, heat up the iron until it is hot enough to make your skin tingle. Then place the knitting fabric over the iron and press down gently with your fingers or palms. Be sure to move around the entire surface of the fabric, as pressing one area too hard may cause it to tear.
Why Does My Knitting Curl on the Sides?
If your knitting is curling on the sides, it could be because you’re using the wrong size needle for your yarn. If you use a smaller needle, the yarn will be pulled too tightly and curl.
Another possibility is that you are not following the pattern correctly. If you knit in the round, follow the instructions carefully to ensure that all stitches are being worked evenly and without twists.
If you have questions about knitting or crochet, please feel free to ask us in the comments below or on our Facebook page. We would be happy to help!
Should You Always Block Your Knitting?
There is no one-size-fits-all answer to this question, as the best way to block your knitting may vary depending on your type and personal preferences. However, some tips on how to block your knitting include:
1. Use a blocking board or towel. Blocking boards are specially designed to help you keep your knitting stitches aligned while they dry, preventing them from becoming twisted or distorted. Towels work well for smaller pieces of knitting that don’t require a lot of space.
2. Block the pieces in the order in which they were knit. This will help them maintain their shape and avoid pilling or crocheting problems.
3. Use plenty of water and gentle soap when blocking your knitting. Ensure the soap is diluted before using it and rinse off the blocking board thoroughly.
4. Let the pieces air dry completely before storing them away. This will help prevent shrinking or felting (forming a soft texture due to excessive moisture).
Do You Need to Block Knitting After Every Wash?
No, you do not need to block knitting after every wash. Blocking is a process where stitches are pulled tight and fastened off, so they do not unravel. This is done to prevent the fabric from stretching and keep it in its original shape.
However, if you feel that your knitting is stretched too much or starting to fray, you can block it as needed.
You may also read now.