
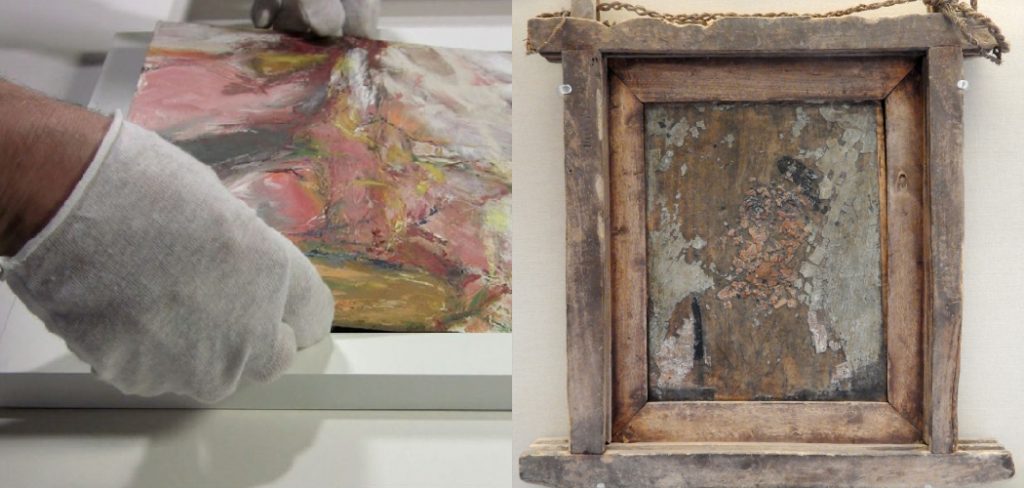
How to Frame a Painting on Wood Panel
If you are a painter or someone who loves to gather paintings, the chances are that you are always trying to find the perfect frames to keep the painting on. Most of the time, we will go to the store and manage the painting to be framed. But when things are quite settled down now and we can make anything with some DIY stuff, why not try making our frame for the paintings we have. Therefore, we will teach you how to frame a painting on a wood panel from scratch. So, keep reading ahead to know what we got for you!
DIY: How to Frame a Painting on Wood Panel
Our tutorial will start by assuming that you already have the wood panel ready for you. Because you can always get one of those wood panels for painting available in hardware stores, but if you do not, don’t worry, as we will also teach you how to make your wood panel later, so no need to rush!
Materials You Need
Before you can start with how to frame a painting on a wood panel, you will want all the needed things around your hand to work without any trouble. The items you require are-
- Wood panel
- Painting
- Measuring tool
- Glue
- Spatula
- Some foam core
- Heavyweight things
Once you have everything ready to use, you can begin to follow the steps.
Steps to Follow
We are going to explain things more simply in the next few days. Ready everything carefully to have a better understanding.
Step 1
We are assuming that you have bought the wood panel with the accurate measurement of the painting. The first step is going to be assembling all the items correctly. Start by putting the panel on a flat surface that will let you work properly.
Step 2
You need to take your painting and put it in the panel to see if it fits perfectly like you want to. There should be a little space around the art and the frame, and what you have to do is mark the exact area you want the painting to stand.
Step 3
It is time to use the glue. Before you apply the glue, you need to use one of that foamboard to put the glue on first. Because you do not want to work with the glue directly from the bottle, you will end up messing things up, and the chances are that glue can get somewhere you do not want it.
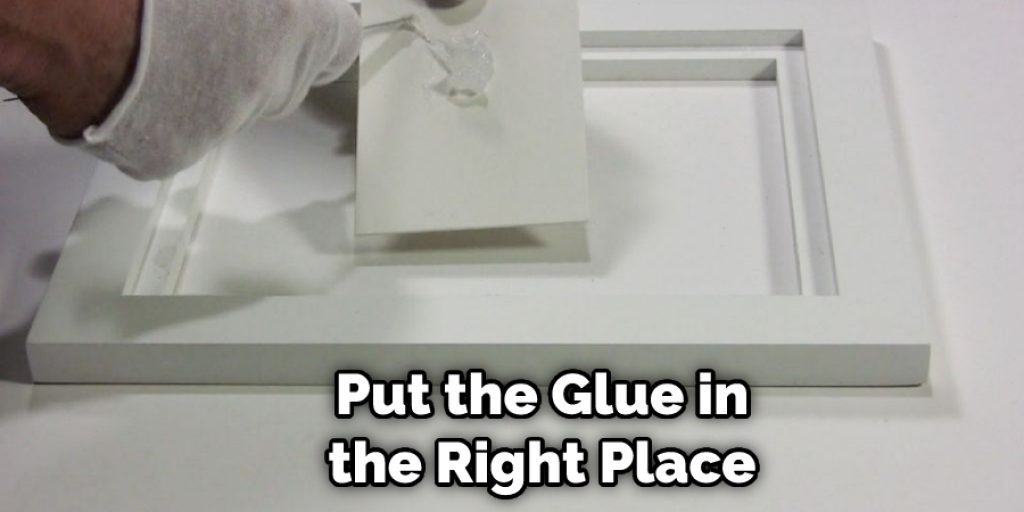
Step 4
With a spatula, you need to start putting the glue in the right place. You must ensure you are dabbing the glue and not spreading it everywhere. Also, it would help if you used a small amount of glue. If you use too much, it will go out of its way and mess things up.
Step 5
This is the most crucial step. It would be best if you put the painting on the panel where the glue is. You need to be very careful not to misplace the art.
Step 6
Once you place the painting on the panel, slowly put some pressure on it to get it mixed with the glue properly.
Step 7
Now, you will use the foamboards to see if the painting is properly in the middle. As we have mentioned before, there should be some space between the painting and the frame left, and that is where you will put the foamboards.
To do so, you will take four foamboards and push them through space. You can also use cards instead of foamboards.
Step 8
As for this step, you will put some heavyweight items on top of the painting so that they will stay put on the glue, and the heavyweight will help the painting stick appropriately.
Step 9
Keep the painting in a place where it will not get disturbed by anything so that the glue can get dried. Keep it like that for 24 hours, and you will be done.
Make Your Own Wood Panel
Our tutorial on how to frame a painting on a wood panel will not be completed without keeping our promise of teaching you how to make your wood panel. To make your own panel, you need to have the following items.
- Outside corner molding
- Glue
- Woodcutter
- Measuring tools
Steps to Follow
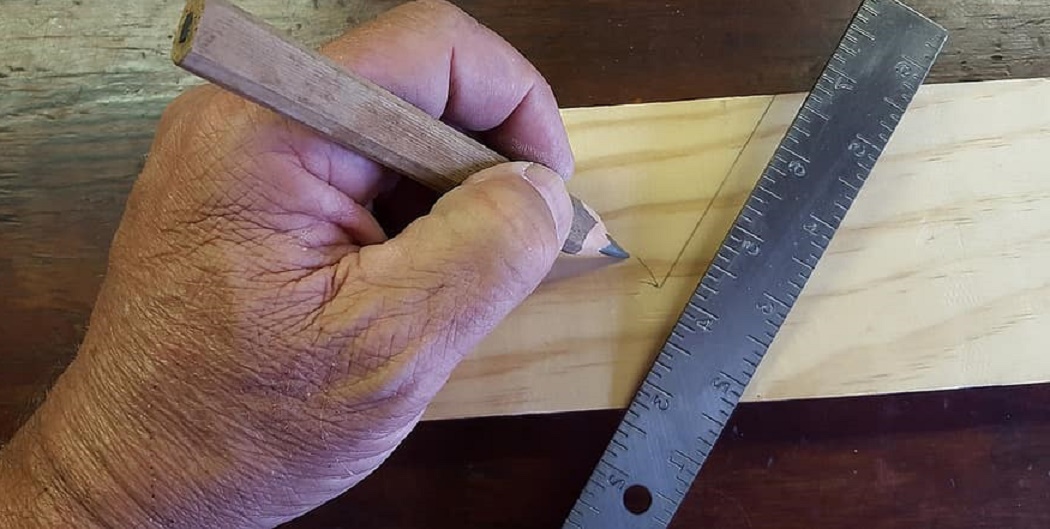
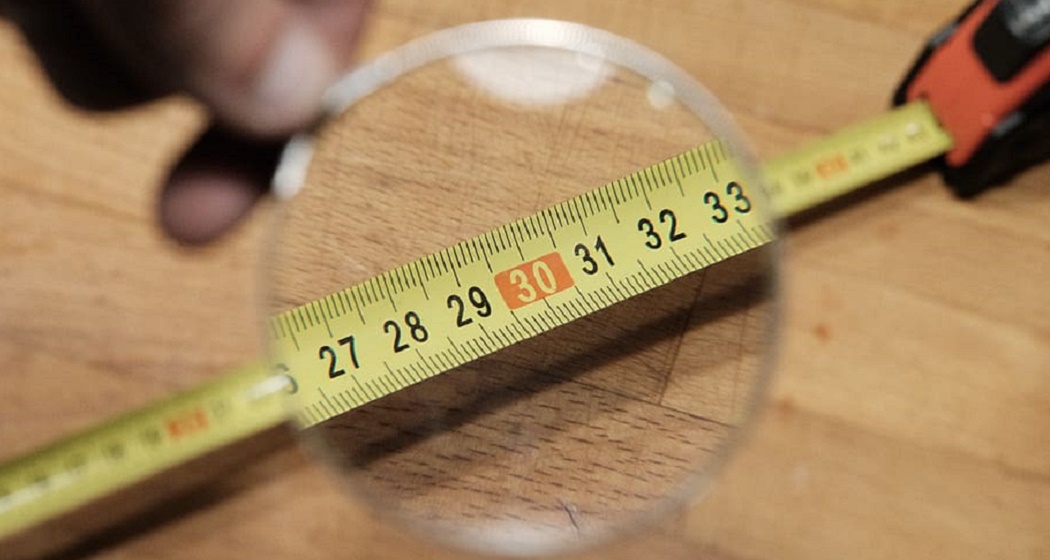
- The first thing you are going to do is measure the painting
- According to the measurement, you need to point to the corner molding
- Now cut four pieces of the corner molding
- Take each molding and cut the corner 45 degrees from outside to inside.
- After cutting each of them, try to put them together to see if they fit correctly or not.
- Take the glue and stick those corner moldings together
- Make sure they are kept in a tight space so they will not come apart
And you are done making your own wood panel!
You can follow the previous steps to put the painting on the panel. A few things you need to do is get a piece of wood from the hardware store and cut four small pieces from it. Now, you need to use them as support for the painting together with the wood panel.
Also, you can always screw instead of glue as they will ensure you a more secure position.
Final Thoughts
There you have it- a tutorial on how to frame a painting on a wood panel. We tried our best to explain everything with simple language so that you will not face any trouble. If you do not wish to go to the length of making your own wood panel, you can do the framing part using the readymade ones. But if you like, you can also make your own by using our template on how to do that. We wish you luck on your journey!
Check it out to learn – Grey Wash Wood Paneling
Angela Ervin
Angela is the executive editor of DIY quickly. She began her career as an interior designer before applying her strategic and creative passion to lifestyle and home. She has close to 15 years of experience in creative writing and online content strategy for housekeeping, home decorations as well as other niche efforts. She loves her job and has the privilege of working with an extraordinary team. She lives with her husband, two sons, and daughter in Petersburg. When she's not busy working she spent time with her family.


