
How to Fray Fabric
A frayed edge can add a touch of dimension and interest to any project. There are many ways to fray fabric, but the most common and straightforward method is to use scissors. In this quick tutorial, we’ll show you how to fray fabric using scissors. Let’s get started!
Can You Fray Fabric?
There’s something about the frayed fabric that gives it a unique charm. Whether it’s the soft, ruffled edges of a romantic lace dress or the distressed look of a pair of well-worn jeans, frayed fabric has a textured appeal that is truly eye-catching. But what exactly is fraying, and how do you achieve this sought-after look?
Simply put, fraying is the process of creating loose, unraveled threads on the edge of the fabric. This can be done using various methods, including cutting the fabric with scissors or tearing it by hand. Once the threads are loose, they can be left as-is or further trimmed to create a more polished look.
While fraying may seem like a simple concept, there’s actually quite a bit of technique involved. For best results, choosing the right fabric type and using the appropriate method for your desired look is important. With a little practice, you’ll be able to create beautiful frayed fabrics that are perfect for everything from clothing to home décor.
Why Should You Fray Fabric?
There are many reasons why you might want to fray the fabric. Perhaps you’re looking for a distressed look or want to create fringe. Fraying fabric can also be a great way to add texture and interest to a project. Whatever your reasons, you can use a few different methods to fray fabric.
The most common method is simply pulling on the threads that make up the fabric. This will cause the fabric to unravel and create a frayed edge. Another option is to cut the fabric into strips and then fray each strip individually. This method takes a bit more time but can produce a more even fraying effect.
Whichever method you choose, be sure to work slowly and carefully to achieve the results you desire.
7 Tips to Follow on How to Fray Fabric
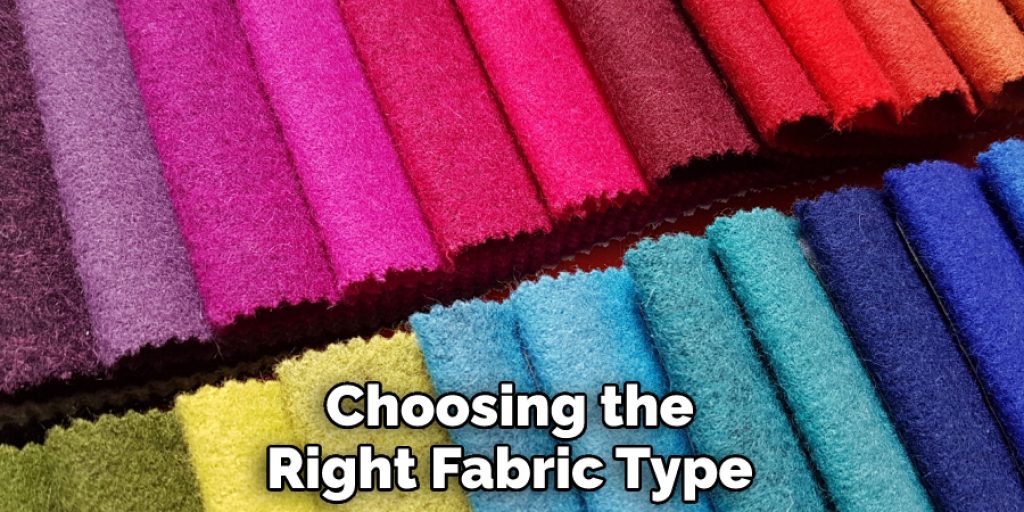
1. Choose the Right Fabric
The first step in learning to fray a fabric is choosing the right fabric type. A good rule of thumb is to choose a fabric that is 100% cotton or linen. These fabrics are less likely to unravel and will produce a more consistent frayed edge.
2. Cut the Fabric
Once you have chosen the right fabric, you will need to cut it into strips. The width of the strips will depend on how much fraying you want. For a more subtle frayed edge, cut the strips 1/4 inch wide. For a more pronounced frayed edge, cut the strips 1/2 inch wide.
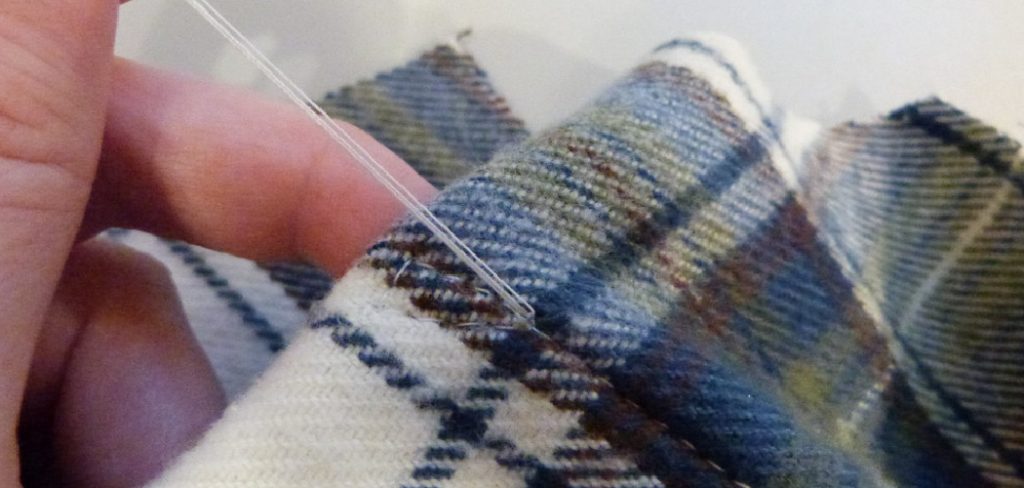
3. Fray the Edges
After you have cut the strips, it is time to fray the edges. To do this, simply run your fingers along the edges of the fabric until the threads start to come loose. You can also use a seam ripper or other sharp tool to help loosen the threads.
4. Knot the End
Once you have frayed the edges of the fabric, you will need to knot the end of each strip to prevent further unraveling. To do this, simply tie a knot at one end of each strip.
5. Hang the Strips
After you have knotted the ends of the strips, it is time to hang them up and allow them to fray. Hang the strips from a clothesline, shower curtain rod, or another item that you can use as a makeshift drying rack. You may need to use some clips or clothespins to hang the strips up, so they don’t slip off.
6. Wait for Them to Dry
Once you have hung up the strips, you will need to wait for them to dry completely before using them. This could take anywhere from a few hours to a few days depending on the humidity and temperature levels in your area.
7. Use Them as Desired
Once the strips are dry, you can use them as desired. Some popular uses for frayed fabric include embellishing clothing, creating home decor items, and wrapping gifts.
With these tips on how to fray fabric, you can create beautiful and creative projects that will last for years. Whether you are a beginner or an experienced crafter, learning how to fraing fabric is a fun and creative way to add texture and design elements to your projects. So, get creative and start fraying!
Things You Need to Know Before Fray Fabric
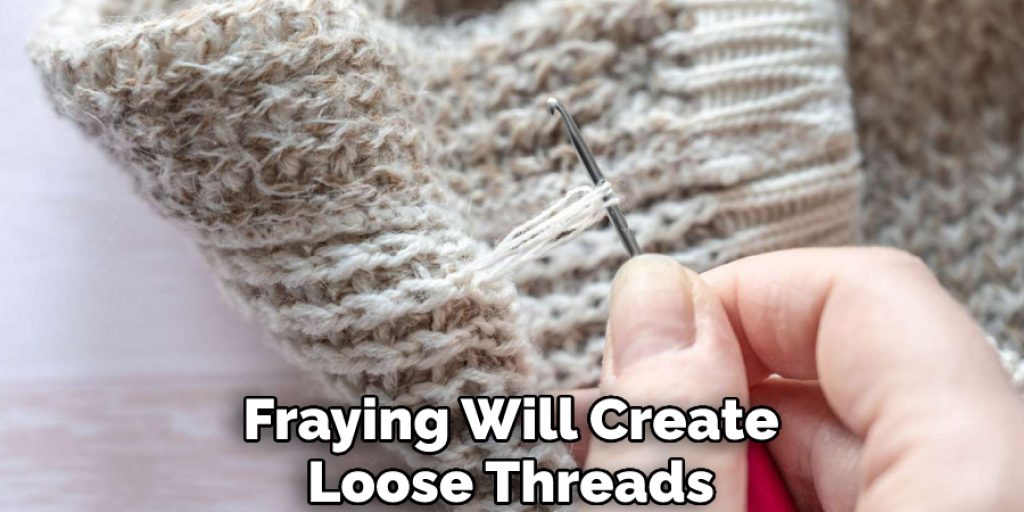
If you’ve ever wanted to add a unique touch to a piece of clothing or fabric, fraying is a great way to do it. However, before you start fray fabric, there are a few things you need to know. First, fraying will create loose threads that can come undone, so securing the area you’ll be working on is important.
Second, different fabrics will fray differently, so it’s important to experiment with a scrap piece of fabric before starting your project. Finally, fraying can be time-consuming, so ensure you have enough time to complete the project. With these tips in mind, you’re ready to start fray fabric and creating something truly unique!
5 Benefits of Fray Fabric
1. More Absorbent
Fray fabric is more absorbent than other types of fabric, making it ideal for use in towels, napkins, and tablecloths. The increased absorbency of fray fabric helps to prevent spills and stains from setting in, making it easier to clean up after meals.
2. More Durable
Fray fabric is also more durable than other types of fabric, meaning that it will last longer without showing signs of wear and tear. The increased durability of fray fabric makes it ideal for use in clothing, as it will not tear or fade as easily as other fabrics.
3. Softer
Fray fabric is also softer than other types of fabric, making it more comfortable to wear. The increased softness of fray fabric helps prevent skin irritation, making it ideal for baby clothes and underwear.
4. More Breathable
Fray fabric is also more breathable than other types of fabric, making it ideal for use in summer clothing. The increased breathability of fray fabric helps to keep the body cool and comfortable in warm weather.
5. Eco-Friendly
Fray fabric is also more eco-friendly than other types of fabric, as it is made from natural fibers that can be easily recycled or composted. The increased sustainability of fray fabric makes it an ideal choice for those looking to reduce their environmental impact
Some Common Mistakes People Make When Trying to Fray Fabric
Anyone who has ever tackled a sewing project knows that fraying fabric can be a frustrating endeavor. Even the most experienced sewers have had to start over after making one of these common mistakes.
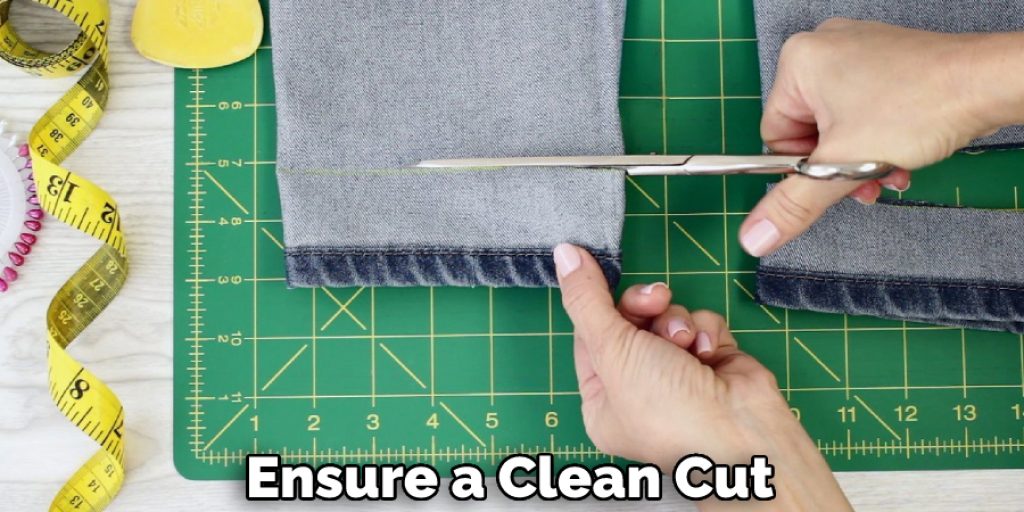
One common mistake is cutting the fabric too close to the edge. This may seem like it will save time, but it will only result in frayed and damaged fabric. Instead, leave a small margin around the edge of the fabric to ensure a clean cut.
Another mistake is failing to use the proper scissors. Fabric scissors are designed to cut through material without damaging the fibers. Using regular household scissors will result in frayed and uneven edges. Be sure to invest in a good pair of fabric scissors to get the best results.
Finally, some people try to fray fabric by pulling it apart with their hands. This may work for very thin fabrics, but it will damage thicker materials. A better method is to use a rotary cutter or an electric knife. These tools will quickly and evenly fray the fabric without causing any damage.
By following these simple tips, you can avoid making common mistakes when fraying fabric. With a little practice, you’ll be able to achieve professional-looking results every time.
How to Get the Perfect Frayed Hem on Your Jeans
There’s something about a pair of well-worn jeans that just looks effortless and cool. One way to get that look is by fraying the hem of your jeans. It’s a relatively easy process that can be done at home with just a few supplies.
First, use a pair of sharp scissors to carefully cut along the desired hemline. Next, use sandpaper or a nail file to roughen up the edges of the denim. This will help the fabric fray more easily.
Finally, wash and dry your jeans (without fabric softener) to help loosen the fibers and create a distressed look. With just a little time and effort, you can achieve the perfect frayed hem on your jeans.
What Are the Risks Associated with Fraying Fabric?
When fabric starts to fray, it’s not only unsightly, but it can also pose a serious safety hazard. Fraying fabric can easily become entangled in other materials, leading to trips and falls. In addition, Fraying fabric can also release small fibers into the air, which can be inhaled and cause respiratory problems.
Worse, some fabrics contain harmful chemicals that can be released when they fray. For example, many types of upholstery fabric are treated with flame retardants, which can be toxic if inhaled. As a result, it’s important to take action as soon as you notice fraying fabric.
Whether trimming loose threads or replacing a worn-out piece of upholstery, taking care of fraying fabric is essential for safety and aesthetics.
Conclusion
Whether you’re looking to add a bit of texture or simply want to change up the look of a project, the fraying fabric is a great way to do it. You can achieve beautiful results with just a little time and some simple supplies. Thanks for reading our post about how to fray fabric.
Nancy Behan
Nancy is an embroidery artist, fashion blogger and a full time editor at DIY quickly. Nancy edits the fashion section on DIY quickly, focusing on the embroidery and cross stitch articles, alongside with fabric and other costume design elements. She graduated from the University of Michigan with a Bachelor of Arts in Art History. She loves to work on her own projects, read books and watch romantic movies in her spare time.


