
How to Smooth Paper Mache Before Painting
Introduction:
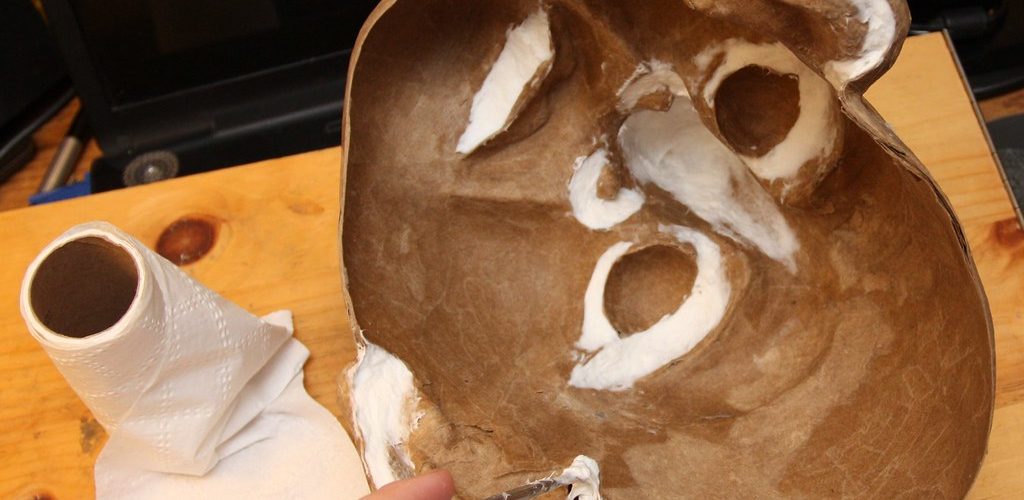
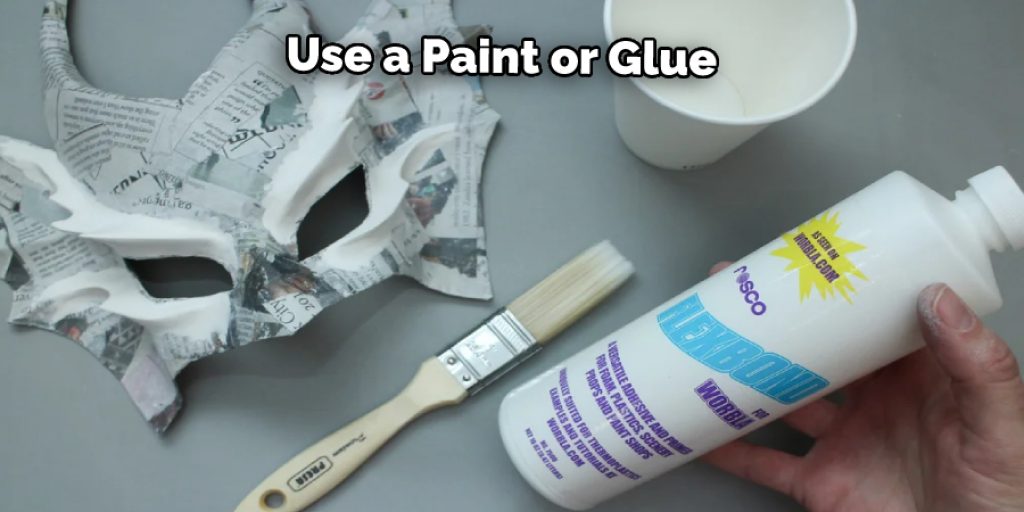
Paper mache is a mixture of paper that has been soaked in water and then allowed to dry. After drying, the paper becomes very strong, stiff, lightweight, and durable. It can be used to make sculptures where the creation will be handled or used as support for items held up with string or wire. It is also beneficial for making masks because you can breathe through the material easily while creating it with your own breath! In this article, I will discuss how to smooth paper mache before painting. So let us get started.
A Detailed Stepwise Guide on How to Smooth Paper Mache Before Painting:
Step 1: Mix Filler
To make a paper cup filled with the mixture, you will need an old white paper cup, a coffee mug, or a milk/water glass. Make sure there are no chips on the cup. Pour the mixture into the cup and wait for it to solidify. You can buy a readymade filler, but it will be more expensive than making your own.
The readymade filters have many advantages – they can be stored easily, are quick to prepare and give better results. However, I prefer the handmade one because the readymade fillers may not be as flexible and strong as the handmade ones.
Step 2: Add Water & Mix It Well:
In order to mix the soil properly, you need to add water to the mixture. To determine how much water to add, take a handful of soil and squeeze it until water oozes out. If no more soil comes out after squeezing, you have added enough water. However, if there are grits still visible on your fingers, add more water and repeat squeezing until the dirt is gone from your fingers.
To make a clay mixture, you must mix all the ingredients together until they are a smooth consistency. If the mixture becomes too liquidy, stop adding water and continue to mix. If there are any gritty bits in the mixture, add more water and mix again. It is better to stop adding water before the mixture is too thin rather than adding too much water.
Step 3: Test for Consistency:
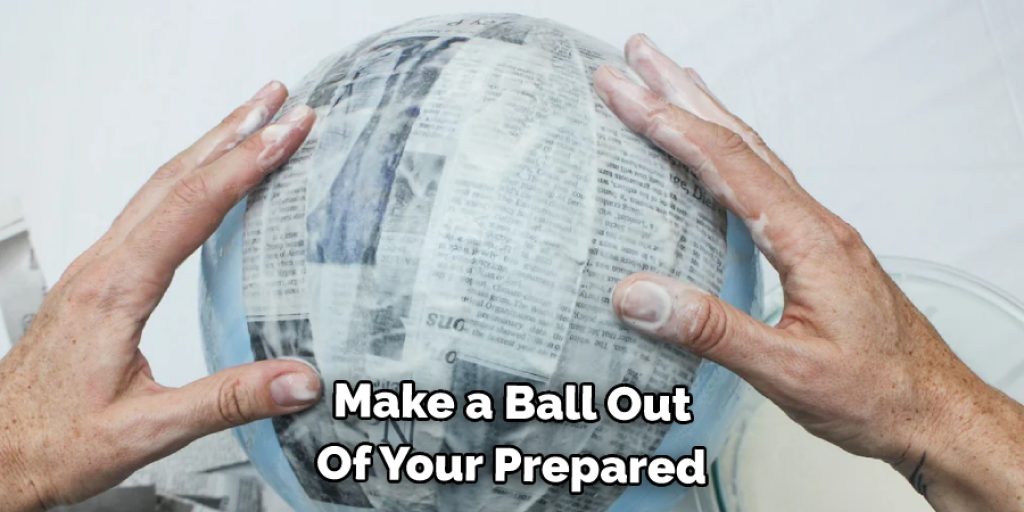
Form your prepared mixture into a ball, and keep it in your palm. Then, lightly squeeze the ball with your thumb and forefinger; if the pieces start falling off on their own without breaking, you’ve reached the correct consistency! But if they break when squeezed or you have difficulty forming them into balls (they stick to your hands), add more filler powder (or mud or flour paste) to harden your mixture until the required consistency is reached.
Step 4: Let It Dry Overnight
Fill the mixture into paper drinking cups or small containers about two-thirds their height, so that you can pour out excess later on. Leave the mixture overnight to become more flexible; if this is not done, cracks will likely appear on your finished products.
Secure the paper clips with clothespins or clips, so they don’t come undone and spill over your floor while drying. Remove the clips after the molding process is complete, as it would be challenging to remove the dried mixture from the clips! It makes more sense to keep them aside in a situation like this rather than trying to take them out and risk breaking the mold.
Step 5: Make Your Own Moulds
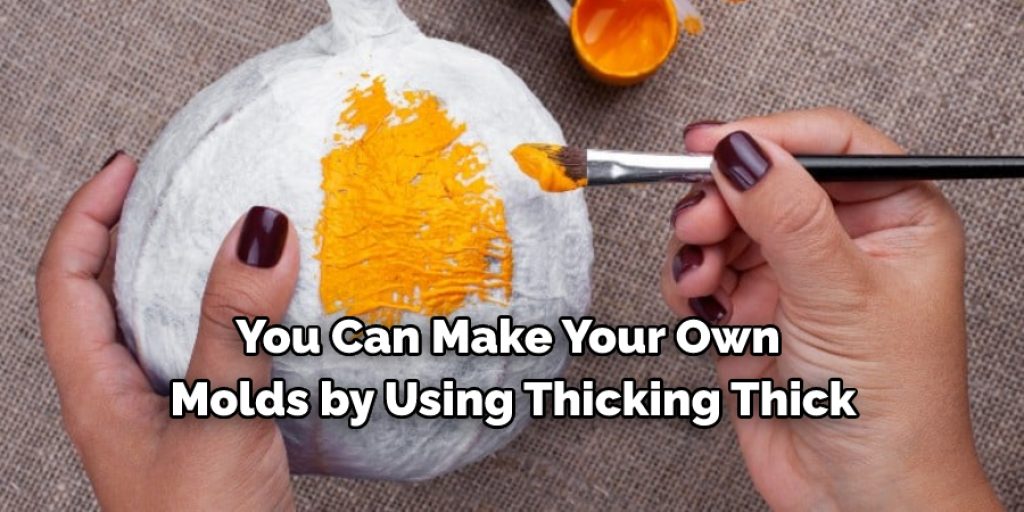
You can make your own molds by using thick, flat objects like old magazines/newspapers, thick cardboard pieces (not recycled), portions of plastic bottles or pots, etc. Just cut out the required shape with a general knife and place it over the dried mixture – if it fits well with little adjustment needed, then you’re done!
You Can Check It Out to Remove Dents From Paper
To make your shapes, first mix the plaster powder with water. If the mixture is too runny, add more plaster powder until it is a thick liquid. Then pour the mixture into your molds and cover them with plastic wrap so the shapes can dry without getting dusty.
Step 6: Pour in Filler-Mixture into These Moulds & Allow It To Dry
Pour the filler mixture into these molds after making holes at their bottom with a knife for drainage. After pouring in the mixtures, cover them tightly with plastic sheets to prevent dust from entering inside while drying. Remember that this mixture takes longer to dry than a regular mud mixture because of excess moisture content!
Let the mixtures dry completely before taking off their plastic covering. It’s better to wait for a day or two instead of risking breakage by opening the mold too soon! You can open your homemade clay molds after 2-3 days, but remember that they may appear watery because of excess moisture retention. This appearance will disappear when you start the actual process. It’s only meant as a precautionary measure!
Step 7: Paint Your Moulded Blocks
After creating various mud molds, you can easily use old newspapers or magazines to create different sizes and shapes. After painting your molded blocks, allow them to dry before assembling them into other products like pottery ornaments.
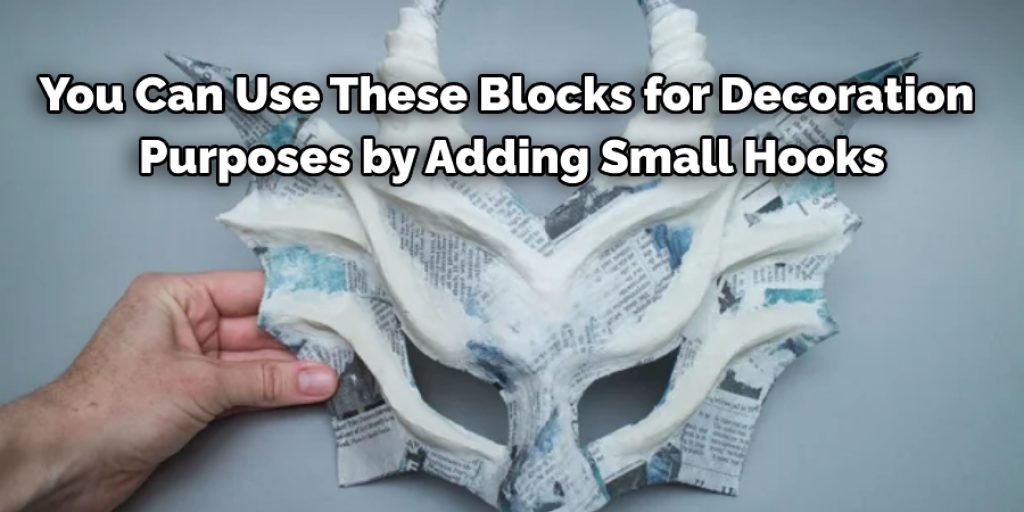
You can use these blocks for decoration purposes by adding small hooks on their back which you can hang on display. If you don’t have time to paint them now, just stack them up so that dust doesn’t enter inside – it will not affect the outcome because after drying completely, they become hard enough to withstand any mishandling without breaking!
You Can Check It Out to Make Paper Mache Smoother Make Paper Mache Smoother
Precautions While Smoothing Paper Mache Before Painting:
1. The smoothing of paper mache to prepare it for painting is washed away some textures that might have been useful in the decoration process since those original textures will be covered up by paint. For this reason, it is advisable only to use a fully smooth surface as a last resort. If you can’t achieve a satisfactory finish with other techniques, smoothening may be the only option.
2. Making paper mache smoother makes it more difficult to get into small areas and intricate designs because it increases stiffness and gives everything a glossy sheen which improves visibility and reflects light from your work area onto your project, making details harder to see clearly.
Frequently Asked Questions
Can You Use Mod Podge to Seal Paper Mache?
Yes, you can use Mod Podge to seal paper mache. However, it is important to follow the instructions carefully so that the end result is a successful seal.
Before applying Mod Podge to your paper mache project, ensure the paper mache is completely dry. Apply a thin layer of Mod Podge to the surface of the paper mache, and wait until it has dried completely before applying another layer. Repeat these steps until you have sealed all the cracks and crevices in your paper mache project.
Do You Need Emulsion Paint for Paper Mache?
Paper mache is a type of sculpture made from pieces of paper that are glued together to create a three-dimensional object. You do not need emulsion paint for paper mache.
What Kind of Spray Paint Can I Use on Paper?
There are many types of spray paint that can be used on paper. The most common type is aerosol spray paint, a liquid released into the air when you spray it. This type of paint is easy to use and doesn’t require any special preparation before you start painting.
Another type of spray paint is brush-on spray paint, which comes in various colors and can be used with a brush. This type of paint is more difficult to use because you have to apply it manually to your paper. It also requires more preparation before you start painting, as you need to clean your brush and choose the right color.
Can I Varnish Paper Mache?
it depends on the type of varnish that you are using and the specific instructions that you follow. However, generally speaking, it is not recommended to varnish paper mache because it can damage the material over time.
Is Mod Podge the Same as Paper Mache?
No, Mod Podge and Paper Mache are two different types of adhesives. Mod Podge is a water-based adhesive that can seal and protect surfaces, while Paper Mache is an oil-based adhesive used to create textures and patterns on surfaces.
Conclusion:
I hope this article has been beneficial for learning how to smooth paper mache before painting. Ensure all the precautions while performing the process. Thank you and have a nice day!
Elizabeth Davis
Elizabeth is a creative writer and digital editor based in the United States. She has a passion for the arts and crafts, which she developed from a young age. Elizabeth has always loved experimenting with new mediums and sharing her work with others. When she started blogging, she knew that DIYquickly would be the perfect platform to share her tutorials and tips. She's been writing for the blog from the beginning, and her readers love her helpful advice and easy-to-follow instructions. When she's not writing or editing, Elizabeth enjoys spending time with her family and friends.


