
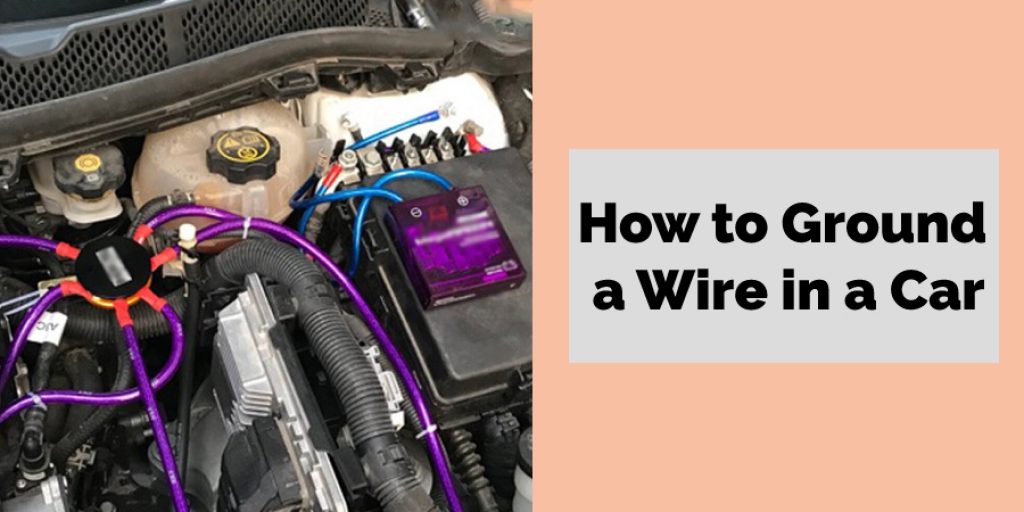
How to Ground a Wire in a Car
When trying to ground a wire in your car, there are multiple ways that you can do this. In these blog posts, we will cover how to ground a wire in a car. The most popular way is by using the car’s frame as an electrical conductor. This is done by attaching one end of the wire to any metal part of the vehicle and then grounding it with another piece of metal at the other end.
It would be best if you were able to find something like an unpainted bolt or screw head on which to attach one end of the wire for grounding purposes. If not, you should look for other objects that will conduct electricity, such as coins or pennies. You could also use a paperclip instead, but make sure that it doesn’t touch anything else other than what it needs to be touching!
11 Steps to Follow: How to Ground a Wire in a Car
Grounding a wire is the number one most important thing to do when you work on your car. The grounding strap and grounding wire are your first line of defense against static electricity, which could damage your car’s electrical system. Here we have given some steps on how to ground a wire in a car. So be sure to follow them.
Step 1: Check Your Health
Before you even touch your car, check your health. For example, if you have a pacemaker or other electronic implantable device, do not work on the inside of your car without consulting your doctor first.
Step 2: Locate Grounding Points for Your Convertible Top
Check for and mark the grounding points on your convertible top. First, check under the back of the front seat and find where the round metal studs create a triangle on both sides. These two triangles should meet right in the middle of the car’s interior; there should be four studs total, two on each side.
On each side of the triangle, you should see another metal stud under the back edge of either front seat. If your car does not have the grounding points above the seats, make sure to check for them on top of the door frame or at any other place where you will be working on the inside of your car.
Step 3: Check Your Convertible Top
Make sure to check your convertible top thoroughly before you begin raising or lowering it. First, remove the trim surrounding the glass windows and run your hands along all of the seams and folds to ensure there aren’t any tears, rips, holes, loose threads, or frays. If you find anything suspicious at all with the fabric of your top, consult a mobile upholstery shop for repairs before you continue.
Step 4: Check the Hardware
Check all of the hardware inside your car to ensure it’s not rusty or flaky and won’t cause problems when you ground a wire in your car later. If you find any flimsy or corroded hardware, remove it and replace it with new hardware.
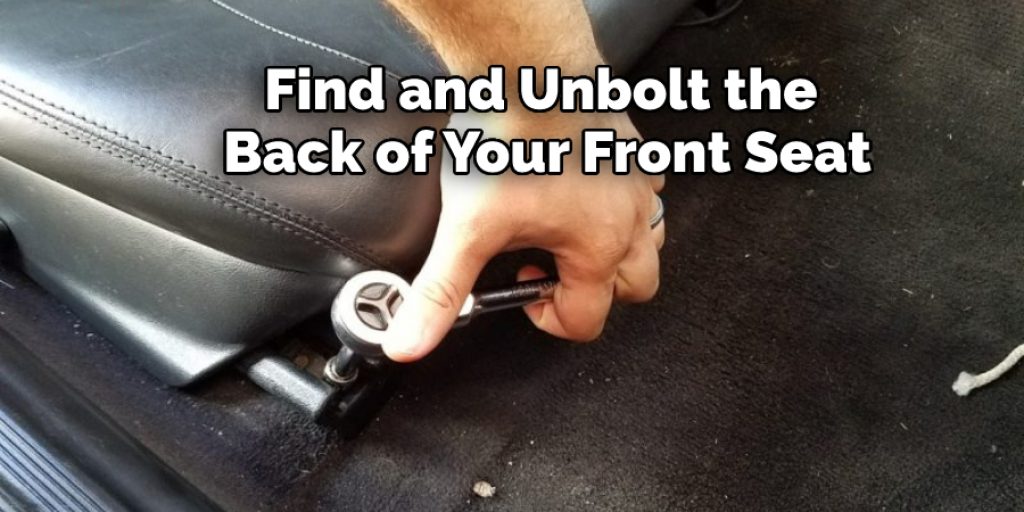
Step 5: Unbolt the Back of Your Front Seat
Find and unbolt the back of your front seat from the car. It’s usually on the bottom inside corner of each front seat. If you need to replace your grounding wire in a car that doesn’t have a bolt, check around your floorboards for screws or other hardware holding the seat bottom in place.
Step 6: Remove Your Front Seat from Your Car
Now you can remove your front seat from your car. First, locate the grounding wire on your seat and pull it through its hole to disconnect it before removing the whole seat from the car. It should slide out of a grommet on top of the floorboard.
Step 7: Measure for Your New Grounding Wire
Measure from your grounding wire’s hole on top of the floorboard to the back of your front seat where you removed the bolt or another ground point on top of a door frame or window if you can’t find one at your original location. Cut a new length of wire to match.
Step 8: Connect the New Grounding Wire to Your Seat
Connect your new grounding wire to your seat according to whether you have a bolt or other screw on the bottom of the seatback. Once it’s connected, attach the other end of your grounding wire to wherever you found a ground point on top of your door frame or window.
Step 9: Reinstall Your Seat
Reattach the grounding wire to its grommet on top of the floorboard and then reinstall your seat into your car. Once it’s properly in place, test the connection by touching the end of your new grounding wire with one hand while you touch your car’s metal chassis with the other and see whether you feel a current running through the wire. If so, congratulations! You have successfully grounded a wire in your car.
Step 10: Reattach Trim and Hardware
Reattach all of the trim and hardware that you removed to access your grounding point. Then, before you start driving or operating your convertible top, go around the perimeter of all of your windows and make sure that it is clean and free of dust or dirt that could scratch the paint.
Step 11: Test the New Grounding Wire
Now that you’ve made your new grounding wire test it again by touching the end with one hand while you touch either your car’s metal chassis or one of its door frames with the other. Similarly, if there isn’t any current running through the wire, recheck your connections.
Things to Consider Before Grounding a Wire in a Car:
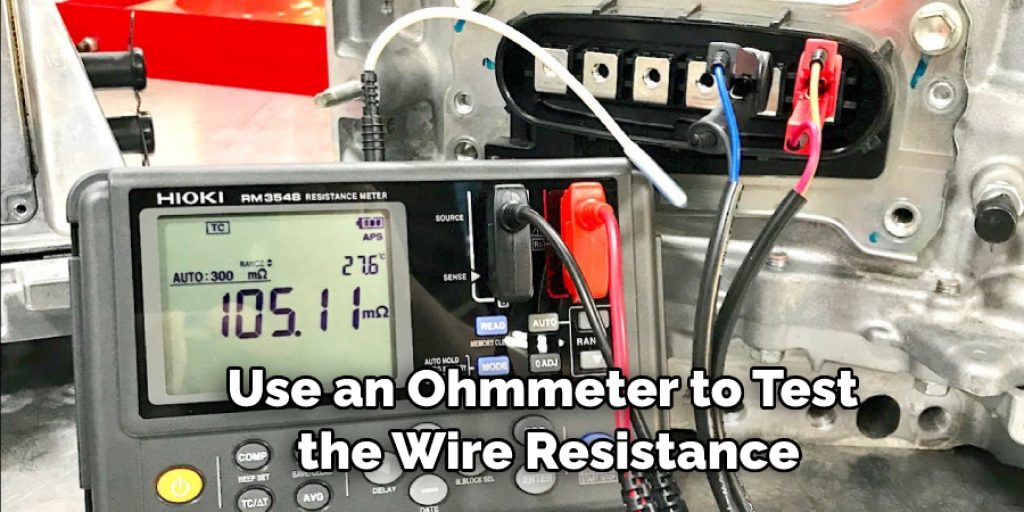
- Use an ohmmeter to test the wire resistance (measure 0.1ohm – 100ohm, or 1ohm 10 million ohms).
- If the wire is not grounded well, it will be easy for the wire to hit a spark and burn out.
- If the wire has already been burned out, then you will need to find a new wire or rebuild it yourself if it is not too complex of a design.
- If you do not ground a wire to the negative battery terminal or another metal object, it will arc across the air and burn out.
- The more amps (Ampere) of electricity through a wire, the more resistance there is, and it creates heat.
- If you short-circuit a wire with too many amps of electricity through it, then it will melt and burn.
- To reduce any risk of short-circuiting, always use a wire connector and shrink tubing to connect wires and protect them from water and damage.
- Do not let wires contact sharp metal edges or surfaces because it can cut the insulation off and create a short circuit through the air.
Conclusion:
If you need to ground a wire in your car, the best way is by using an insulated screw that has been screwed into the car’s metal. However, this can be tricky because many different metals are used in vehicles with varying degrees of conductivity. To find out what type of metal your car is made from, check for any labels on its exterior or ask someone who works at a dealership.
The insulation should cover both parts and ensure it doesn’t come off when you tighten it down with pliers (ideally). You may also want to use some electrical tape if necessary; this ensures that no electricity flows through the wires even after they’ve been disconnected from their original connection. We hope this blog post on how to ground a wire in a car has been helpful. Let us know your thoughts in the comments below!
Louis Wein
Louis has always been fascinated by cars. He loves the way they look, the sound of the engine, and how they make him feel when he's driving. He is always keen to learn more about different mechanics of cars and how the engine contributes to other aspects of the car. As an automotive technician with over 10 years of experience, he knew how they worked and loved taking them apart to see how they went back together. He was especially interested in the mechanics of combustion engines and loved finding ways to make them more efficient. He loves to work on cars and help people keep their vehicles running smoothly. As a senior editor, he enjoys contributing to Diy quickly because it allows him to share his knowledge and expertise with others.


