
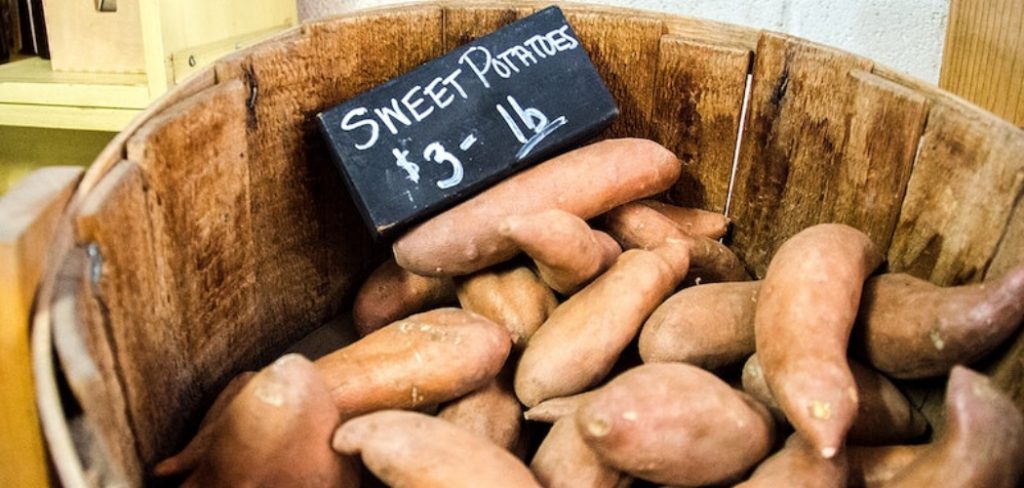
How to Grow Japanese Sweet Potato
Japanese potatoes are quite famous among the people who are fonder of vegetables. One of the best parts of this vegetable is the sweet taste, which attracts the audience much. But sometimes people face difficulty while growing these potatoes. For this reason today, we will state some techniques for increasing Japanese sweet potato, you can follow these techniques and perform cultivation of these potatoes in your own indoor space or the lawn.
Procedure
Many steps can be followed to grow Japanese sweet potato. By following these techniques, you can develop the potatoes in your lawn or grow them indoors. The potatoes’ proper maintenance should be done, and the potatoes can also be used for your cooking purposes. The steps that are included in these processes should be followed chronologically. For the better concern of our readers, we are simplifying some processes here.

Method One
This method is mostly applicable to growing indoor Japanese potatoes. In this method, we will use fully grown Japanese sweet potatoes for growing new ones. The roots that developed from these potatoes can be used for the propagation of the potatoes. The most important aspect of this method is you will not need many accessories or instruments for the proper execution of this process. This is a very basic method of propagation, as you have to dig up the potatoes from your garden and then replant them.

Step One
At first, you need to gather all the necessary belongings that are required for this method. You will need some newly grown Japanese potato for this process. This process includes the regeneration of potato slips from old potatoes. You should obtain some freshly frown potatoes, and then you will need some sticks or toothpicks. These sticks should be firm enough to penetrate the body of the potato easily. Next, you will need to cut the old potato into a certain shape by means of a sharp knife. This shape should be around two inches wide and one inch in thickness.
For this project, you will need some one-time use glasses, preferably transparent plastic glasses. This is so you can easily observe the potatoes’ growth. You will also need some freshwater, which is necessary for the entire process. The quality of the water is important for this project. Lastly, you will need a knife.
Step Two
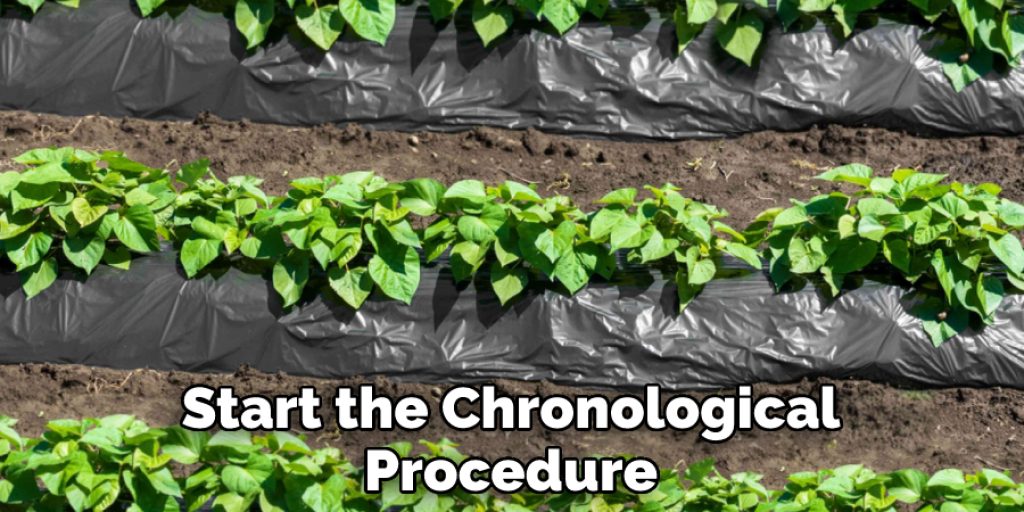
After you have gathered all the necessary equipment for the process, you have to start the chronological procedure. At first, you have to take some sticks and cut them into small pieces. There is an accurate measurement that should be maintained while preparing the bars. We suggest that you always cut the sticks in a length of six inches. This is much needed because the sticks’ extra size will be used to maintain the potatoes’ weight balance.
Step Three
In order to grow a potato plant, you need to start with a stick and a potato. First, you need to insert the stick into the potato. It is important to understand the shape of the potato before doing this. The potato should be pierced on the right side in order to ensure proper growth. Once the potato is pierced, you will need to monitor its growth by using a transparent plastic glass.
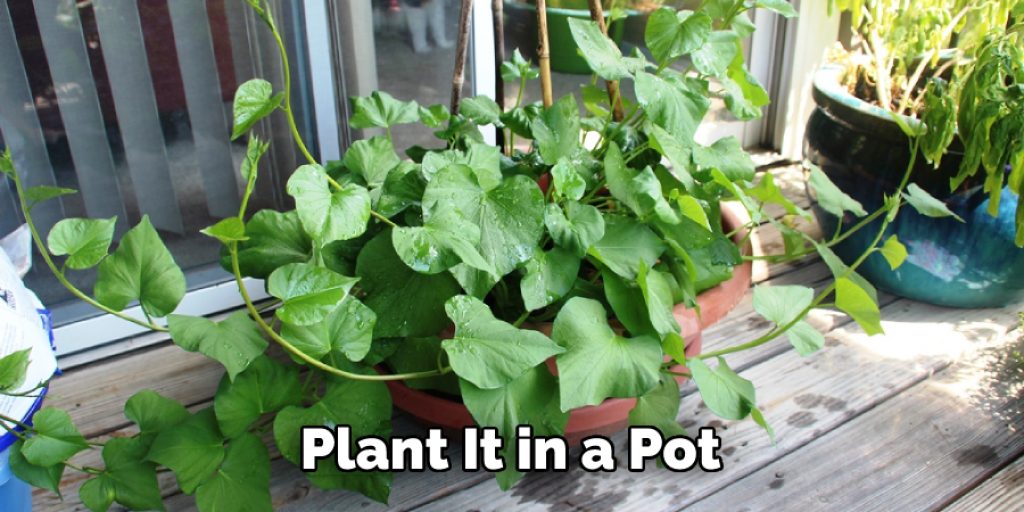
There are two ends of this vegetable, and it is much needed for everyone who wants to cultivate this vegetable to know the correct procedure. There are a sharp end and a blunt end of the potato. The pointy end is denoted as the potato’s head, and the blunt is considered the bottom of the potato. It is essential to immerse the right end in the water while preparing for the roots’ regeneration. While planting the potato in the soil, it is essential to bury the vegetable under 6 inches of soil for optimal growth. If you are growing the potato inside the house, it is recommended to plant it in a pot. The pot should be of 6-8 inches depth for this purpose.
Step Four
Now we have to insert the sticks in the potatoes. For this, you have to take the potato and mark the middle of the potato. You don’t need to take the actual middle measurement for this. Assumptions will also do in this case. Then you have to take three sticks, and you will pierce them in the potato, make sure that the potato can fully balance on the three sticks. Now take one more potato and repeat the same process. Take three sticks and pierce them into the potato at equal intervals.
Step Five
The three sticks should work as the three medians of a triangle that will hold the potato. Now you have to take a transparent plastic cup and pour some water inside the cup. The water will be much needed for the proper propagation of the sweet potato. You have to fill the cup in such a manner that the bottom of the potato remains fully immersed in the water. In this case, you can fill up the cup up to the halfway mark at first.
Then you can easily include more or exclude water from the cup, and now you have to take the potato, which is already pierced with a stick and insert the blunt end in the water. The top-end should remain aloof from water. Once the potato is properly immersed in water, the preliminary process is done. Now you have to wait for the results, and regularly you have to monitor the development of the potato inside the water. You can easily see through the transparent glass.
Step Six
After two weeks, you will observe that small slips of potato roots come from the potato’s power part. It would help if you kept some gap between the end of the glass and the potato’s immersed bottom. This is much needed because there should be ample space for the roots to develop and get proper nutrition from the water. In this manner, you can easily f=grow the Japanese potatoes without any major fertilizer or elements.
Step Seven
After almost two months, you will see that a healthy amount of roots have been developed from the potato, now you can cut them and plant in your garden form propagation. You can also take the potato that you used, cut it in halves, and then immerse the head part of the potato inside the water without sticks. This will also regenerate roots, but that will be lesser than the roots grown by the blunt end in the process mentioned above.
Method Two
In this method, we will discuss the propagation of the Japanese sweet potatoes in outdoors. This includes the planting of the sweet potatoes and the maintenance of the plants. This can quickly be done in your backyard or on the lawn. You can also use your regular garden for this process. Sweet potatoes are much easy to grow because they can be adapted to any environment, and they also grow below soil level, so the dust and most of the air do not harm the vegetables. The process is discussed below.
Step One
At first, you have to manage some roots of the sweet potato that you want to grow, and you can also use tubers to grow the sprouts. Then you have to manage the pot in which you want to grow the potato. It would help if you remembered that the vessel for growing the potato should be airtight, and all the leakage of the pot should be sealed before starting the plantation process. It would help if you also had a small shovel for carrying the soil. And there should be a profusion of water
Step Two
Once you have managed all these, you can start the process. At first, take the pot and then clean it properly. Remove all the attachments that were used for the previous cultivations. Then you have to take the pot and put some soil into the pot. There are no such specifications about the type of soil that you have to use for the roots. Still, it is better to use the basic soil that you are using for other plants in your garden, the adaptability of the potato roots will be much helpful in this regard.
Step Three
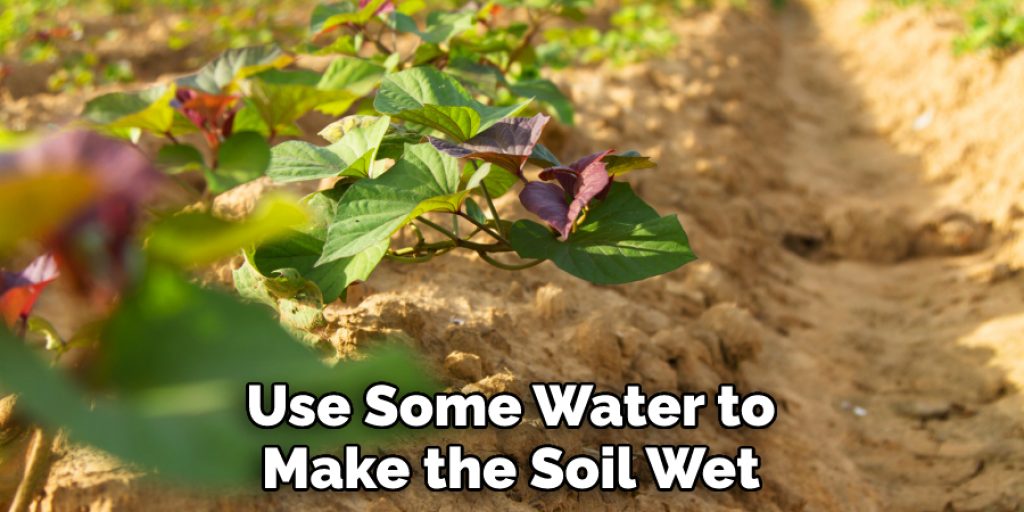
Next, you have to take the sweet potato plant roots and then pant them inside the soil bed that you have already prepared. Now you have to use some water to make the soil wet. It is much necessary because when the soil becomes wet, the nutrition will easily insert the plant’s roots through diffusion. In this manner, the plant will get the essential nutrients, and the growth of the plant will be accelerated.
Step Four
After the water is appropriately applied to the plant, you will see that the roots will develop, and after a couple of months, you will see a full-grown sweet potato plant in your garden. In the meantime, you must be sincere about the pest control of the plant. Sweet potatoes are much firm against the pests, but you should also use some essential pest control spray to protect the plants efficiently, and the fruits will evolve without any pest attack.
Conclusion
In conclusion, we would like to express our heartfelt gratitude to our readers, who have managed their time to discuss this. We hope that the techniques we have discussed will help you cultivate the Japanese sweet potatoes, the vegetable lovers will also like to perform these techniques in their home. Happy farming! Have a nice day!!


