
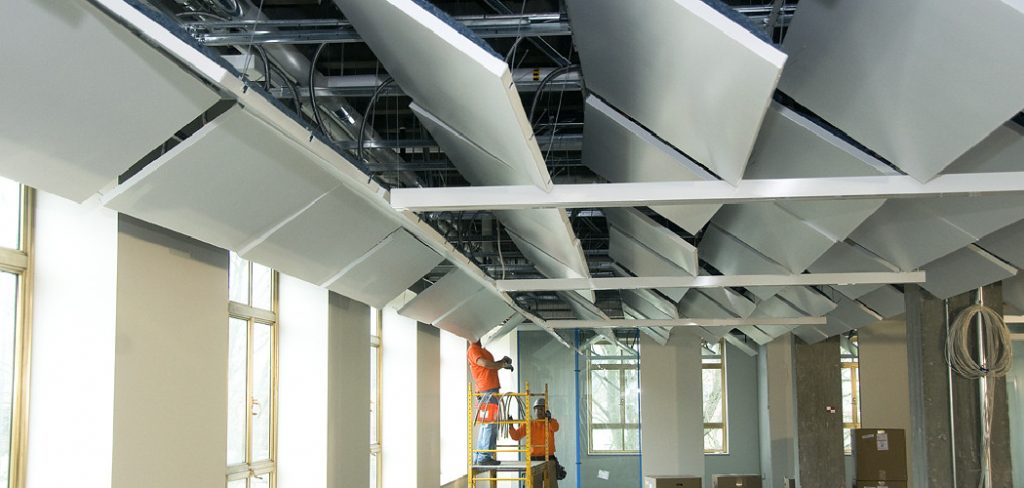
How to Hang Acoustic Panels on the Ceiling
Acoustic panels are one of the biggest upgrades of home. It enables a stylish look around the room and allows the user to control the sound precisely. If you are a music freak and love to hear crystal clear sound that lowers the echoes and distortion, you should definitely install these acoustic panels in your room. But the question is how to hang acoustic panels on the ceiling? Well, you may have brought the best quality acoustic panels, which guarantees an easy installation, but if you are doing this for the first time, things can be a bit challenging.
Soundproofing is a way to make a room or space more soundproof, or to reduce the amount of noise that can be heard in that space. There are many different ways to soundproof a space, but one common method is to use compressed fiberglass boards wrapped with a set of clothes. This method is effective, but it can be difficult to mount the boards if the ceiling is not the same type in every room.
If you want to soundproof your room, you can buy acoustic panels. Some of these come without any mounting hardware, so you will need to learn how to hand them on the ceiling. You can call an expert to do the whole job, but it is easy enough to do it yourself.
You Have to Ensure These Things First
- Select the mounting place according to your ceiling joists and then make an accurate plan
- Install the eyelets
- Use Zip-ties
The acoustic panels will help to reduce noise in the room and make it easier to hear. The zip-ties will help to keep the panels in place and make them last longer.
Benefits of Installing Acoustic Panels

To be honest, the benefits are greater than you might think right now. You may have high-end speakers and premium sound systems to get the true taste of room-shaking sound. But a high-quality acoustic panel can boost the capabilities of your sound system and provide you with enhanced sound every time.
The case is quite similar to different workplaces and restaurants. You won’t be able to acquire the exact sound quality due to the noises and crowd near you. And that’s literally the most annoying thing. This is where the acoustic panels come in. These panels can reduce the noises and fill the environment with natural and clear sounds. Acoustic panels help you to obtain true audio management.
One of the biggest issues with sound is reflection from walls and ceilings. This can create problems with volume control. However, installing acoustic panels on your ceiling can dramatically reduce this reflection, giving you the true experience of crystal-clear sound.
The high ceilings help to absorb sound naturally, but if you increase the sound and make it louder, there will be a significant change, affecting the sound quality. By mounting acoustic panels on the ceiling, you can acquire proper sound management, as stated above. This will stop sound waves from escaping from the wall panels and make the sound environment more transparent for you.
Honestly, there are a lot more benefits to having the sound panels. If we start to present all of them in this article, we can easily fill our next ten pages. So, instead of looking for more, you should try them out to witness the real usability. However, now let’s take you to the main point.
How to Hang Acoustic Panels on Ceiling Step-By-Step
As we have mentioned before, it is important to make a good plan before installing your acoustic panel. This might seem like a bit of a challenge, but it is actually not that difficult, especially if you stick to your plan. So, let’s dive into deep.
Select the Mounting Place According to Your Ceiling Joists and Then Make an Accurate Plan

It is a pretty direct step, but this step. If you have already bought your desired acoustic panel from the market, you have to ensure its perfect placement. There will be some mounting equipment attached to the panel but check the borders of the panel if they are capable of taking a few more screws or not.
If your panel’s border is on an inch wide, you will get plenty of accessibility to work with it. Besides, you should also check the type of material your acoustic panel is made of. If it is made of robust material, you may have to apply different types of strategies for the attachment.
On the other hand, you can also make the panels by yourself and use them for different purposes. In that case, you will get full control over the panel and make it based on your requirements, obviously with the mounting equipment. No matters what you do, make sure to keep at least one-inch width at the border area because you will need to screw some eyelets into them.
You need to find a place to put your acoustic panel. You will need to measure the panel and find a place where it will fit. You may need to move the panel to a different place if it does not fit where you first thought.
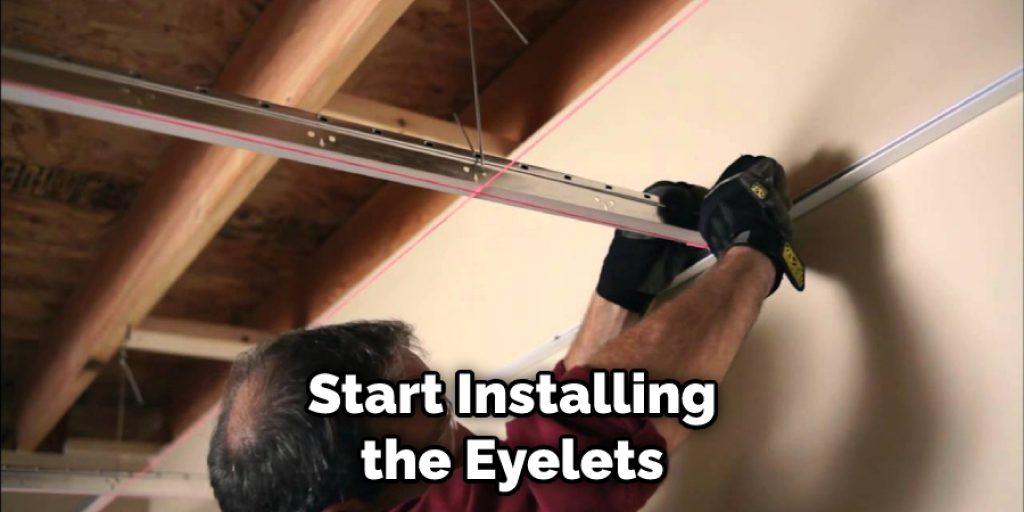
Installation of the Eyelets
Once you have figured out the accurate place, you have to now install the eyelets or any other fasteners to ensure a proper attachment of the panel. You can use different types of eyelets for this purpose. It’s completely your choice but make sure to choose a sturdy one.
However, use the measurement of the painter’s tape that you have got previously then start installing the eyelets on your ceiling according to that measurement. Keep in mind that these eyelets should be supported by the joists.
Install at least four of the eyelets (you can install more) and ensure that at least two of these eyelets go through the joists. It will hold your panel securely with the wall.
Now, it is time to attach the acoustic panel. You have to lift it up and hold it to the eyelets that you have installed in the ceiling. In this case, you may need a second pair of hands. So, take any of your family member’s assistance. Now, mark the matching spots on your panel. Then put the panel down and install the eyelets into those spots of your acoustic panel’s frame.
Using Zip-Ties
This is the final step, so concentrate on it. If you have followed the above steps properly, you may have come to this far easier. However, now we are going to use the zip-ties to make the attachment more secure.
Bring the panel right under the position where you have installed the eyelets. Now, hang it with the matching eyelets, after doing that, use the zip-ties to complete the attachment.
Make sure not to tighten the zip-ties too much. Thread them through the eyelets to make the attachment secure. Once you have threaded all of the eyelets, the panel will be held securely and won’t wobble. Check each attachment to make sure it is secure. If anything looks suspicious, fix it. You may need to shorten some eyelets to keep the acoustic panel at the right level.
You have been wondering what is the usage of zip tie from the first, aren’t you? Well, it will allow an air gap between the panel and your ceiling, which will make it look more beautiful. This floating appearance of your acoustic panel will definitely attract your guest’s attraction. If you want, you can also extend the gap between your acoustic panel and your ceiling. See told you we are going to provide you something more rather than the attachment only.
Conclusion
Hopefully, you have understood all of these factors properly and won’t have to ask anyone again how to hang acoustic panels on the ceiling. This attachment can be done in numerous other methods, but we have shown the easiest one. If you are confused at any point, don’t hesitate to inform us through the comment section.


