How to Hide Oil Tank in Basement
Like most people, you probably don’t think about your home’s oil tank until it’s time to fill it up. But if you have an underground oil tank, you’ll need to address the issue of tank safety and proper storage sooner or later.
Fortunately, there are a few ways to hide an oil tank in your basement without compromising its function or appearance. In this blog post, we will discuss how to hide oil tank in basement. This will help keep it hidden from view while still providing easy access when needed. Read on to know more!
10 Easy Ways on How to Hide Oil Tank in Basement:
1. Confirm Your Tank Location
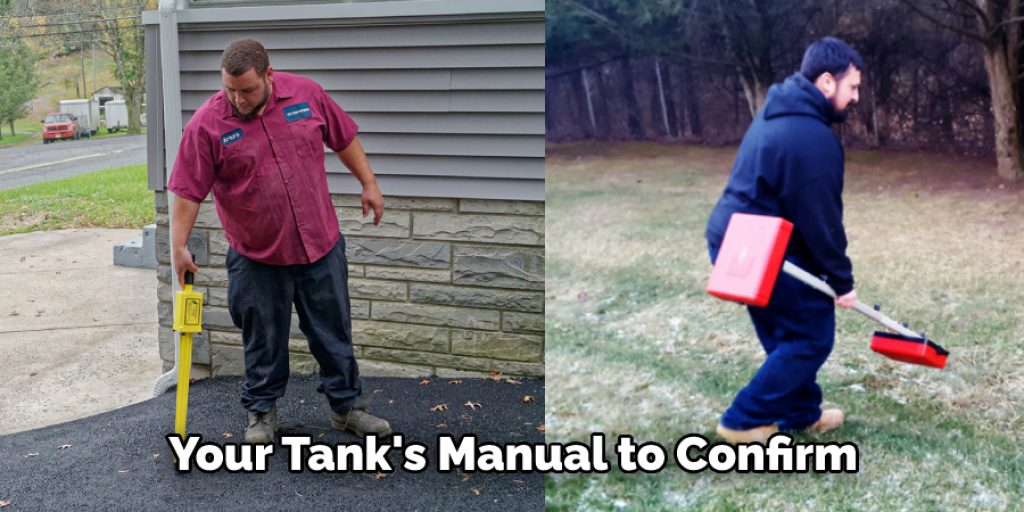
The first thing you will need to do is read your tank’s manual to confirm where the fuel line enters and exits your home’s foundation. This information should be available in the “service date” section. In most cases, if a fuel line has been run through an exterior wall, it should also be accessible from the inside.
2. Determine If You Can Reach the Fuel Line:
Next, you need to very carefully remove the access panel on the side of your home where it is visible from inside and out. In some cases, a fuel line runs through an exterior wall and exits into an adjacent wall that isn’t easily accessible from within the house.
In this case, it is usually in your best interests to run a new fuel line through the interior of your home and directly into the tank. If you feel you can avoid having to run a new fuel line by re-routing yours from inside, do so even if it means taking time to gain access from outside your home here and there.
3. Cut the Existing Line:
When you know exactly where your fuel line is located, cut it using a handsaw (or whatever you feel most comfortable with). While cutting the line, be careful not to damage any other components in your basement, such as water pipes or electrical wiring.
You will need to remove a section of pipe that is long enough for your new line to attach to. If you run a new fuel line through the interior of your house, find an accessible spot in the basement and cut a hole big enough for your fuel line to fit through; make sure not to damage any wiring or water lines.
4. Declutter the Area Around Your Fuel Tank:
Now that there are two fuel lines instead of one, you need to ensure your basement is as free from clutter as possible. Clutter can be an obstruction for the second fuel line and cause it to break under pressure, creating a leaky mess.
Hazardous chemicals can also be released into the air if a fuel line fails (which is only an issue if the leak isn’t noticed right away).
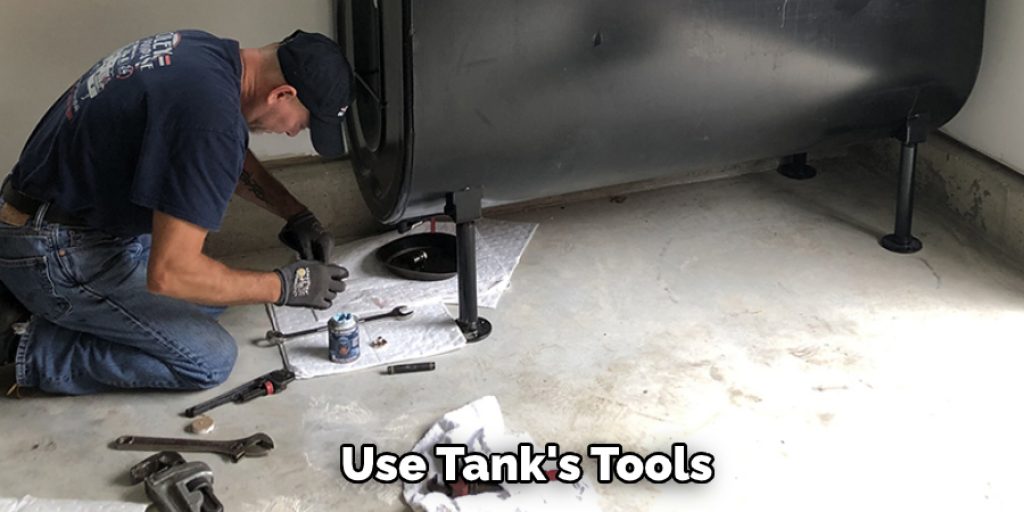
5. Attach New Fuel Line to Existing One:
Once your new fuel line is in place, and all obstacles have been cleared, you can attach it to the existing line (the old one that was cut) using clear fuel hose clamps or Teflon tape wrapped around them. Once it is firmly attached, you can turn the tank’s power back on and ensure there are no leaks.
6. Replace the Panel:
Now that everything seems to be in working order, you can replace the access panel on your foundation wall. In some cases, a new fuel line may need to be routed from inside into the basement and the tank. This would be done by drilling a hole through an interior wall and following the same procedure as creating a new fuel line on the exterior of the home.
7. Drill Holes in Tank:
Once you have confirmed all of the above steps, drill four to five holes in each corner of the fuel tank using a drill with a 1/2″ bit. This will allow air to escape while you are cutting the tank to create the opening needed to access the fuel line.
8. Make a Cutout:
Now that there are holes in the tank, you can make a cutout using a reciprocating saw or chainsaw to gain access from within your basement. Again, try to make it as smooth as possible and avoid damaging any wiring or pipes.
9. Ensure No Leaks:
Now that the tank has been cut, you can ensure there are no leaks by re-filling it with water and checking for any bubbling or signs of leakage around the area you cut from inside and out. If everything is in working order, turn the power back on and re-connect your tank to the furnace.
10. Replace the Tank:
Once you are confident that there are no leaks, you can replace the old fuel tank with a new one (if needed) or put everything back together as it originally was (if only making small repairs like this tutorial). Remember to check your basement for gas leaks after re-connecting the tank.
Some Helpful Tips and Suggestions:
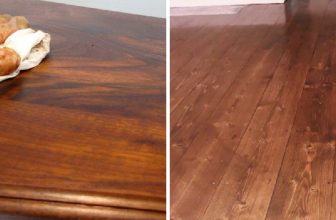
1. Flooring design is essential. It’s best to have the drain in the center of the room, running east-west (the long way).
2. A pitless adapter can be used to make draining easier and quicker, and less messy.
3. Drainage lines should be run in the wall, not on the floor (especially if installing carpet). A pitless adapter can also be used to make this easier and neater.
4. You might want to consider having your pitless adapter go through a clean-out plug, which isn’t as visible. Keep this in mind if you decide to change the tank later on.
5. It would be good to have your oil-heating system and water heating unit (if there is one) connected with gas lines. This way, you won’t need as many vents for air, and it can make your life much easier.
6. If you need to run gas lines, it’s best to have them installed while the construction of your house is being completed. You might be able to avoid having to tear out drywall or flooring if this step is taken care of early on.
Conclusion
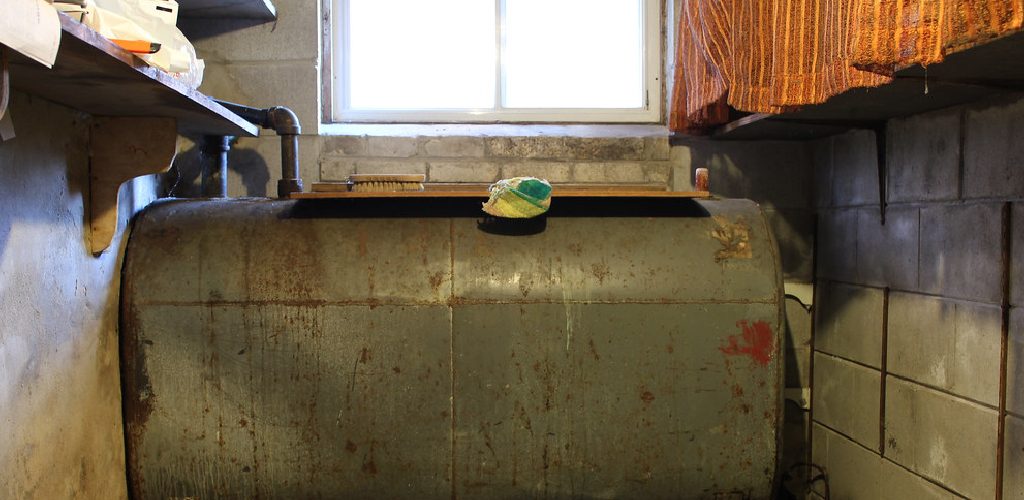
If you have an oil tank in your basement, it’s essential to take precautions to hide it from view. There are many options on how to hide oil tank in basement and keep your home looking its best. One option is to place the tank behind furniture or in a closet.
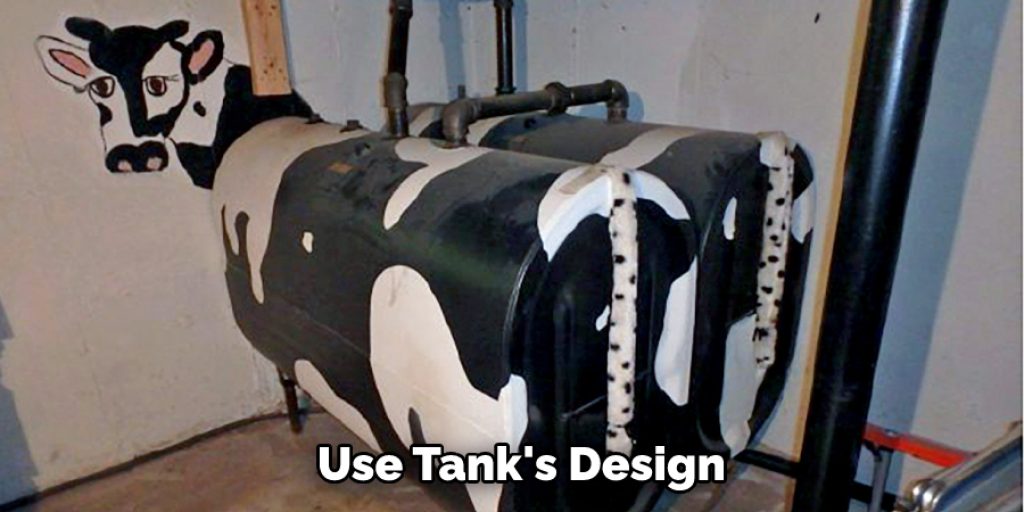
This will help to camouflage it and make it less visible. If you choose this route, make sure there is enough space between the tank and any walls so that fumes won’t escape. Another option is to use a decorative cover for your tank.
There are many different types of covers available, so you should be able to find one that matches the style of your home. By following the tips we’ve outlined in this blog post, we hope you can make sure that your tank is well-hidden and out of sight. If you have any questions feel free to comment below!