
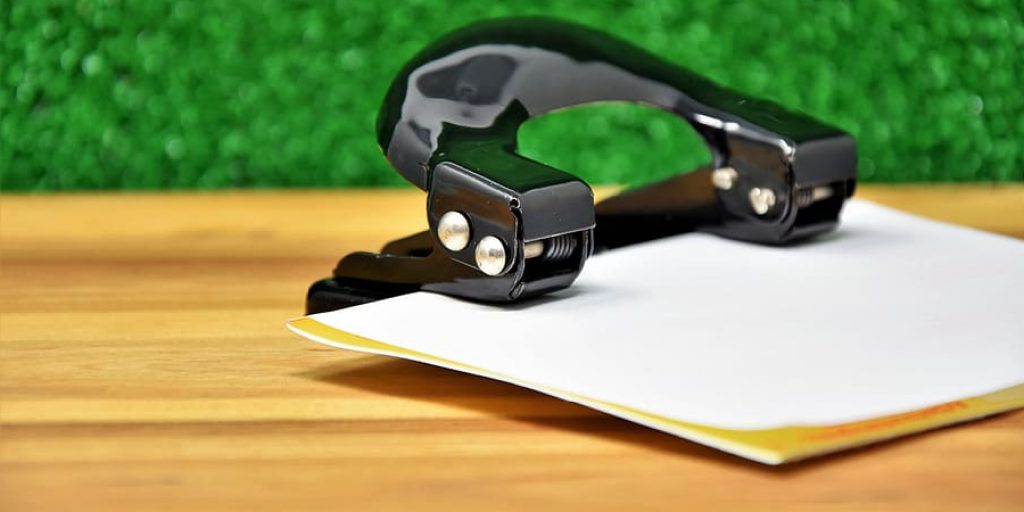
How to Hole Punch in the Middle of a Paper
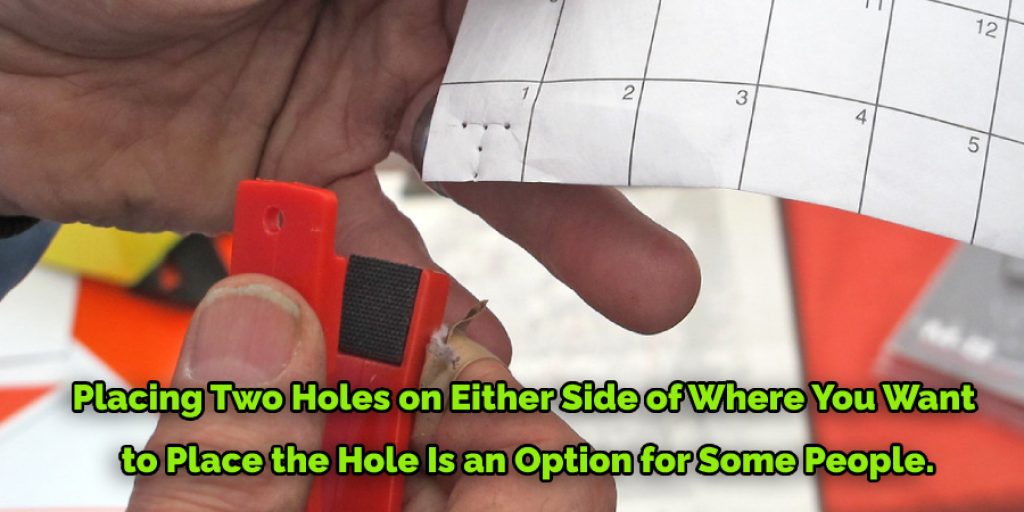
If your office has a paper cutter, you can always hole punch in the middle of the paper. However, many offices do not have one, and finding another way to make a hole is necessary. Placing two holes on either side of where you want to place the hole is an option for some people.
Another option would be to use a ruler and pencil or pen and then use scissors to cut out the rectangle that will be punched out with this method. In this blog post, we will talk more about how to hole punch in the middle of a paper so that you can place a paper clip on it and keep track of all your important papers that you need to organize.
Summary: If you need to hole punch a document, there are several ways to do it. One way is to fold the paper in half so that the hole will line up correctly, and then punch through the fold. Another way is to place the document on a flat surface, and then using a hole punch to make a hole in the middle of the page.
5 Reasons To Hole Punch in the Middle of a Paper:
1. Many offices do not have a paper cutter, so it would be hard to make the necessary holes to keep all of your papers organized. If you do not have a paper cutter, you will need to find an alternative way to make holes in your documents.
2. The other option for making a hole is to use a ruler and pencil/pen. Using these, you will be able to draw out the area where you want the hole punched. Then, using a pair of scissors, cut out your rectangle. This way is not as hard as it may seem because you have to think about where you want the holes placed and then use the ruler and pencil to draw out your rectangle. Finally, cut out the rectangle with some scissors.
3. You are not allowed to make holes in certain documents, for example, if you work at a bank or any other type of financial company. This means that you cannot use the “hole-punching method” mentioned before because it will punch the hole through your important document.
4. If you want to keep track of all of your documents, it is nice if they are in some order. For example, you could make a specific color for each one and use different colors on different days so that when you come home from work, you can remember the day that you placed those papers there, and you do not have to worry about getting confused.
5. There are many creative ways to design the holes in your papers, which is also a good way to organize. For example, placing a bunch of important papers together on one day and then using all different colors behind them to make an image. This will help you to remember what papers you have and also make them look nice.
In addition, you can use drawings or simple words that will be easy for you to remember when looking at your papers later on instead of just placing a blank rectangular hole on the page.
Steps To Follow: How to Hole Punch in the Middle of a Paper
Step 1: Choose Your Paper
There are different types of paper for each purpose. Choose the right one if you’re using it for a school assignment or report. Some papers are stronger than others and can withhold rough manipulation without getting torn, while others will get crumpled if you look at them sternly. Depending on the type of paper that is selected, hole punching will be different.
Step 2: Measure Out the Proper Distance
After choosing your paper, you must set out to punch a hole in it by measuring out the proper distance from one side of the page. To do so, mark it with a pencil or pen and place the rule below it on top of the paper or cut out a strip from the paper.
Step 3: Mark the Hole!
With the rule on top, mark out 4 holes with a pen or pencil in a straight line centered underneath, about 1/4th inch to an inch apart if you are confident your hand doesn’t shake when holding that much control. If you’re unsure, make the distance smaller.
Step 4: Puncture the Holes!

Now that you’ve marked the holes, it’s time to make them real, so put your pencil back in your hand and place your rule on top of the paper again (If you don’t have a handheld hole punch for small papers or notebooks), pick up the eraser and put it back in your hand too. Now that you have all the stuff out of your hands, take them off the paper and put them behind your back.
Step 5: Begin the Hole Puncture!
Slide your hand out from behind you and hold the paper down with your right hand, making sure to grab it by the edge so that there isn’t a danger of a rip starting because of too much friction on the inside. Now place your left thumb anywhere but onto one of the marks and press down firmly enough so that the ruler’s edge will easily punch through the paper.
Final Word:
The key to success is to understand the material and planning. For example, if you have a stack of paper that needs hole punching, it’s important to do so correctly from the beginning. Looking at your pile of papers now with a plan for how you want them punched will save time and frustration later on when trying to organize everything.
We hope this quick guide on how to hole punch in the middle of a paper has been helpful! Let us know if we can help make your next project more successful by providing guidance or expertise where needed.
Elizabeth Davis
Elizabeth is a creative writer and digital editor based in the United States. She has a passion for the arts and crafts, which she developed from a young age. Elizabeth has always loved experimenting with new mediums and sharing her work with others. When she started blogging, she knew that DIYquickly would be the perfect platform to share her tutorials and tips. She's been writing for the blog from the beginning, and her readers love her helpful advice and easy-to-follow instructions. When she's not writing or editing, Elizabeth enjoys spending time with her family and friends.


