
How to Identify Neutral Wire With Multimeter
Introduction:
The neutral wire is one of three wires that come from your power source and go to the outlet. It does not carry any current, but it helps to stabilize the voltage at your outlet. If you don’t know which wire is neutral on a given circuit, there are several different ways you can find out: You can use an ohmmeter or multimeter, measure for 120 volts between two wires with the light on and off, or touch both ends of a fuse to see if they’re hot.
Once you’ve identified the correct wire as being connected with no current flowing through it, you should make sure that this same wire is connected in all outlets throughout the house. If this isn’t done correctly, electronics may short-circuit and fail to function, or you may even receive a dangerous electrical shock. In this article, I will discuss how to identify neutral wire with multimeter. So let us get started.

A Detailed Stepwise Guide on How to Identify Neutral Wire With Multimeter:
Most of the electrical circuits contain three wires that are black, red, and blue. The blue wire is known as the neutral wire. However, identifying the neutral wire can be challenging at times. It is common for two or more of these wires to look alike; therefore, it becomes difficult to tell which one is a neutral wire and which ones carry voltage.
Step 1:
Identifying Neutral Wire: First, turn off all appliances and switch off the power supply from the main panelboard in your house. This will prevent any mishap or accident due to shock during this process. Always keep yourself grounded before touching any electrical device with bare hands, as it reduces the likelihood of injury significantly.

Now you need to open up an electric outlet or even a light switch box. Once you do that, you will see three wires (black, red, and blue) coming out of the boxes.
Step 2:
Identify Neutral Wire by Setting Multimeter to AC Voltage Mode: Now set your multimeter to AC voltage mode; if it is not an auto-ranging meter, then make sure you select the proper range scale which is indicated on the meter’s display (usually 50 V ranges are preferred). This range should be enough for this job.
If there is no beep sound or green light in the meter while setting it between two ends of a wire, then there is a possibility that a wire in question carries voltage. This can be possible only when black and blue cables lie together in one switch/outlet.
Step 3:
Identifying Neutral Wire Through Voltage Detector or Continuity Tester: You can use a voltage detector/continuity tester to identify the neutral wire. Follow the steps given below for this purpose.
A) First, insert one of the probes into any electrical outlet that is on. Make sure you are not standing on a bare floor while doing this because this may get you a shock. Now, if there is no beep sound in the meter or its green light doesn’t turn ON, it shows that one of these wires (white in case of two-wire systems; blue and white in three-wire design) carries AC voltage. This will help in identifying which one is neutral and which ones take AC voltage.
B) If your meter gives a beep sound and its green light turns ON, it indicates that one of the wires in question carries no voltage. This can happen if black or red wire lies together with blue wire in any switch/outlet. Therefore, you need to turn off the power supply from the main panel board and start this process again.
C) In case none of the two (A and B) mentioned above works out for you, there might be some other ways that enable you to identify neutral wire through a multimeter depending upon the type of system installed at your home/office. To learn all such methods, get your hands on an electrical wiring guidebook and study it well.
Precautions While Identifying Neutral Wire With Multimeter:
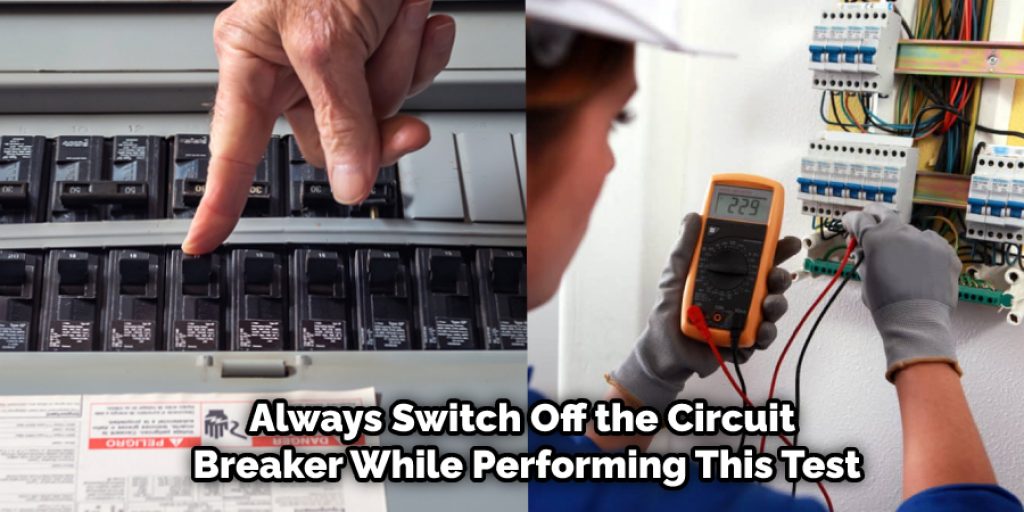
1. Always switch off the circuit breaker while performing this test.
2. Make sure that no other metallic appliances are connected to the same circuit before you start doing this test.
3. Ensure that your meter leads are not in touch with each other or any metal part of the multimeter or appliances under testing. Otherwise, readings will be incorrect.
4. Avoid touching any live parts during this test. If you accidentally feel the live element, stop there and turn off the circuit breaker immediately. But if an accident occurs contact a qualified electrician at once who can perform further tests. Also, disconnect all appliances properly from wall outlets even after turning off because some items may still get power when it is turned off by removing only the plug from the socket.
5. Do not assume that because one appliance is switched off or has an extension cord, the other appliances on the same circuit are also turned off. Many times small appliances like a clock, a mobile charger that draws minimal current are left turned on even after the user turns off the main power switch. So avoid performing further tests until you are sure that this circuit of your house powers no more additional appliances.
6. If you have access to the load center switch(breaker box), check each breaker there and ensure all breakers are turned OFF before beginning this test for identifying neutral wire with a multimeter at the service panel box(fuse box). Any mistake in checking can turn on specific circuits while testing other things here.
What is a Multimeter?
Multimeters are electronic measuring instruments used to measure current, voltage, and resistance—most between 6 to 8 pins on the board. The pins are named, so it becomes easier for us to identify them while testing various electrical components of our projects or debugging circuits. There are several types of multimeters: digital multimeter(DMM), analog multimeter (AMM), and oscilloscope, among others.

Different types of multimeters: Analog multimeters are ancient and less commonly used in today’s world. They use analog needles to measure current, voltage, etc. A digital multimeter is the most common type to get digits instead of a hand or bar for measuring different values.
There are also some multimeters with a built-in oscilloscope which has their own advantages over separate oscilloscope meters when testing circuits powered by the single power source.
What is the Difference Between a Neutral Wire and Live Wire?
The black wire with the white stripe is called the neutral wire, and it is the return path for the current. When two wires carry an electric current, there must be a conductor of electricity to complete the circuit, which will go from one end to another and back again.
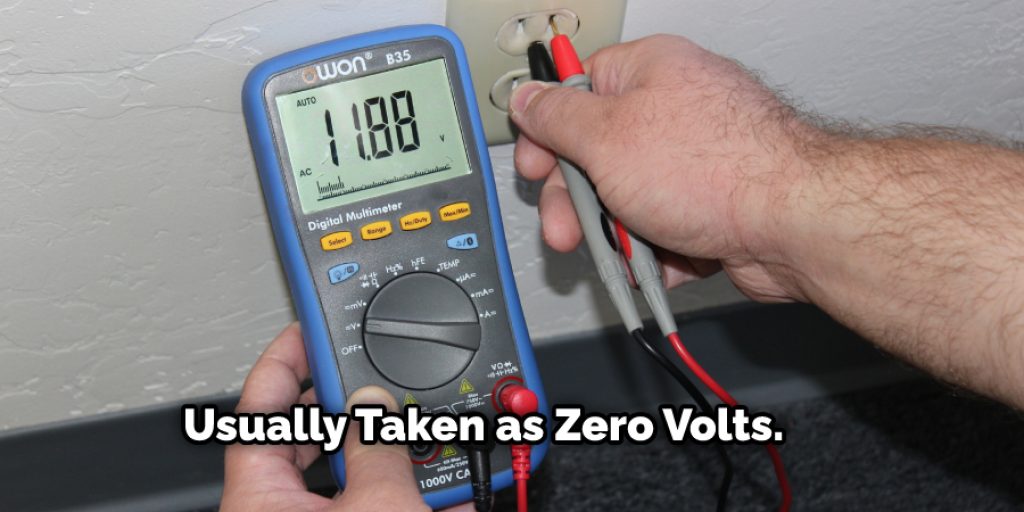
Without this path of least resistance, electrical current cannot travel through a material. To stop electrons from flowing on an incomplete or broken circuit, we need only introduce some break in continuity – this is where we find our neutral wire. A “neutral” does not mean nonexistent; rather, it denotes that a wire has no voltage difference concerning ground (earth), usually taken as zero volts.
A live wire or hot wire has voltage present between its two ends. For example, if your house’s electric power supply line were cut during a thunderstorm, the ends of that wire would present a voltage difference to the ground — it is “live.” The neutral conductor provides a continuous path for electricity to flow.
The live wire also has its current flowing back through it on its return path. Thus, the live wire can be distinguished from neutral because it typically poses some electrical shock or injury risk while the neutral one poses no such danger.
Conclusion:
I hope this article has offered all the necessary instructions on how to identify neutral wire with multimeter. Ensure all the precautions while working with electrical equipment. Thank you and have a nice day!


