
How to Trace a Wire With a Multimeter
It is important to know how to use a multimeter because they are beneficial in diagnosing electrical problems. This blog post will go over the steps for how to trace a wire with a multimeter, as well as some troubleshooting tips you can use when it doesn’t work.
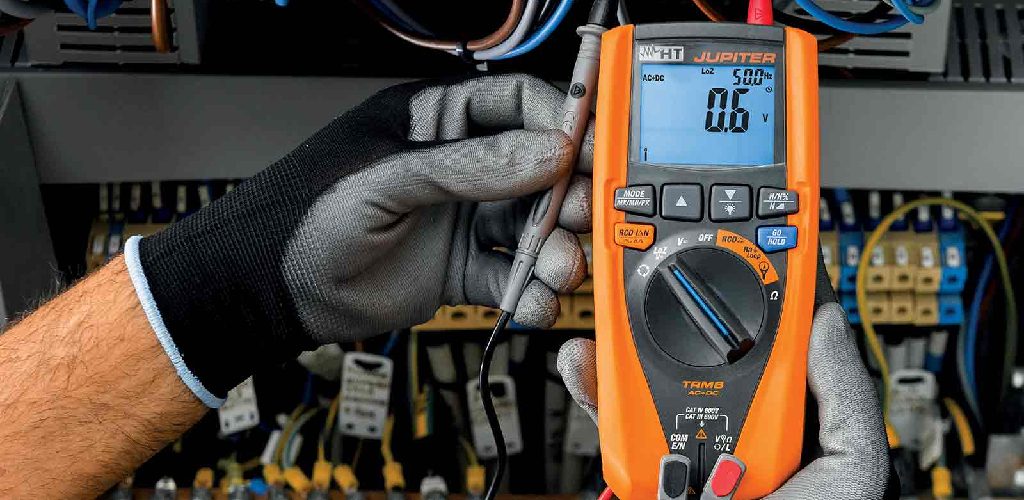
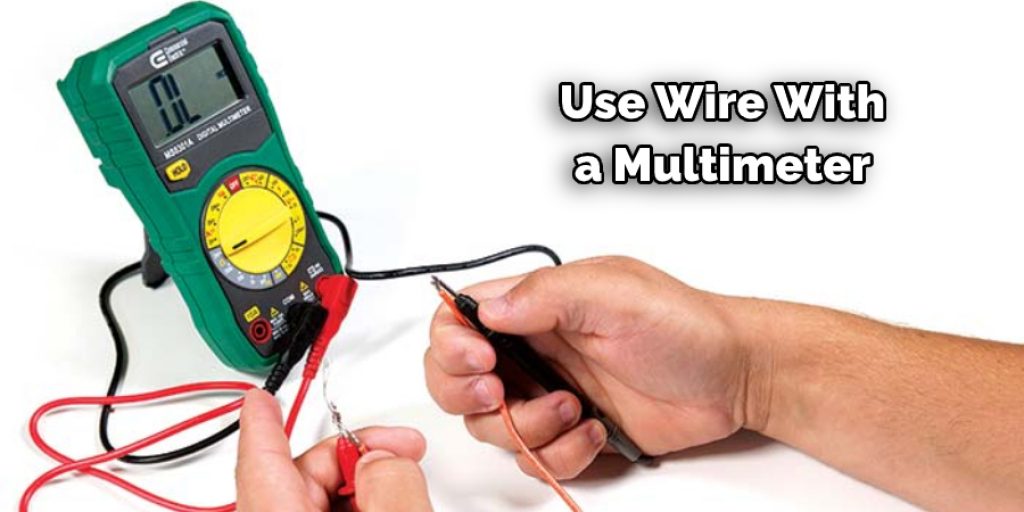
First, you need to be sure that the meter has power by pressing the “ON” button at the top of the meter and then turning on your circuit breaker or flipping your light switch back on if it’s an outage issue.
Next, find where your wire is connected by looking for two wires with exposed ends; these are typically called jumper cables or pigtails. They should have color-coded insulation, but make sure you check before touching them! Read on to know more information!
10 Ways on How to Trace a Wire With a Multimeter:
Here we have discussed ten ways on how to trace a wire with a multimeter. Be sure to follow them up!
1. Record the Resistance
Put the probes on either side of the wire, and record the reading. When you’re done tracing wires, it’s a good idea to figure out where each one goes. This is especially true if you use colored wires or labels to identify them.
Analog multimeters are not suitable for computer code. Instead, they record the resistance between two points. Unlike continuity testing, it doesn’t matter if there’s an open circuit or a short circuit. You need to know what the resistance is at those two points.
2. Short the Wire
Short the probes to one another, and record the reading. This tells you what it will be if there’s a short circuit. For example, if the meter reads 0 ohms, then you have found your wire! If there is any other value, even just 1 ohm, then that’s not where your wire goes.
3. Trace the Wire
Now you’re ready to trace your wire with a multimeter! Put one probe on either side of your mystery wire and note where it goes. Continue moving the probes (keeping them touching on both sides of the wire) until you find an area where no more new wires are found. This is probably where your wire will be.
4. Check the Wire’s Voltage
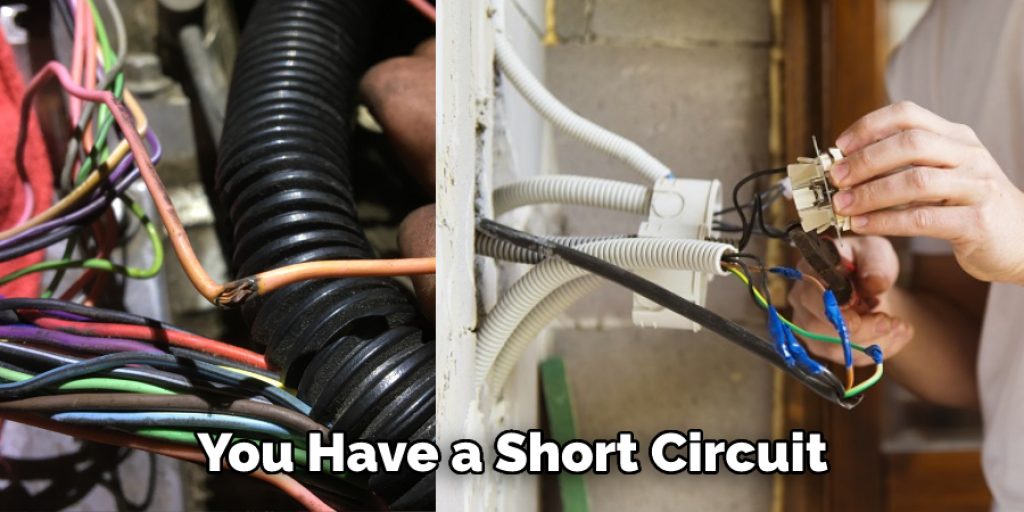
If you get to a part of your circuit where there is no wire, but voltage is still going through, you have a short circuit. For example, if you follow a wire from your switch and touch the probes to two separate contacts, the meter should read no resistance (0 ohms) if the switch is on. If there’s a short circuit, then it will read as Infinity.
5. Test Circuits
Set your meter to Ohms and touch one probe to each of the two points in a circuit to test for continuity. When doing this, remember that the probes need to touch two different points in the circuit, not a point and a wire.
6. Find a Wire’s Home
To find out where a wire ends up, probe it with your multimeter from both sides of the area where you think it’s going. If you can’t trace from one end to another without cutting or disconnecting anything else, then you’ve found your wire.
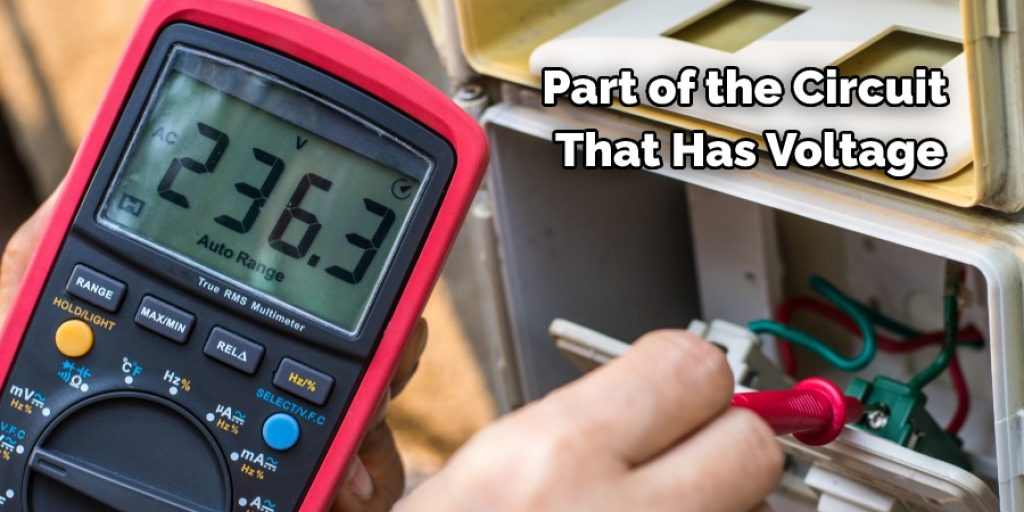
7. Check for Voltage
When using a multimeter to trace wires, it’s essential to know the current’s direction. If there are multiple paths in your circuit, one of them may have voltage, but not another. To check this, use your meter in “Diode” mode to only show the part of the circuit that has voltage.
8. Check to See if a Wire is Connected
Sometimes, you can find a wire without needing to trace it back. This is especially true when the wire passes through the whole circuit and has continuity with all parts of it. In these cases, your multimeter can help make sure that a wire is still plugged in where it should be.
Setting your meter to “Resistance” mode, you can touch one probe to the end of the wire and then the other one to each possible place where it plugs into. If there is an area that does not read infinite (really high) resistance, then your wire has come unplugged.
9. Check a Ground
If your circuit isn’t working right, a ground wire might have come loose. If you don’t know which wire is supposed to connect to one of the grounds in your circuit, then put your meter in “continuity” mode and touch it to each of them. Where there is no connection, the multimeter will read Infinity.
10. Check a Battery
If you are using batteries or power supplies in your circuit, it’s essential to make sure that they’re connected properly. If the wires touch each other, it could cause your battery’s voltage to flow backward through your whole system. This error can be hard to find because the opposite sides of the problem might not even be related, so using your multimeter to check each wire individually is good.
Some Tips and Suggestions:
1. Make sure you’ve got a wire plugged into the jack on your multimeter’s cord
2. Turn off all breakers and unplug the power cord from its wall socket before starting this process.
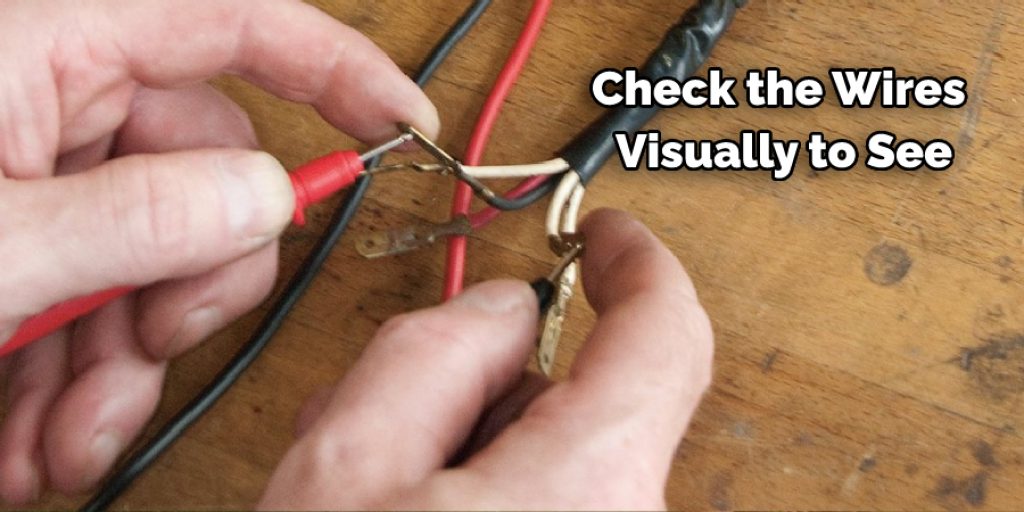
3. Check the wires visually to see if you can trace them back that way before using your multimeter.
4. If you have an extension cord, put it between your power source and the outlet being worked on to avoid accidental shock.
5. Always be aware of what you are doing; if you are unfamiliar with electrical repairs or installations, this may not be the best time for a first-time adventure.
6. It’s usually not a good idea to try and trace a wire if it’s hot.
7. Always use a testing meter before plugging in any other electrical devices to confirm that your outlet/breaker you plan to work on is turned off or the power has been shut off for this project.
Some Things to Consider When Tracing a Wire With a Multimeter:
1. The first thing you will want to do is figure out what type of wire it is. There are many different types of wires that all handle electricity differently. Therefore, some wires cannot be traced using the same methods as others.
2. If the wire has multiple colors or conductors inside of it, make sure to test for continuity between each conductor and the outside metal of the entire wire.
3. Some wires, such as wires in a shielded cable, maybe wrapped in another material (foil) or may contain multiple layers (braided). The wire may or may not be visible.
4. Test for continuity from the exposed wire to the exposed metal on all of the conductors.
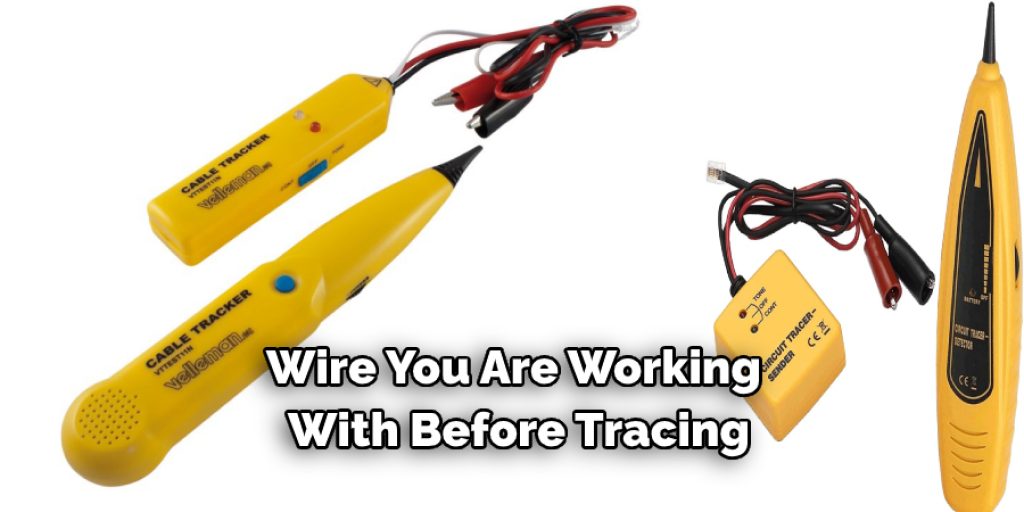
5. Make sure you know what type of wire you are working with before tracing a wire with a multimeter.
6. If the wire being traced has been cut, you will have to figure out where it has been cut. The cuts may have been made on purpose or accidentally with a pair of scissors; either way, knowing if the cuts are clean or jagged will help determine how many wires there are.
7. When dealing with a twisted pair, test for continuity between the individual pairs of wires.
8. If you are using an audio tester or tone generator, make sure to listen to each conductor of the wire to hear if there is a change in sound when testing for continuity.
How Do You Trace a Wire With No Power?
It is time to trace a wire with no power when you think the flow of electricity has been cut off from whatever device it was powering. This can happen in several scenarios, such as a blown a fuse or a tripped circuit breaker.
To determine where the problem lies in these cases, you will need to use a multimeter. This is a straightforward tool that can be used to check for energy flow. There are many multimeters, but the most effective type for this task is an analog meter with a needle and dial.
What Causes Broken Wires?
All sorts of things can cause a wire to break. Some are natural causes, such as cold weather or water damage, but accidents are the most common reason for broken wires. If you drive over a wire with your car, it will probably snap right off. If someone trips on the wire and tugs at it, that might also break the wire.
Your car may be the most significant danger to your wiring, but you pose a big risk yourself. Any time you work on your car, you’re putting yourself at risk of cutting, nicking, or even severing a wire. The tools you use and the precautions you take (or don’t take) can make the difference between a nick and a break.
Conclusion:
Now that you know how to trace a wire with a multimeter, it’s time to put this knowledge into practice. You can do so by using your new skills to fix an appliance or electronic device in the comfort of your own home.
As we mentioned earlier, understanding what is wrong and where it needs fixing will save you money on professional services such as electricians and technicians! If you need help finding out more about tracing wires with multimeters or other DIY projects at home, let us know in the comments below.


