
How to Install a Split System Air Conditioner on an Internal Wall
Introduction
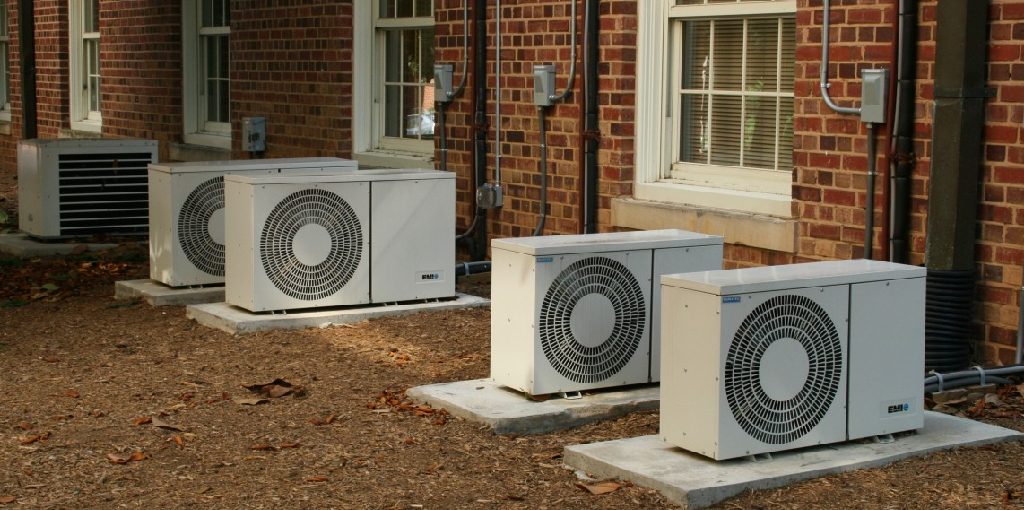
A split system air conditioner is a combination of an outdoor unit and an indoor unit. The outdoor unit is usually installed on the roof or gable wall, while the indoor unit is installed in your living area. This type of system is popular because it’s easy to install since all fixtures are mounted outside, so you won’t have annoying pipes running through your house. A split system air conditioner can be used in areas where there isn’t much space available for installing a large central air conditioning system, such as a small apartment or office. Today I will discuss how to install a split system air conditioner on an internal wall. So let us get started.
Summary: If you are planning to install an air conditioner on an internal wall, there are a few things you need to know. First, measure the distance from the floor to the top of the wall. This will give you the necessary dimensions for the air conditioner. Second, determine the height of the unit. Third, identify the type of air conditioner you will be installing. Fourth, choose the appropriate installation kit. Fifth, follow the installation instructions to complete the job.
Step-wise Guide on How to Install a Split System Air Conditioner on an Internal Wall
Step 1 –
Measure the room in which you want to install the AC. Take the measurements carefully, as this will ensure that you get a unit that is not too big or too small for your room. The area where it will go should be an open space without obstacles such as pillars, beams, wall units, etc. Ensure that there is at least 80 cm of clearance on all sides of the AC so it can breathe properly. Next, calculate how much power you need for your split system air conditioner depending on its tonnage (tons). Many brands sell big air conditioners with tons ranging from 2-5 tons. Opt for a high tonnage split system air conditioner for bigger rooms with heavy sunlight exposure. If you have a small room, go for a smaller tonnage.
Step 2 –
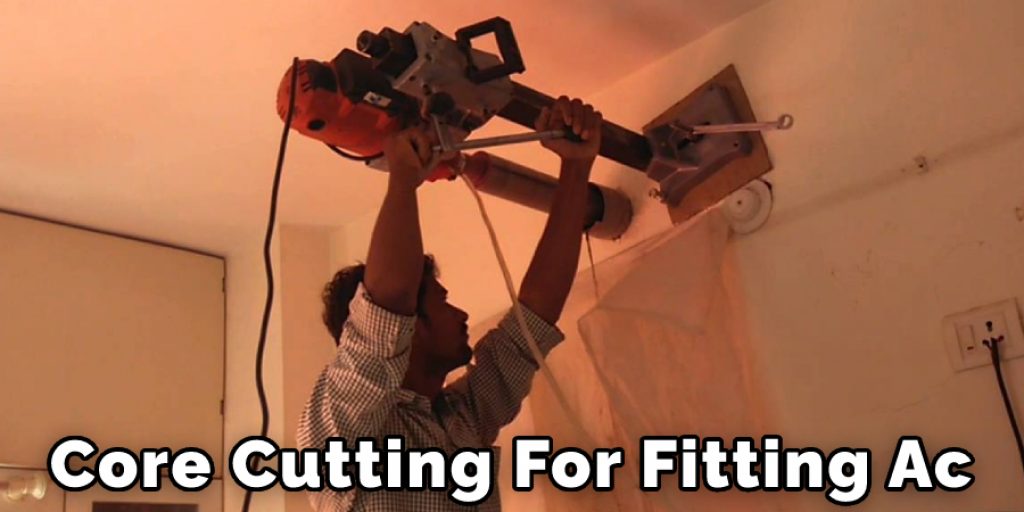
Once the measurements are done, and if you find no major obstruction in the area where you want to place your split unit, it’s time to mark the drill points. The distance from the wall must be at least 10 inches so that the AC can fit into it properly on all sides. It is unnecessary to cut holes into walls, leading to paint cracking and damage to the plaster. However, if you know building or electrical wiring works, then, by all means, make holes and run wires through them because it won’t take much effort but will definitely help get better results when installing a split system air conditioner on an internal wall.

Step 3 –
Measure the holes carefully and mark them out with a pencil so you don’t get confused when it comes to drilling holes in your walls. Ensure that there is no obstruction on the other side of the internal wall, as this will create problems when installing the split system air conditioner.
Step 4 –
Run wire passes for easy installation of your split unit’s AC and condenser units later on, or run wires through drilled holes if you made any in Step 2 because your split system air conditioner needs to be working perfectly straight away without any obstacles in its way. This being said, ensure that the hole does not interfere with any electrical wiring or plumbing work around it; otherwise, these must be relocated.
Step 5 –
After the holes for wires and/or AC have been drilled, it is time to install your split system air conditioner. First of all, ensure there are no obstacles in its way as this will cause many problems while installing the unit on an internal wall. If you cannot move any obstructions, try asking someone to help you with it, or if that’s not possible, then try using some of those cool gadgets for moving furniture, such as a Trolley Jack (or similar), because these things will definitely bail you out when you want to install your AC without making any changes in the room! Once done with all this, cover the internal wall where you will drill your hole with a protective covering such as paper or something similar so that your walls do not get damaged. Also, ensure that no paint gets scratched during this process if you use painted walls because later on, the AC will be heavy and might scratch paint off when installed.
Step 6 –
The next step is to drill the holes to install the split unit air conditioner’s indoor unit. But firstly, clean up all the drilling dust with a vacuum cleaner because electrical wiring may get short-circuited otherwise! Once complete, install a wall bracket that has been provided and the AC split system to easily fixate the indoor unit in place on your internal wall. If you have run wires through drilled holes, you must first connect them to the main wiring, insert plugs, and install the indoor unit.
Step 7 –
Now that your wires have already been connected, plug in the split system air conditioner’s power cord, and you can start installing your AC on an internal wall. To make this easier for you, use a flat screwdriver to fix it in place, but if you want to drill a few holes into your walls for extra security purposes, go ahead! The process is simple; following all these steps to install your AC on an internal wall becomes much easier!
Step 8 –
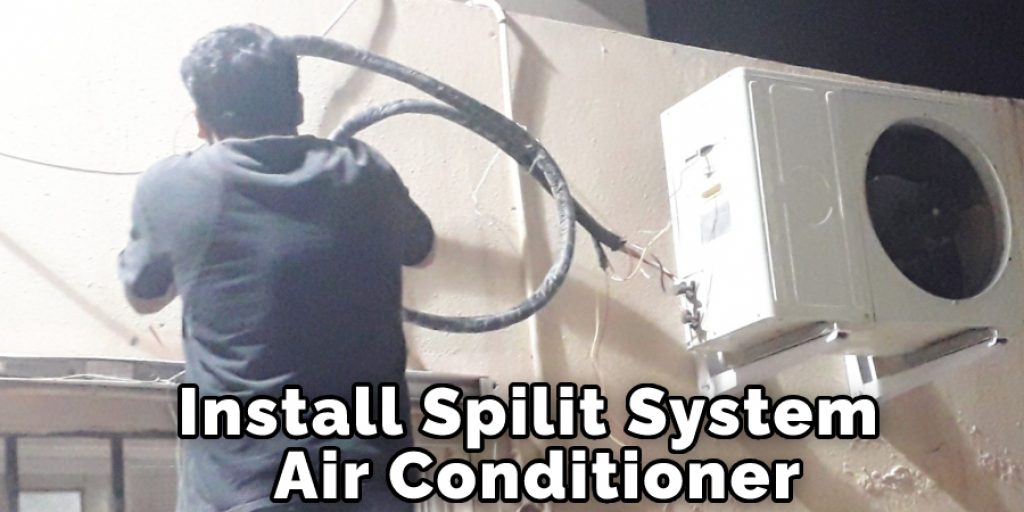
If everything went fine till now, let’s gear up to finally take care of business, as they say, by installing the split system air conditioner’s condenser unit outside. That will definitely be the final step of installing your AC! The first step would be to correctly install some tubing that has been provided along with the unit on your internal wall. Then you can now start preparing external electrical wiring connections.
Step 9 –
Now that everything is ready, all you need to do is run wires from the outdoor side of your internal walls and connect them to the main electrical wiring while keeping in mind safety aspects such as no shorts because this could lead to a lot of problems later on! Once complete, while handling these things carefully, place it into its position at an angle so that it looks neat, and then secure it by using screws or bolts but make sure you do not over-tighten them because that could also lead to a lot of problems.
Step 10 –
Once you have properly secured your condenser unit, it is time to take care of other things like connecting the power cord and starting the installation phase, divided into two steps; installing piping and attaching the internal components.
So Let’s Do This! Follow These Simple Steps:
- First, run some pipes through holes drilled previously from inside outwards until they reach outside your internal walls, where they will be attached later on by clamps or something similar. Now create a fitting joint with plumbing piping installed to make an outdoor connection for refrigerant lines and electrical wiring connections. Make sure that all these things are possible before you finally connect them!
- Before connecting the condenser unit with pipes, make an outdoor electrical wiring connection and do it all over again for refrigerant lines. Condenser units of split system air conditioners often come installed with attached copper tubes. Still, if yours happens to be a little different from that, you have to get some copper tubing and start preparing connections. Ensure that these connections are tight and secure, as this will ensure proper operation of your AC in the future.
Safety Tips
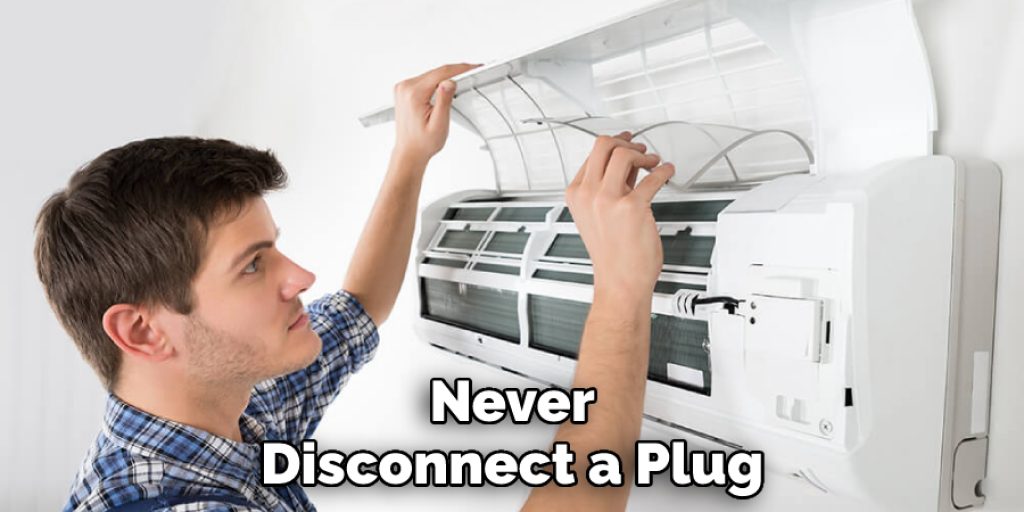
- Never disconnect a plug from the power source with wet hands.
- Be certain you have turned the power off at the breaker before installing or servicing your air conditioner. Always check to be sure that it is completely disconnected!
- Disconnect electrical supply wires only after separating them from their wiring connections and are ready to remove them from the unit or enclosure!
- Do not attempt any repair unless all circuit breakers are off, thoroughly grounded, and disconnected from all wiring terminals (to prevent accidental electrocution). Cover any exposed wiring with an electrician’s tape to avoid accidentally shorting something inside an electrical box or panel!
Conclusion
I hope you have obtained all the information from this article about how to install a split system air conditioner on an internal wall. Thank you, and have a nice day!


