
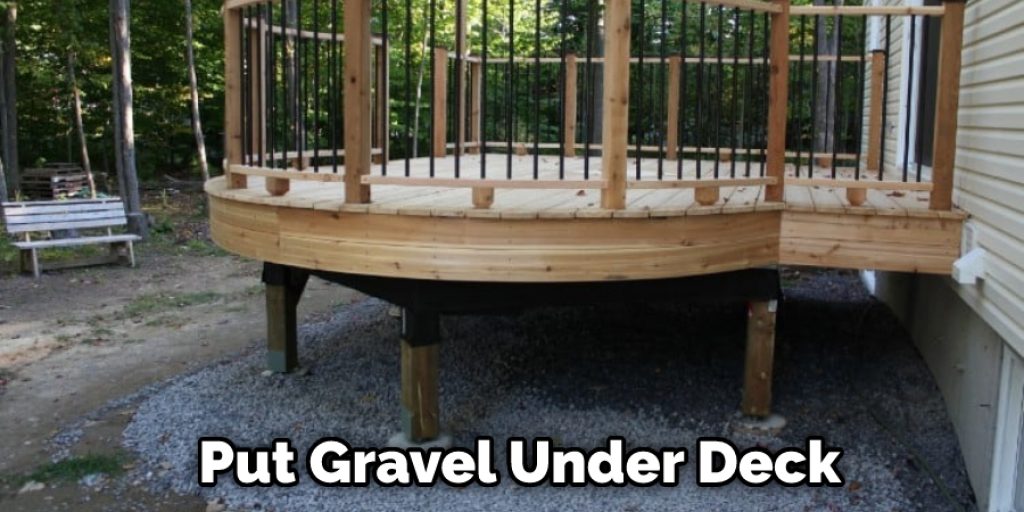
How to Install Gravel under Deck
Do you want to learn about the actual process of how to install gravel under the deck? If yes, then you can follow this article. A deck is a remarkable technique to expand your open-air area and feature a stage floor after that to sit down and lean back. Making sure that it is going to close, however, starts with the floor underneath it.
Agencies that introduce decks endorse using washed rock or squashed stone beneath the deck. The proper stone lets precipitation burn up, forestall plant development and dampness far away from the wooden people. It shields the floor from disintegration and the wood from decay.
Summary: If you’re thinking about adding some gravel to your deck, there are a few things you need to know first. Gravel is a great way to add texture and interest to your space, but it can be tricky to install. This blog post on how to install gravel under deck will walk you through the process of installing gravel under your deck, from sourcing the materials to finishing up the job.
What is Gravel?
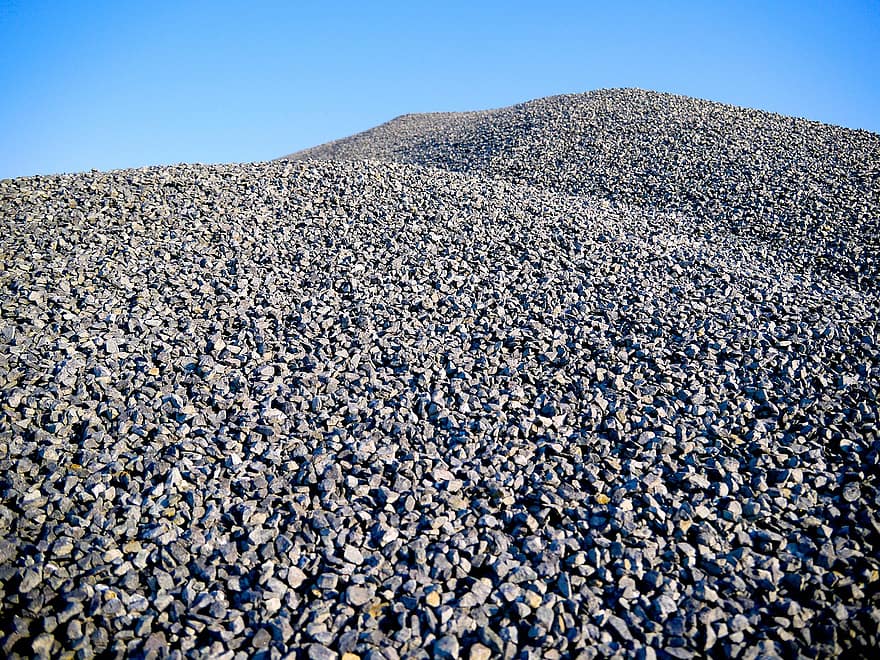
Gravel is a loose aggregation of small stones that can range in size from 2 mm to 75 mm. It is often used in construction and landscaping projects because of its durability and drainage properties. There are several types of gravel, including crushed stone, river rock, and pea gravel, each with its own unique characteristics.
You can choose the type of gravel that best suits your needs and preferences. For example, if you want a smooth and consistent look, crushed stone may be the way to go. If you want a more natural and varied appearance, river rock or pea gravel may be a better choice.
Choosing the Right Type of Gravel
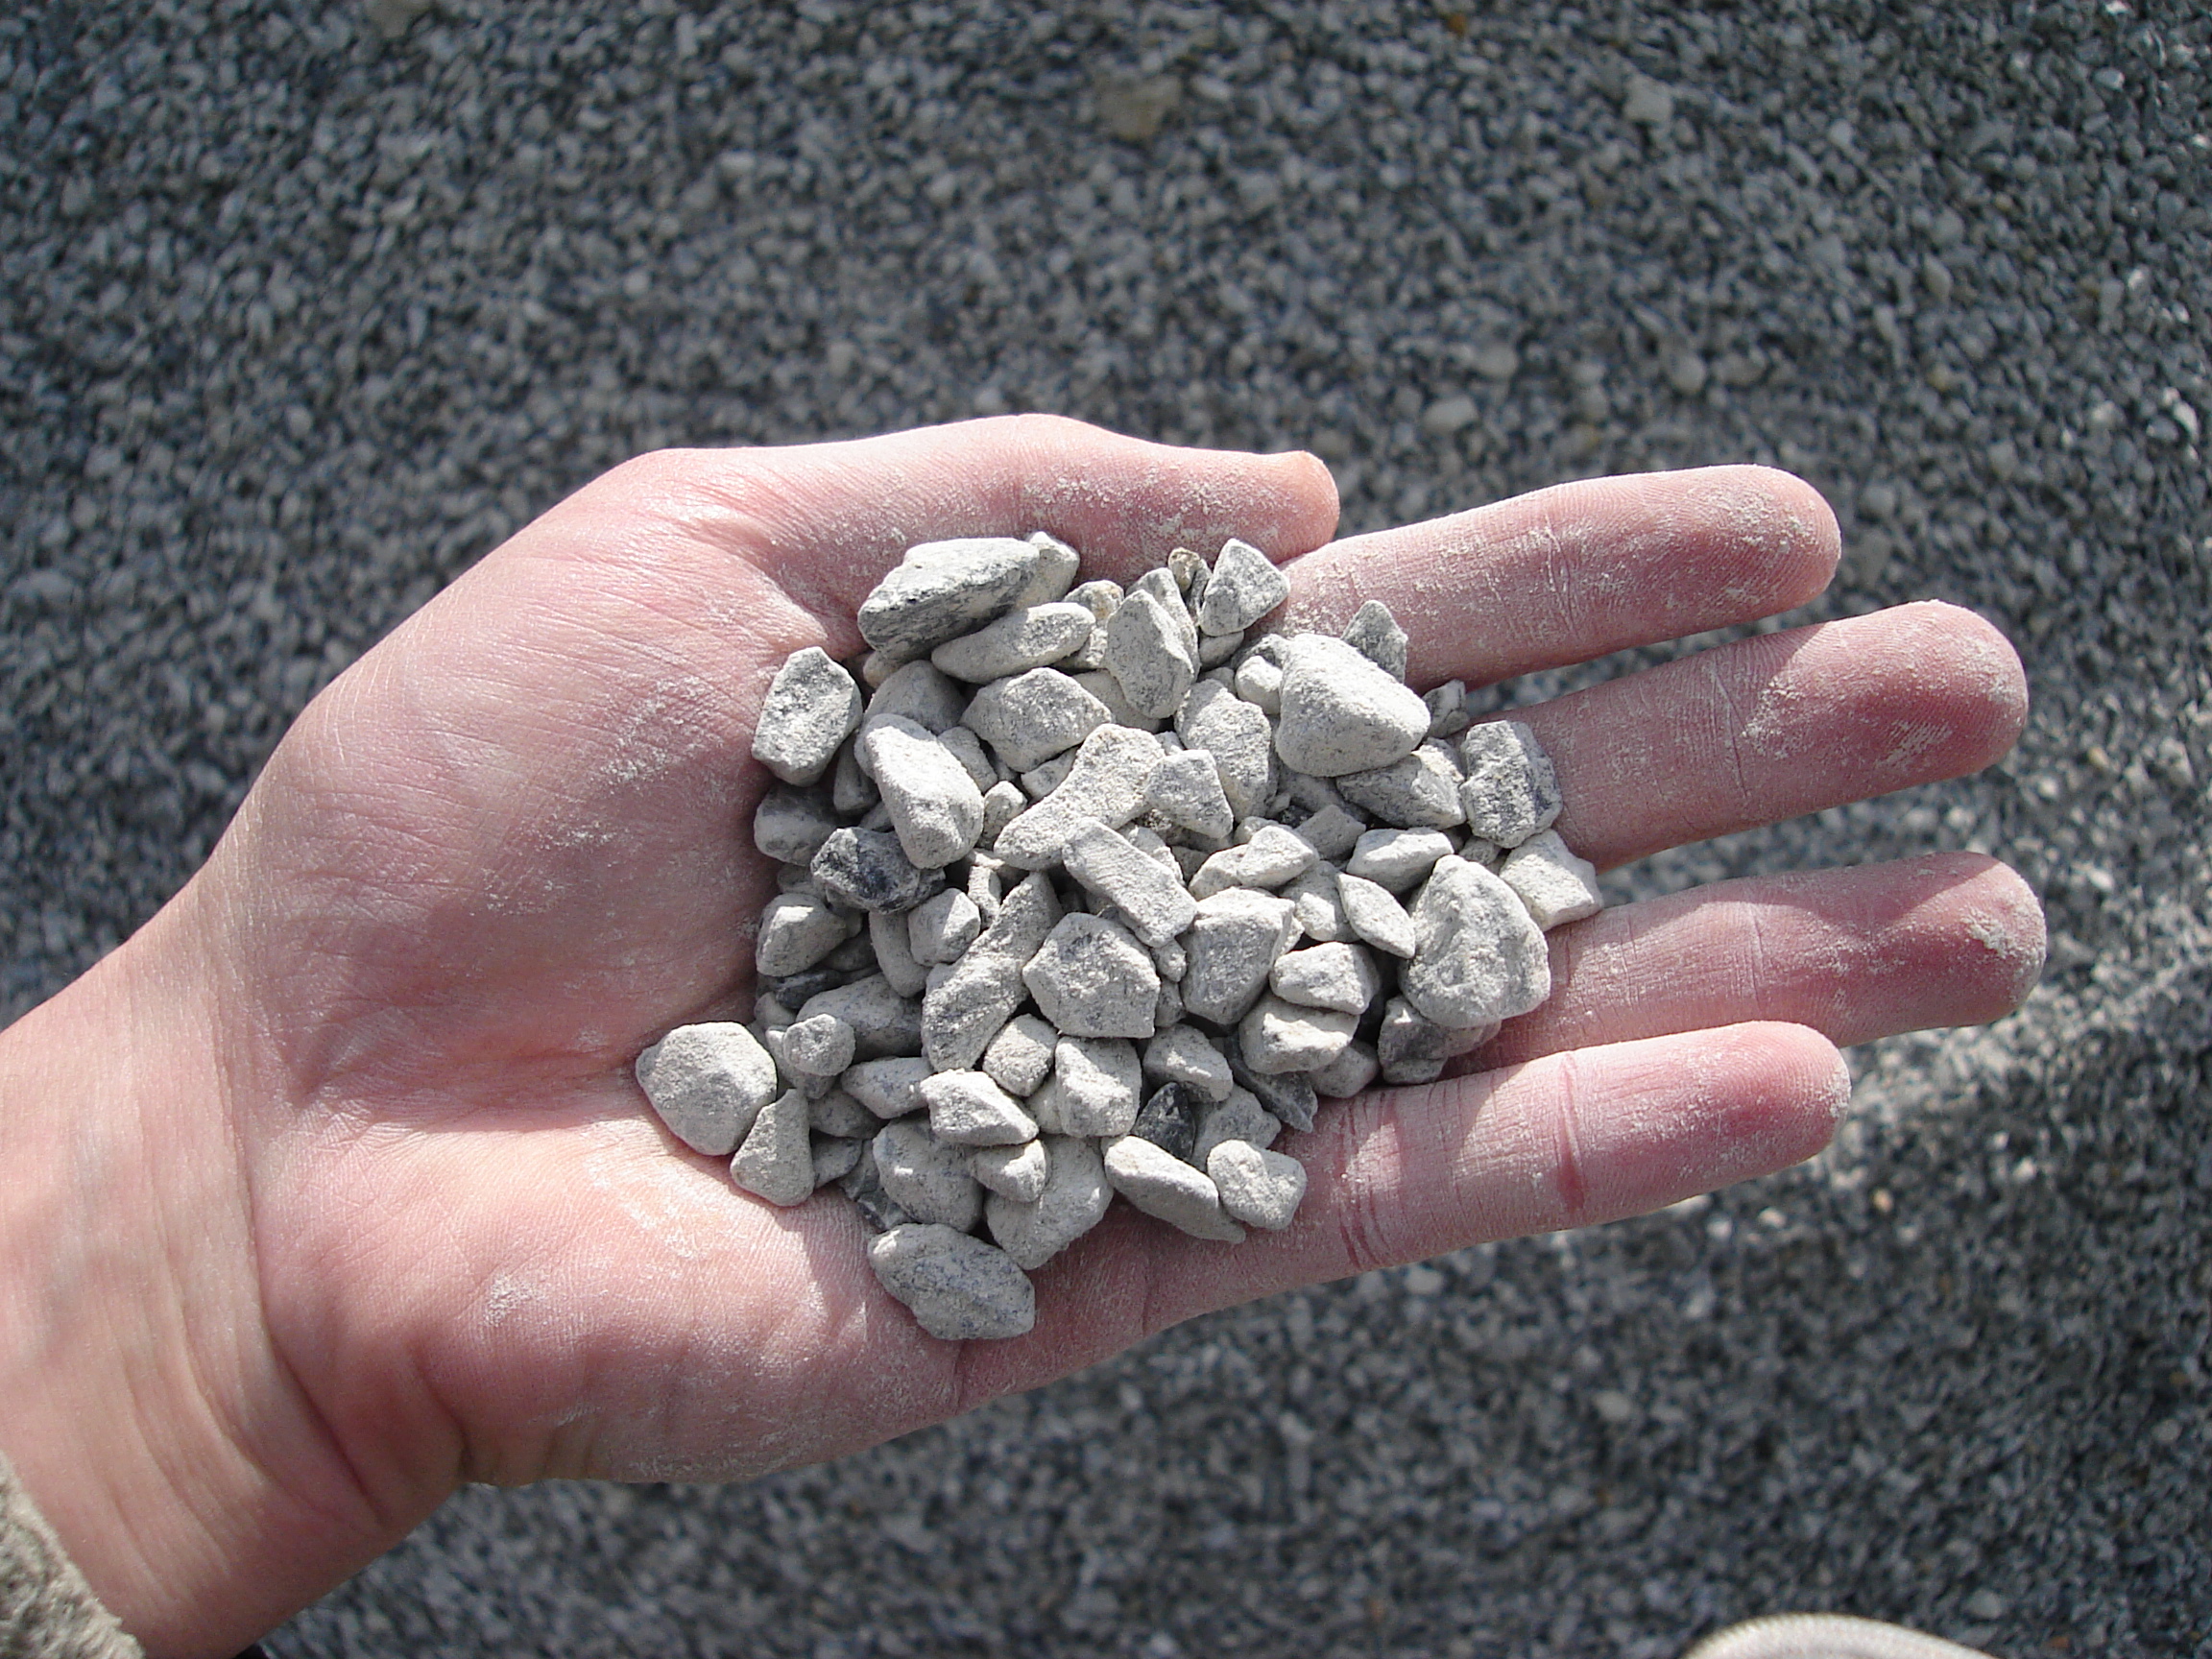
Before you start installing gravel under your deck, it’s important to choose the right type for your project. Crushed stone is a popular choice because of its angular edges, which lock together to create a stable base. River rock is another great option, as it offers natural color variations and a smooth texture. Pea gravel is smaller and rounder, making it ideal for use as a top layer on pathways or around plants.
Another consideration when choosing gravel is the size. Larger stones are more stable and less likely to shift, while smaller stones allow for better drainage. Make sure to consult with a professional or do some research before deciding on the type and size of gravel that will work best for your specific project.
Materials Required
For this particular installation, you will need the following materials:
Gravel (of Your Choice):
The amount of gravel you need will depend on the size of your deck and the depth you want to achieve. As a general rule, it is recommended to have a layer of at least 4 inches deep.
Landscaping Fabric:
This fabric helps prevent weeds from growing up through the gravel and keeps everything looking neat and tidy.
Landscape Edging:
This provides a barrier to keep the gravel in place and prevents it from spreading onto your lawn or garden.
Shovel:
You will need a shovel to remove any existing soil or debris and create a flat surface for the gravel.
Rake:
A rake is essential for evenly distributing the gravel and creating a smooth, level surface.
The Process of How to Install Gravel Under Deck:
- Try to be mindful to focus the opening on the situation for the pier. Unique separation among docks can be observed in lots of books about deck development.
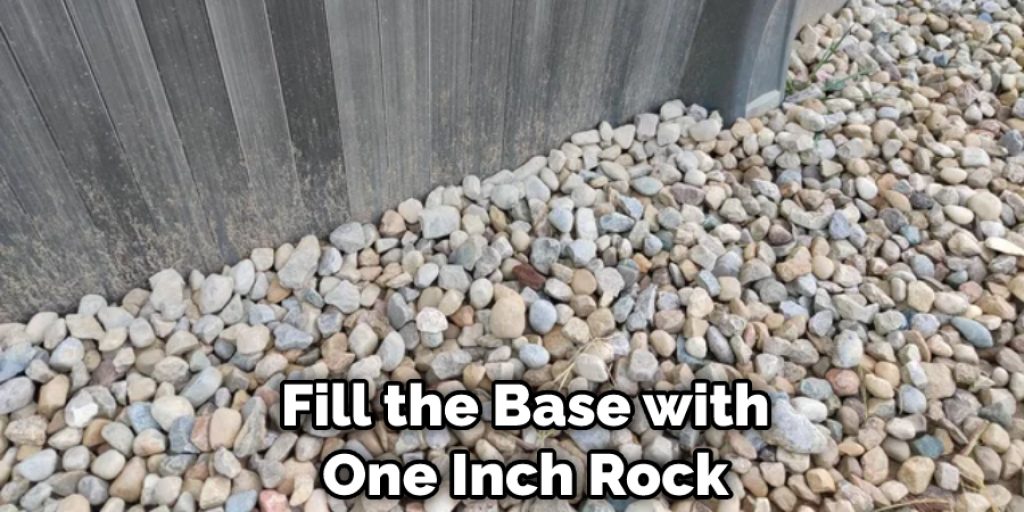
- Fill the base with around one inch of rock, sand, or pea rock. It will permit you to make a level surface to put the paver on. Then fill the remainder of the hole with soil, which should be similar to your lawn soil. Mix the compost into the soil as you fill the hole and tamp it down gently with a rubber mallet or the flat end of a shovel.
- Conservative the rock at the base of the gap. Keeping the deck’s heaviness from pushing the wharves down and hanging in the deck is imperative.
- Before you start building your square-cut paver, you need to check the paper in the base opening to ensure it is level. To do this, put a post with square-cut closures on the paver.
- Once the paver is a stage, every which manner, the time has come to decide the wharf duration. This is an area with lots of variables. The actual length of the wharf might or might not be determined by the span and width of the parapet being used. It is also based on where the paver is to be installed and how long it takes to obtain the proper measurements.
- Utilize an outspread or hack saw to slice the docks to length.
- When the port is cut to size, review the stature, laying the level record and the pier’s head.
- Find the dock by estimating from two regarded focuses.
- If you have a specific location, mark the base of the pier with a felt pen.
- Cautiously fill the gap with free soil until it is 4 inches somewhere down in the whole opening.
- Carefully p.c. the soil with some other docks or put up while clutching the pier to hold it from moving.
- Fill the staying earth with four creeps, one after another and conservative.
- Utilize the additional soil to make a slanted top around the pier to debilitate water from gathering close to the dock.
- Your endeavors ought to bring about a level-adjusted resting place for the shaft.

Precautions
The gravel is heavy, so it’s best if two people help with this project; wear gloves and safety goggles at all times to protect from sharp rocks and other small debris in the soil before installation begins. Once installed, ensure there are no gaps between pieces where water could pool while retaining its ability to let air through underneath – add more stones until they’re level with each other or use sand instead of dirt on top.
You may also want to consider using a landscape barrier between the gravel and your lawn or garden to prevent any unwanted spreading. Additionally, make sure to regularly check and maintain the gravel, as it can shift over time due to foot traffic or weather conditions.
The Benefits of Gravel Under Your Deck
Adding gravel under your deck can provide both functional and aesthetic benefits. Here are a few reasons why you may want to consider this option for your own project:
Drainage:
Gravel allows water to drain through, preventing pooling and potential damage to the foundation or structure of your deck.
Weed Control:
The landscaping fabric used under the gravel helps prevent weeds from growing, saving you time and effort in maintaining the area.
Erosion Control:
Gravel can help prevent soil erosion, especially if your deck is built on a slope or incline.
Visual Appeal:
Gravel adds texture and contrast to your outdoor space, creating a more visually appealing look. Plus, with a variety of colors and sizes available, you can customize the gravel to match your personal style.
Low Maintenance:
Once installed, gravel requires minimal maintenance, making it a hassle-free option for under-deck landscaping.
Do You Need to Use Professionals?
Installing gravel under your deck can be a DIY project, but it does require physical labor and some basic tools. If you have experience with construction or landscaping projects, you may feel comfortable tackling this on your own. However, if you are unsure or don’t have the time or resources to do it yourself, it’s always best to hire professionals. They will have the necessary equipment and expertise to ensure the gravel is installed correctly and efficiently.
It’s important to consider the long-term benefits of hiring professionals, as a poorly installed gravel base may result in costly repairs down the line. So, take the time to research and compare prices before making a decision.
You may also want to consult with a professional if your deck is built on uneven or sloping terrain, as this can affect the stability of the gravel base. They will be able to advise you on how to properly prepare the area and choose the right type and size of gravel for your specific situation.
How Much Will It Cost?
The cost of installing gravel under your deck will depend on the size and complexity of the project, as well as the type of gravel used. On average, you can expect to spend between $200-$500 for a DIY installation. If you hire professionals, the cost can range from $500-$1000 or more, depending on the scope of work.
You may also need to factor in the cost of additional materials such as landscape fabric and edging, which can range from $20-$50. It’s always best to consult with a professional for an accurate estimate.
The initial cost may seem high, but keep in mind that a properly installed gravel base can last for many years with minimal maintenance. It also provides better drainage and can prevent weed growth, saving you time and money in the long run.
The Necessity of Installing Gravel Under Deck
Not everyone realizes the benefits of installing gravel under the deck. It is not a new trend in home construction, but it will likely become one as more people begin to realize that they can save time and money by using this inexpensive option for their landscaping needs. So what are some advantages? There are many different reasons why you would want to install gravel around your property, but here are just a few:
- It prevents weed growth.
- It allows moisture to seep into the ground, which is a much better option than hydro systems, which are more expensive and take up space.
- You can plant flowers with gravel as well. The plants will grow through and around it, giving you an attractive new look without spending money on artificial landscaping or hiring someone else to do it for you. How great is that? No matter your needs or limitations regarding yard work, installing gravel under the deck may be just what you need!
- It provides stability and support for the deck.
- It offers a natural look and texture that blends well with outdoor spaces.
- It can be easily maintained by adding more gravel or raking it periodically.
- It allows for better drainage, preventing water from pooling under the deck, which could lead to structural damage over time.
- It helps create a level surface for the deck, preventing any potential sinking or shifting.
- It can serve as a foundation for other landscaping features such as potted plants or outdoor furniture.
Key Considerations While Installing Gravel Under Deck
When installing gravel under a deck, you may need to remove the existing ground cover and create an area of compacted aggregate mix. This is usually done with a compressor-powered tiller or jackhammer mounted on wheels to be towed around easily.
The depth of this layer would depend on how much frost penetration there typically is in your region – if it’s below 15 inches, you might want to install only one inch deep; for up to 18 inches, two inches deep should suffice; if more than 18 inches of frost penetrates through during winter months, three-inch deep layers may be required.
After laying down sand or other material as a base coat (if needed), place four-inch geotextile fabric over the top and then compact it with a heavy roller.
Which Gravels Are Best for Under Deck Installation?
Bagged gravel is easier to carry, but it gets dirty easily when delivered in bags. This type of gravel also takes more time to clean up because debris from delivery can get into the bagged product.
It costs less per square foot than bulk, though if you’re using baled straw as an underlayment, there’s no benefit to buying bagged material. Nowadays, many people choose to install loose (bulk) stone, which is spread out like mulch, instead of filling dirt holes with compacted rock that must be lifted by hand.
You must keep the gravel clean, which means you should use a mechanical cleaner and not just depend on your garden hose. Leaf blowers are excellent for keeping grass clippings at bay and removing an inch of dirt at a time. Once the gravel is installed, sweep it with a broom to remove any debris and even out the surface.
Frequently Asked Questions
Do You Have to Put Gravel Under a Ground Level Deck?
Many factors will determine whether or not you need to put gravel under a ground-level deck.
First, if the soil is soft and does not have any clay content, it is recommended to lay down coarse material such as sand, dirt, etc. However, if the soil has a lot of clay content, it would be best to use crushed stone or pea gravel to prevent damage to the wood underneath.
Do You Need to Put Gravel Under Deck Blocks?
No, you do not need to put gravel under deck blocks. It is a misconception that putting gravel under the deck blocks helps prevent water from seeping into the ground. It is best to place sand or crushed stone on top of the deck blocks and then cover it with a layer of dirt, mulch, or sod so there is no bare surface where moisture can collect. This will allow the water to percolate downward, through the gravel, through the deck blocks, and into the ground below.
What Type of Gravel is for Under a Deck?
Many people would want to know what type of gravel is the best for under a deck. The answer to this question depends on how much space you have, how big your deck is, and how often you will be using it.
If you have a small deck that is not used very often, then crushed granite or sandstone are both good options. If you have a larger deck that gets lots of use, then there are many different types of gravel to choose from like:
1. Cobblestone – This type of gravel has been used since ancient times and is still used today for its durability and aesthetics.
2. Paver stone – This type of gravel is made from slabs cut into squares, making it easier to install and maintain throughout the years.
3. Quarry stone – Quarry stones can also be used as they provide an elegant look while also being practical and affordable at the same time.
Q: Can Gravel Be Used Instead of Deck Footings?
Yes, gravel can be used instead of deck footings, but it’s not the best option. Using gravel as a base for your deck is cheaper and easier to install in some cases but requires more maintenance and may not provide as sturdy a foundation as traditional footings. It’s important to consult with a professional or follow building codes in your area before deciding to use gravel instead of footings for your deck.
Conclusion
By following all the steps on how to install gravel under deck that we mentioned above, you will successfully learn how to install gravel under the deck. Along with that, we believe you can now apply your acquired knowledge in practice:l work. Whether you are looking to save time and money, prevent weed growth, or simply upgrade the aesthetics of your yard, installing gravel under the deck is a practical and efficient solution. Not only does it provide a stable base for your deck, but it also offers numerous other benefits that make it a worthwhile investment.
You may read also – How To Lay Bluestone Over Concrete


