How to Install Kick Plate on Screen Porch
Introduction
It is evident that while walking through the porch, our shoes come in contact with them, and this degrades the texture of the porch and reduces durability. In such cases, kick plates are much useful because these elements can easily repel the pressure of the shoes. For this reason, today we are going to suggest a technique on installing a kick plate on the screen porch, this will be helpful for the people who intend to install these.

Summary: Installing a kick plate on your screen porch can be a great way to add a little extra security to your property. The kick plate can help to deter thieves, and it can also help to keep your porch looking clean and tidy.
Procedure
Installing a kick plate for your porch is quite an easy task to perform, but sometimes the persons who are working for this get into some confusion. For this reason, today, we are going to provide chronological steps that will be much helpful for installing the kick plate. The professionals approve these steps for the betterment of our users.
Step One
First, gather all the necessary tools for the installation process. You will need to order a kick plate for your porch. Then you will need a drill and some screws for attaching the plate. You will also need a masking tape and pencil for marking. Finally, you will need a level to balance the attachment of the kick plate.
Step Two
After you have gathered all the necessary materials, you can start working. First, measure the kick plate and then use a pencil to mark the desired measurements on the porch. Once the measurements are marked, use a level to adjust the kick plate’s alignment. This is crucial to do before installation, as the whole process could be jeopardized without it.

Step Three
First, level the measurement. Then, take the kick plate and place it on the porch, aligning it with the marks you’ve already made. Next, take some masking tape and attach the kick plate to the door, so it stays firm while you’re drilling the screws.
Step Four
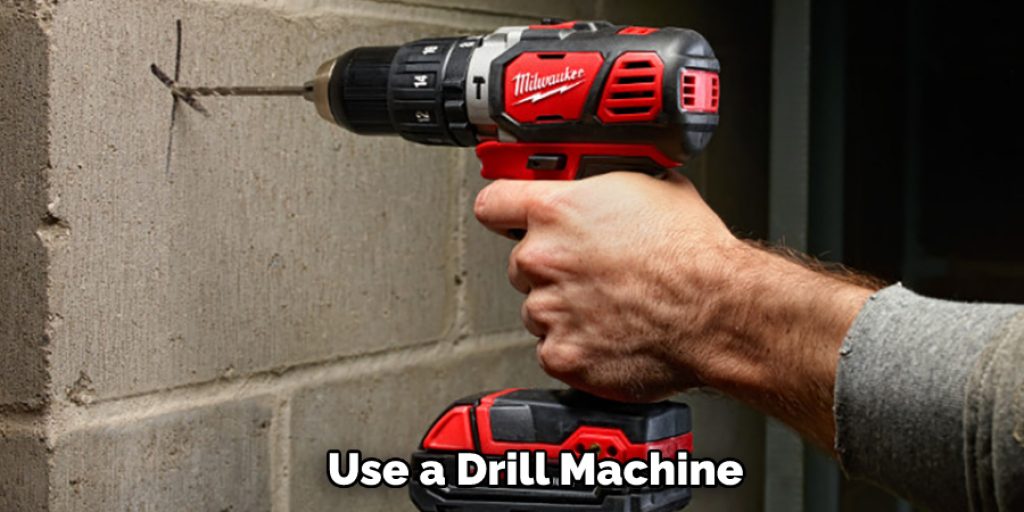
When you are attaching the kick plate sung the masking tape, make sure to keep some gap from the door’s side, which is much needed for the proper adjustment. Using the drill machine, you will make the holes in the porch so that you can use them to fill screws afterward. Once the holes are drilled, you can start the pinning of the kick plate.
Step Five
In this step, you have to take the screws and attach them to the kick plate. Once you have connected them, you can take off the masking tape. But while attaching, make sure that you start the screws from the middle of the kick plate. This will reduce all types of movement of the element, and you can smoothly perform the process. Thus the kick plate can be installed.
Conclusion
Lastly, we would hope that the steps that we have mentioned here will help install your kick plate to the porch, you must follow these steps chronologically, and by this, your skills will be highly improved. Happy crafting! Have a beautiful day!!


