
How to Install Lawn Mower Mulcher Door
Introduction
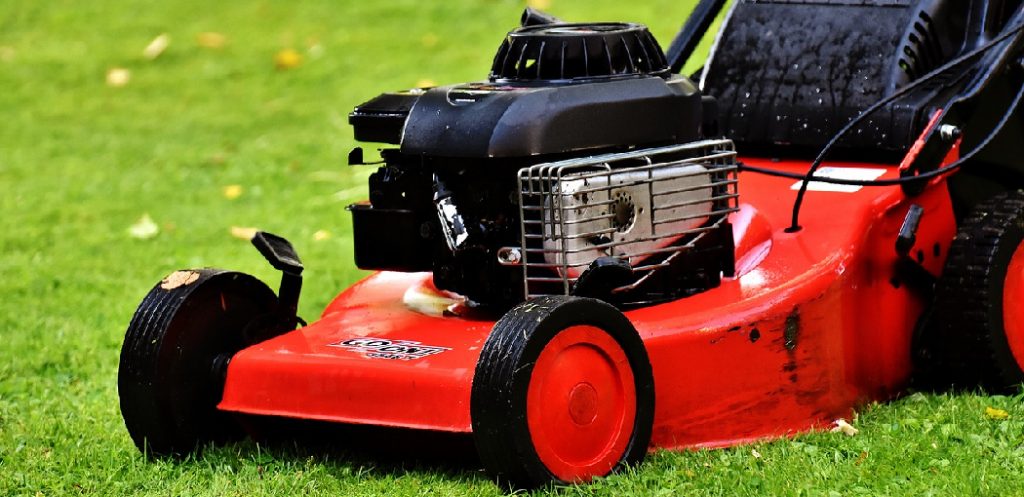
It is a door made with mesh, which can be attached to the back of a riding lawnmower. It permits grass clippings to pass through into a bag or container below. When the grass has been mulched, it will become much fluffier and lighter in weight before adding soil for planting. A mulching door is useful if you use your mower to save time and money when preparing your yard for spring planting. The downside is that once installed, it cannot easily be removed when you no longer need it. Thus, some prefer attaching it only after preparing their garden area for planting in spring. Today I am going to discuss how to install lawn mower mulcher door. So let us get to the topic.
Step-Wise Guide on How to Install Lawn Mower Mulcher Door
For the installation, you need to, first of all, remove the door. This will help you identify every part of the door, which can be reassembled after knowing how each and everything works for it. The door looks very complex, but it is not so once you know where each part fits in. For removing, there are two screws to loosen up on both sides at the top. Once these are removed, then the piece slides off easily. If, by any chance, something else sticks out or gets stuck while sliding, check for any other screw that might have been missed during the initial process of removing and loosening up with a wrench. You can try using a rubber hammer to unlock any hard areas if they still don’t come loose.
After removing, you can see there are two different sides for door assembly. One is the outer frame side, and another is the inner part with rubber sealing. Loosen up all the screws for both these parts with your wrench to remove them individually. Be careful as it slides out from its place, or it might slip and get damaged.
Now it’s time to attach a new mulcher kit. Check if the components move freely without any hindrance so you don’t have later problems while placing them back in their respective places. The assembly instructions are labeled on each component’s packaging. Some crossbars need to be assembled into the bottom edge of the main outer frame before placing the inner rubber piece after removing the old piece.
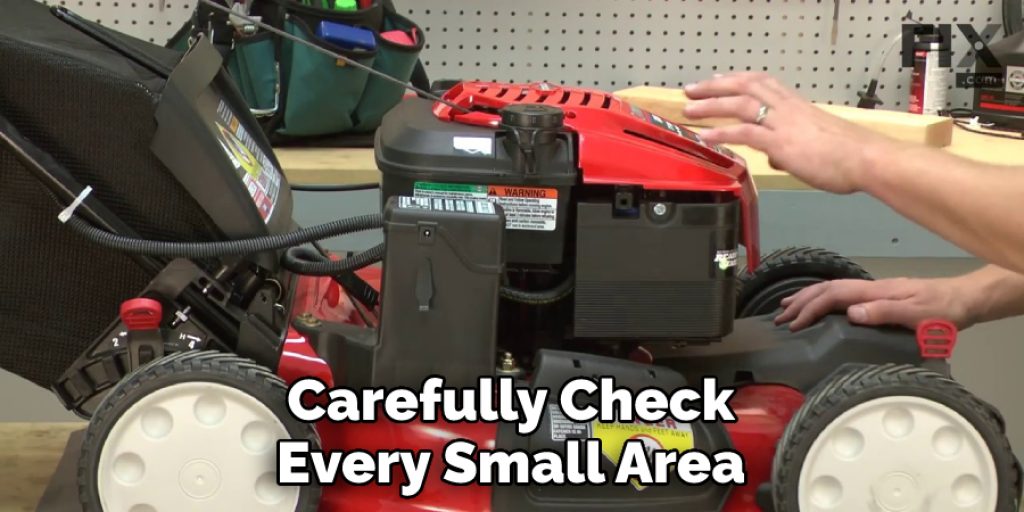
Next is to remove the old mulcher door’s inner rubber wheel that has already been removed from the mainframe in the previous step once all nuts are loose enough and slide off easily. Next, take out the new piece with a red warning sticker on its packaging for caution to ensure these parts don’t get mixed up while assembling back. The orientation of this part will be different from the old one, so note down their positions and place them exactly as they should go into place. As you open up the packaging material, check if anything else is attached securely to the outer frame since it might have slipped inside, so carefully check every small area before placing back. It is best not to rush but to clearly take your time during the installation process by following instructions in their manual. If you feel any difficulty with the placement or fitting into place, remove it again and move it from where they are not supposed to be placed originally so that everything fits fine after re-assembly onto the outer frame.
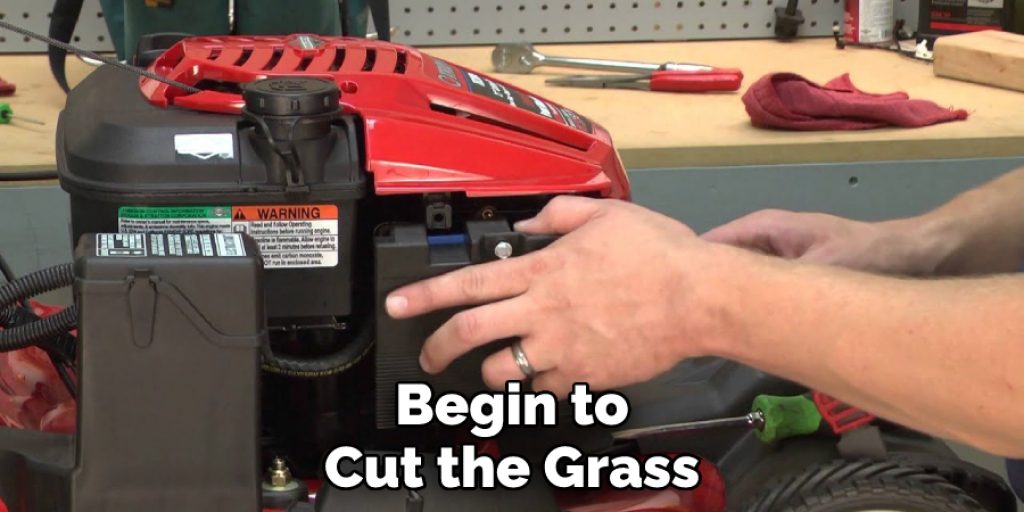
Now comes another step of placing the rubber wheel back along with the inner flap, labeled as “L” or left side, while looking at its actual position. Ensure that these parts remain intact even when tightening screws on the inner frame edges so that these things do not get loose while pressure is applied in mulching operation. Now we can slide the main part of the door assembly back into its original place after inserting crossbars into the bottom edge of the main outer frame. Please place them in evenly spaced areas to avoid any added pressure while the door is in use. Tighten up all the nuts back on to place them firmly into position and check if they are placed evenly on the edges of the main outer frame or not. If you feel these parts have slipped out of position, get them aligned right before moving ahead.

Precautions While Installing Lawn Mower Mulcher Door
- Make sure the grass is parched before you mulch anything. This will also help prevent fires that result from the friction of moving materials against each other. If it is raining outside or if there have been any warnings of rain, go ahead and wait until the weather has cleared before you begin to mulch your lawn.
- If your lawnmower does not come with a mulching door installed, then you must change how you normally operate your mower to ensure that this product works properly when it is finally assembled on your machine. For example, when mowing your lawn with a conventional riding mower deck, make several passes over the same section of the yard instead of just one pass because doing so will allow the grass clippings to fall out of the cut bag and onto the ground without getting caught up in the lawnmower blades. It may seem like you’re spending a lot more time cutting your grass than usual, but this special step will ensure that the grass clippings do not get caught in the blades of your mower and cause damage to them or to any other parts that they might come into contact with.
- Lastly, if there is a chance of rain in your area, you must always ensure that the mulching door on your riding lawnmower is properly closed before you go outside and begin to cut the grass (if it has not been installed yet.) This will help prevent rainwater in these low-hanging areas where it could splatter all over you as you operate the mower.
Conclusion
Suppose you have a riding mower or another type of lawnmower that can be outfitted with mulching doors. In that case, you owe it to yourself and your neighbors to consider purchasing one so that you can lower the pollution released into the environment every time you cut your lawn. I hope you have all the necessary information about installing a lawn mower mulcher door. Thank you, and have a good day!
Angela Ervin
Angela is the executive editor of DIY quickly. She began her career as an interior designer before applying her strategic and creative passion to lifestyle and home. She has close to 15 years of experience in creative writing and online content strategy for housekeeping, home decorations as well as other niche efforts. She loves her job and has the privilege of working with an extraordinary team. She lives with her husband, two sons, and daughter in Petersburg. When she's not busy working she spent time with her family.


