
How to Install Light Sensor On Outdoor Light
We will show you how to install light sensor on outdoor light. It’s an easy process that just takes a few minutes and doesn’t require any special tools or knowledge. The first step is to turn off power at the main breaker box, then remove the old bulb by twisting it counterclockwise until it releases from the fixture base. Next, replace with a new LED bulb and twist clockwise into place.

Hold the down button on top of the sensor for three seconds and release it when the green light blinks twice. If necessary, adjust the angle of the sensor, so it points directly at the front door and press again. The sensor will now learn your schedule and turn it on/off at a preset time.
To install the light sensor on the outdoor light, you need:
- New LED bulb with integral dusk to dawn photocell for outdoor lights
- Philips screwdriver
- Utility knife
- Circuit tester or multimeter
- Wire stripper
- Wire nuts
- Voltage tester/multimeter
Instructions on How to Install Light Sensor On Outdoor Light:
Step 1.
Turn off power at the main breaker box. And then remove the old bulb by twisting it counterclockwise until it releases from the fixture base. Replace with new LED bulb and twist clockwise into place.
Step 2.
Hold the down button on top of the sensor for three seconds and release it when the green light blinks twice. If necessary, adjust the angle of the sensor, so it points directly at the front door and press again.
Step 3.
The sensor will now learn your schedule and turn it on/off at a preset time.
Reasons to Install Light Sensor On Outdoor Light:
There are a few reasons to install the light sensor on outdoor light, namely:
– Energy Savings
Using an indoor motion sensor instead of leaving lights on can save up to 80% or more in energy costs. It also includes low voltage LED bulbs that double the life expectancy over incandescent and CFL bulbs.
– Safety
If you have a dark walkway or a car accident in the driveway, the motion sensor lights will come on without you having to do anything. This is especially useful if someone needs to exit your home at night and does not have their own set of keys or finds their key doesn’t work.
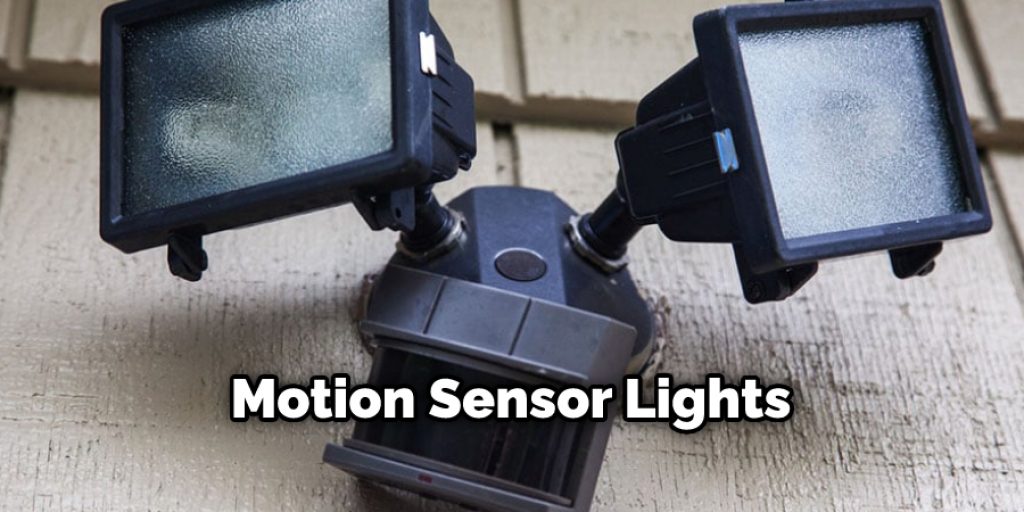
– Weather Protection
Motion sensor lights are also weather protected because rain and moisture will not cause damage in the same way that a simple light bulb can be ruined in a heavy downpour. There is also less chance of electrical fire when you install the motion sensor lighting outdoors.
8 Ways on How to Install Light Sensor On Outdoor Light:
1. Use Your Drill.
Place the light sensor device on a flat, sturdy surface. Use your drill to make two holes in the wood where you want to place the screws. Place the screws inside of these two holes and turn them counterclockwise until they’re firmly inside.
2. Mount Your Device.
Screw the backplate assembly onto your screws, making sure that only the backplate is facing outwards. Do not screw the front of your device onto the screws because you will need to access the wires to install them correctly.
3. Run Your Wire Through The Back Plate.
Cut two holes into one of your wire connectors using your drill or rotary tool, creating a hole that’s large enough for a single cord to pass through. Take one of your wires and slide it through the front of the faceplate. Slide it through until an inch or less is sticking out at the back.
4. Connect Your Wire To The Back Plate Assembly.
Take your wire connector from before and place the end that isn’t threaded into a wire nut and screw it tightly onto the wire sticking out of the back of your device. Then, take your other wire and repeat this process until you have wired all three of them into place.
5. Place The Back Plate Over Your Front Plate.
Place the backplate over the attached faceplate so that the openings line up perfectly, ensuring that the cord is still sticking out of the back. Next, use your screwdriver to tighten the screws on the front plate and backplate, ensuring that it’s securely in place and can’t be pulled off easily.
6. Install The Sensor Into Your Mounting Plate.
Mount your sensor into your mounting plate using two machine screws and nuts. The sensor should fit perfectly into the plate, but if it doesn’t, use your drill to screw in some more holes and make some larger. Then put the screws back in and tighten them up using a flathead screwdriver.
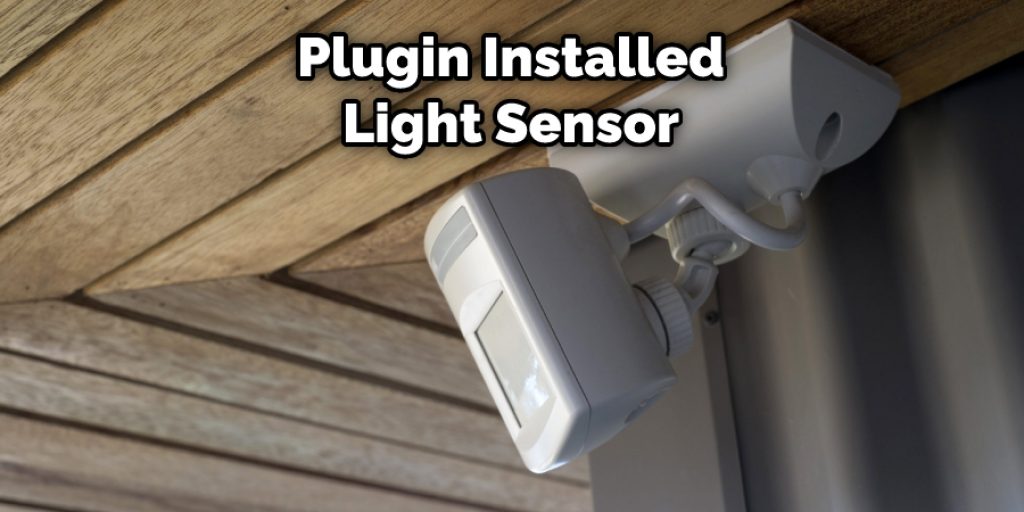
7. Plugin Your New Light Sensor.
Plugin your newly installed light sensor and turn on all of your exterior lights with the inside light sensor. The lights should turn on and off as you go into and out of the room, making sure that they’re programmed correctly for their lighting schedule.
8. Test Your New Light Sensor.
Turn on your outside light using your new light sensor and have somebody stand a few feet in front of the sensor. The light should come on as soon as the person gets close to it and turn off when they step away. The lights will still activate if there is a sudden change in lighting, such as somebody turning on a light near them or if someone has turned on a porch light behind them.
Maintains of Light Sensor On Outdoor Light:
Motion sensor lights are great for outside of your home because they can save you energy while making it more convenient to exit the house easily. In addition, because they only activate when there is motion around them, you will use less battery life than having a light on at all times. They’re also very easy to install with just a few simple steps that you can do yourself without professional help.
Tips and Warnings:
Tips:
-Motion sensor lights are good for the outside because only the sensors activate them, saving you money on electricity.
-They can turn it on at night when somebody walks in front of it and shut it off when they leave.
-They’re very easy to install and can be done by just about anybody.
-They also make it easier to exit your house as the lights will activate as you approach them.
Warnings:
-If somebody turns on a light near the sensor, it could trigger and turn on lights that weren’t meant to be on yet. Although this is rare, you should watch for this situation and be sure to tell everybody that they need to turn off all of their lights before leaving.
-The sensors are not affected by sudden changes in lighting, such as somebody turning on a light they didn’t mean to or if there’s another light source near the sensor. If traffic is coming up behind them and they suddenly shine car headlights towards it, they will activate. Ensure everybody knows not to shine lights towards them as it might trigger the sensor and activate lights you didn’t want.
-They only operate the light at night, not during the day. So make sure that you have sufficient lighting during the day so that it’s always available for safety purposes.
-They need batteries in order to function properly. Make sure they are fully charged or that you have extra batteries on hand just in case.
-Make sure that the sensor is pointing in the right direction so that it can sense motion properly.
-Motion-activated exterior light fixtures can sometimes cause false triggers during seasons with no motion, such as winter.
More Tips:
-Motion sensor lights only need a small amount of sunlight to power up, which means they could be left out even during wintertime if you wanted to.

How to Test Your New Light Sensor:
-Turn on your outside light using your new light sensor and have somebody stand a few feet in front of the sensor. The light should come on as soon as the person gets close to it and turn off when they step away.
-Turn on all of your exterior lights with the inside light sensor. The lights should turn on and off as you go into and out of the room, making sure that they’re programmed correctly for their lighting schedule.
-The lights will still activate if there is a sudden change in lighting, such as somebody turning on a light near them or if someone has turned on a porch light behind them.
Conclusion:
Installing a light sensor on outdoor lights is an easy way to save money by using less electricity. It’s also great for the environment! We can show you how to install light sensor on outdoor light yourself if you don’t want to call in an expert.
To get started, find out where your outdoor power lines are located and use that information when wiring up your new light fixture. Then all you need to do is attach the wire from the switch inside of your home with one end of the ground wire coming from outside (to prevent any chance of electric shock) and connect them together with a grounding screw before installing both wires into their respective terminals at opposite ends in order to complete installation.
Thank you for reading, and we hope this article was helpful. Now get out there and install the light sensor on the outdoor light!


