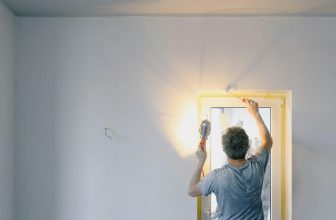
How to Install Wood Wall Planks
Wood wall planks, such as those made of shiplap or tongue and grove, have become increasingly popular in recent years. These wood planks give a beautiful natural look to any room and can be used to create feature walls or to cover an entire space. Installing these wood wall planks is not difficult but will require some time and patience.
Installing wood wall planks has many advantages compared to traditional drywall. Wood wall planks offer a more natural look with fewer visible seams and lines, providing a uniform aesthetic for any room in your home. Woodwall planks are also much easier to clean than drywall.
As they have no grout or other materials that can attract dirt and dust, wood wall planks are much easier to keep clean with a simple wipe-down. In this blog post, You will learn how to install wood wall planks in detail.
Importance of How to Install Wood Wall Planks
- Enhances a Room’s Aesthetic: Wood wall planks can add an elegant, rustic, or contemporary look to any space. They can also be painted or stained to match the existing décor and add texture and depth.
- Provides Insulation: Installing wood wall planks helps insulate a room from outside temperatures and noise. This can help reduce energy costs and make a room more comfortable.
- Adds Value to the Home: Installing wood wall planks is an economical way to add character and value to a home while giving it a modern look and feel.
- Protects Walls From Damage: Wood wall planks can protect walls from wear and tear and accidental damage.
- Durable and Easy to Maintain: With proper installation and maintenance, wood wall planks can last a long time without needing replacement or repair. Cleaning is also simple, requiring just a damp cloth for occasional dusting or spot cleaning.
- Easy to Install: Wood wall planks are relatively easy to install and require minimal tools or experience. With some basic directions and a few hours of work, you can transform any room by adding wood wall planks.

By installing wood wall planks, you can add value to your home, protect your walls from damage, and enhance the aesthetic of any room. With their easy installation and low maintenance requirements, wood wall planks are affordable for anyone looking to upgrade a space.
Step-by-Step Processes for How to Install Wood Wall Planks
Step 1: Inspect the Walls
Before you begin, closely examine the walls and ensure they’re dry, clean, free of dust and debris, and level. If the walls aren’t prepped correctly, your wood wall planks may damage or not adhere properly.
Step 2: Measure and Mark Your Wall
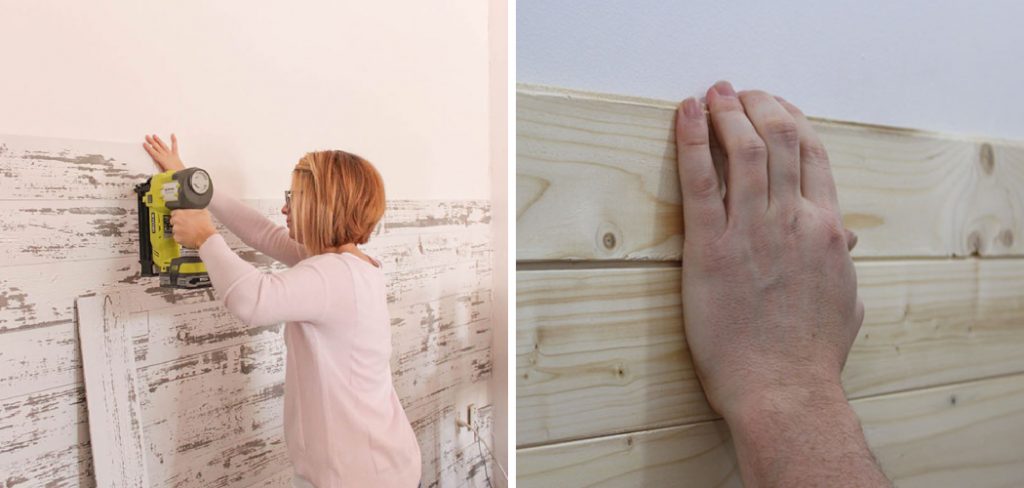
Use a tape measure to determine the size of your wall and mark it off with a pencil or chalk. This will help you ensure your wood wall planks are placed correctly and evenly spaced. Attach the wood planks directly to each stud on the wall using a power drill. Make sure that you use enough screws to hold the planks in place.
Step 3: Measure and Cut the Wood Planks
Mark off where you want to cut your wood wall planks using a tape measure. Then use a saw or power tool to make precise cuts. Line up your wood wall planks and ensure they are properly spaced.
Step 4: Secure the Planks with Wood Glue
Apply a generous amount of wood glue to the backs of the planks, then press them into place on the wall. Use a leveler if possible to ensure each plank is straight and correctly aligned. Apply a thin caulk layer to all the gaps and seams between each plank. This will seal them in place and help prevent moisture from getting in.
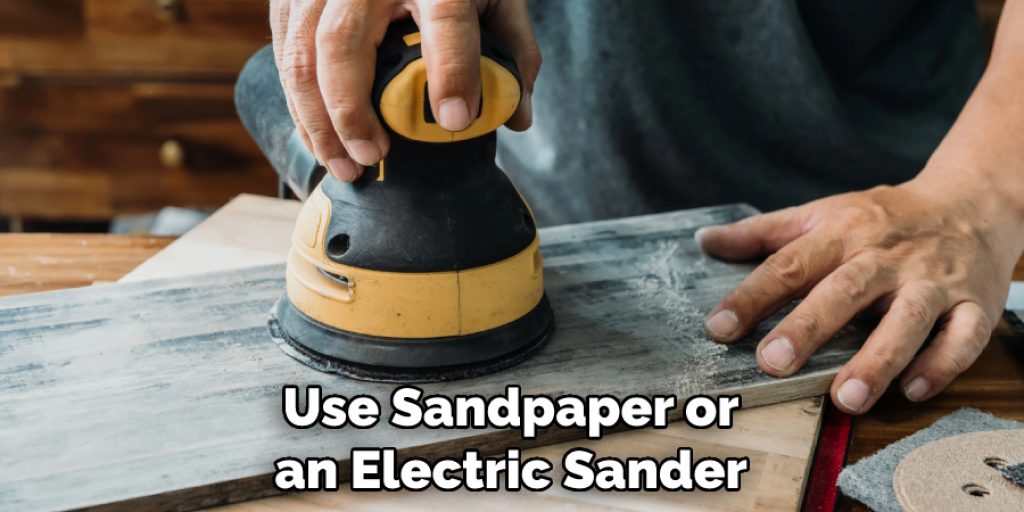
Step 5: Sand Your Wood Wall Planks
Once the caulk is dry, use sandpaper or an electric sander to smooth out the planks and make them look more uniform. If you have any holes or imperfections on your wood wall planks, fill them in with wood putty and let it dry.
Step 6: Apply a Protective Coat of Finish
Finally, apply a protective coat of finish to the wood wall planks. This will help protect them from moisture and keep them looking great for years to come.
By following these steps, you can easily install wood wall planks in your home, giving it a unique look that will last for years. With patience and attention to detail, you can ensure that your project turns out just right.
Safety Tips for How to Install Wood Wall Planks
- Wear safety goggles or glasses to protect your eyes when cutting or drilling the wood wall planks.
- Utilize a dust mask while working with the wood to avoid inhaling particles from sawing, sanding, and other processes.
- Wear protective gloves to keep your hands safe from splinters and other sharp edges.
- Avoid overreaching when working on wall planks to prevent falling or slipping.
- Place the wood plank on sawhorses or a stable surface for stability and support while installing it onto the wall.
- Check your work to ensure that all screws, nails, and brackets are firmly in place before moving on.
- Utilize a power drill and drill bits to ensure that the wood wall planks are securely in place.
- Ensure the area is well-ventilated and free of combustible materials when using power tools or other machinery near the wood wall planks.
Following these safety tips ensures that your wood wall plank installation goes smoothly and safely.
What Type of Wood Should Be Used for Wall Planks?
When it comes to choosing the right type of wood for your wall planks, several factors come into play. First and foremost is safety: you’ll want to choose a type of wood that won’t rot or warp over time. Additionally, the type of wood should be aesthetically pleasing – after all, you are trying to improve the look of your space with a wall plank installation.
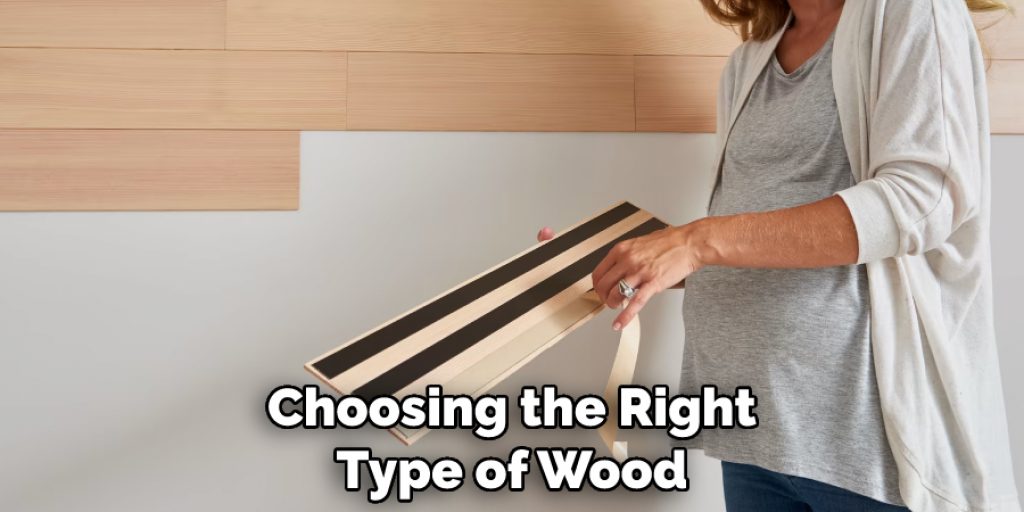
Common types of wood used for wall planks include pine, cedar, and oak. Each type of wood has its own unique characteristics that you should be aware of when making your decision.
Pine is one of the most popular types of wood used for wall planks due to its lightweight and easy installation. Pine is also relatively inexpensive, making it an economical choice for wall installation projects. Although pine can warp over time, it offers a nice natural look that is often desired in wall plank installations. Cedar is another type of wood commonly used for wall planks.
Cedar is naturally resistant to rot and decay, giving it an advantage over other types of wood. Furthermore, cedar is naturally pest-resistant and can provide a nice warm look to any room.
How Do You Clean and Maintain Your Wood Wall Planks?
After you’ve successfully installed your wood wall planks, it’s important to keep them looking their best. Since wood is a porous material, proper maintenance can help preserve the beauty of your wood walls for years to come. Here are some tips on how to clean and maintain your newly-installed wood wall planks:
- Dust your wood wall planks weekly using a soft cloth or duster. This will help remove built-up dust and dirt, preventing the material from becoming dull over time.
- Use a damp cloth with dish soap and warm water for deeper cleaning. Avoid using harsh chemicals, as these can damage the wood’s finish.
- Apply a coat of wood finish or sealer annually to keep your walls protected from moisture and dirt.
- When wiping down planks, always move in the direction of the grain to help preserve the integrity of the wood surface.
- If you notice any chips or scratches on your planks, use a wood filler or putty to repair the damage.
- If your walls are exposed to direct sunlight, consider using a UV protection spray or window treatments like blinds or curtains.
- Avoid putting too much weight on wood wall planks, as this can cause them to warp and bow over time.
- Be sure to check the integrity of your planks regularly and replace any weakened or rotting boards as needed.
- When moving furniture, make sure to use protective padding, such as felt pads, to avoid scratching the wood surface.
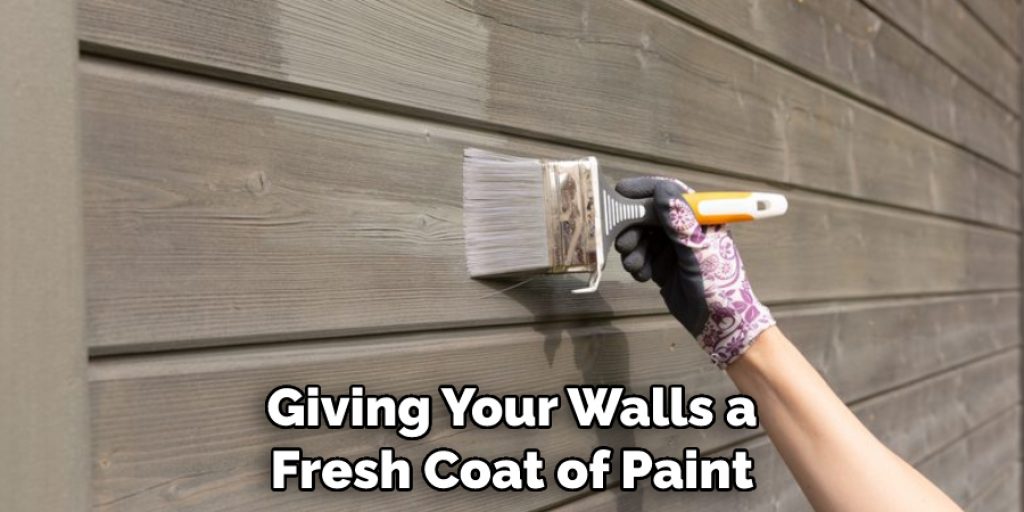
- Consider giving your walls a fresh coat of paint every few years to keep them looking their best.
Following these simple tips can help you keep your wood wall planks looking beautiful for years to come.
Conclusion
One of the main disadvantages of installing wood wall planks is that it can be a costly and time-consuming process. The cost of materials, including lumber, nails, screws, and sealants, can add up quickly. Additionally, if you don’t have the tools or skills needed to install the wood wall planks yourself, you may need to hire a professional, which can further increase the cost.
In conclusion, installing wood wall planks is a relatively straightforward process that anyone can easily do with basic DIY skills. It is important to take into account the material of the planks, the condition of the walls they will be applied to, and the tools needed for installation. Considering these factors will ensure a successful installation and add character to any room.
I hope reading this post has helped you learn how to install wood wall planks. Make sure the safety precautions are carried out in the order listed.