
How to Repair a Door Frame With Wood Filler
Introduction
Wood filler is a substance used to fill in holes or cracks on the surface of wooden items. These may be doors, frames, and trim. Wood filler can also be used to patch up sections of wood that have been damaged by rot when replacing old wooden windows. This article will demonstrate how to repair a door frame with wood filler. So let us get started.
Step-wise Guide on How to Repair a Door Frame With Wood Filler
Every timbered house is bound to suffer from some damage. And if you are too scared to get your walls fixed by professionals, fret not! DIY experts always have the solutions for everything!
It’s entirely possible to fix minor cracks and chips in the frame of your door at home with wood filler. Just follow these instructions carefully and do it yourself!
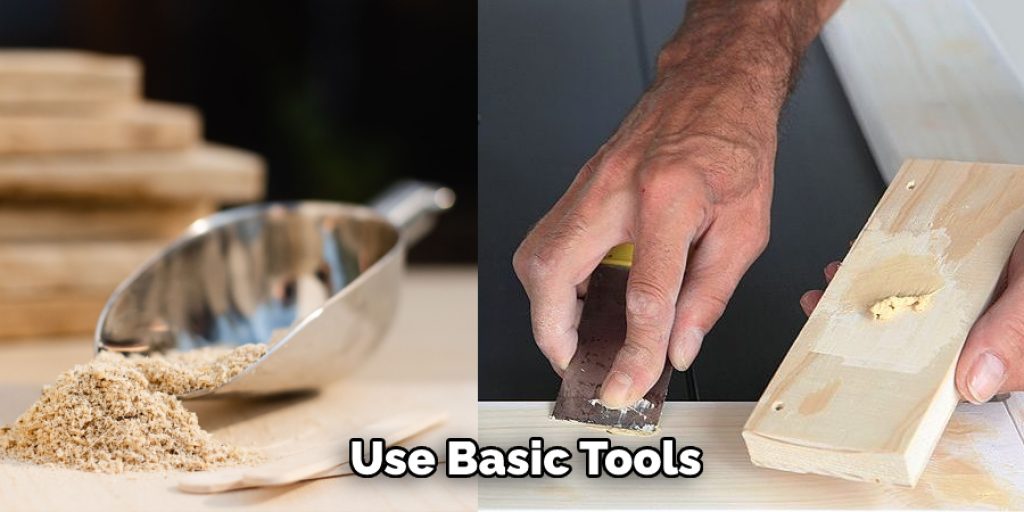
What You Require.
Plastic Paint Tray:
We recommend you use one for this process to avoid mess. You can use it to mix your wood filler compound well and apply the paste neatly to the cracks or holes in question.
Orbital Sander :
An orbital sander is a perfect tool for removing rough edges created by removing old paint or filling small holes and cracks. Its orbit sanding action can help you achieve a smoother surface finish on splintered wood pieces that are perfectly primed for painting.
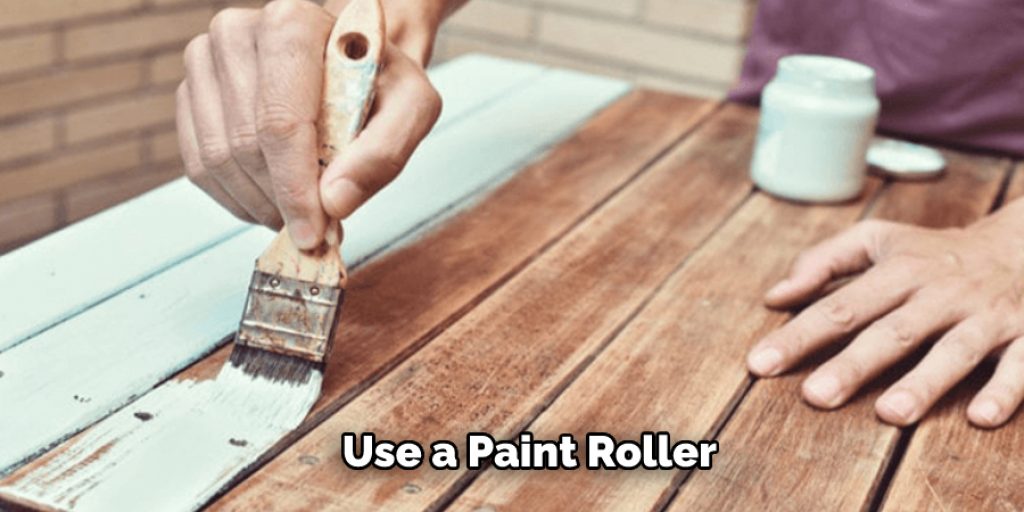
Paint Roller:
Roll up small pieces of wood filler using a paint roller and apply generously to each crack or hole.
File:
The file is another important tool for this job of repairing the door frame. You will need to remove excess pieces of wood filler from the surface area where you have applied it so that you are left with a smooth finish without rough edges after sanding down with an orbital sander machine.
Sandpaper & Wood Filler Compound:
Once you fill all the dings, bumps, holes, and uneven spots on your door frame with wood filler paste, let the compound dry out for approximately 24 hours. After that period, you can sand the area down with an orbital sander machine and then apply a layer of wood filler compound to fill any tiny cracks or holes that may have been missed in the first step.
Using these three basic tools, the paint roller, orbital sander machine, and file, you can repair your door frame very easily without any professional help!
Get started right away:
Repairing a door frame isn’t too difficult since no visible surface area is involved. First, get rid of all rough pieces and clean up the edges with a file. Then, using an orbital sander machine, smooth out all splintered areas on surfaces where cracks have developed because of regular wear and tear.
Brace the edges:
Now it’s time to fill up all holes, bumps, and uneven surfaces on your door frame with wood filler. We recommend that you use a plastic paint tray for mixing well the pieces of wood filler. And then, apply the paste generously over each hole or bump using a paint roller to ensure that there are no bare patches left behind. Use more product for covering large areas of damage as needed!
Let everything dry out:
You should also wait until the compound dries up before sanding any rough edges using an orbital sander machine. If you try sanding while the wood filler is still wet, chances are you might end up pulling off chunks from your surface area. So, wait for 24 hours, and then sand the area down with an orbital sander machine.
Apply a second coat:
Those little pinholes and bumps you skipped while filling up need to be filled in too! Apply more wood filler compound, let it dry out, and then sand the entire surface area again. This time does so with finer-grit paper for a smoother finish. Apply several layers of wood filler if needed!
You’re good to go now. Now that you have smoothened your door frame with wood filler, you can paint or stain the areas as per your design requirements. Don’t forget to protect them from moisture by applying protective clear coats! And voila; You are all set to repair cracked frames for your doors at home. If you need further assistance in this regard, don’t forget to drop us a comment below. We will be happy to help you out!
Precautions While Repairing a Door Frame With Wood Filler
- Always start with power tools for a nice and even foundation for your project.
- Never attempt this repair in areas where water is present, as the wood filler will not stand up to moisture.
- Maintain ventilation at all times while working; don’t forget that the dust from the wood filler can be harmful if inhaled, so wear a protective mask and glasses; also, the fumes from caulk may set off an allergy for some people.
- Work in small spaces, such as a garage or basement – you want to work in a small area since wood filler spreads far and wide as it dries, thus creating more of a mess than needed if you do not take precautions!
- Be patient and take your time – wood filler dries quickly, and cooling down can cause great hardship on the project.
- an arid area is needed for this repair, as the wood will expand with moisture when drying; this expansion could get very costly if you are not aware and prepared for it!
- Always cut with a sharp blade and make sure to sand after spreading each layer of wood filler (if using more than one); by doing so, you ensure that no rough spots are left behind or out-of-level areas, which may lead to larger problems later on in the project.
What Are Some of the Best Alternatives to Wood Fillers?
Today, there are many different types, such as homemade paste made from flour and water, polyester resin-based products, epoxy-polyester adhesives; urethanes; car body fillers (which can easily be found at most auto supply stores); or just about any wood filler designed for indoor use.
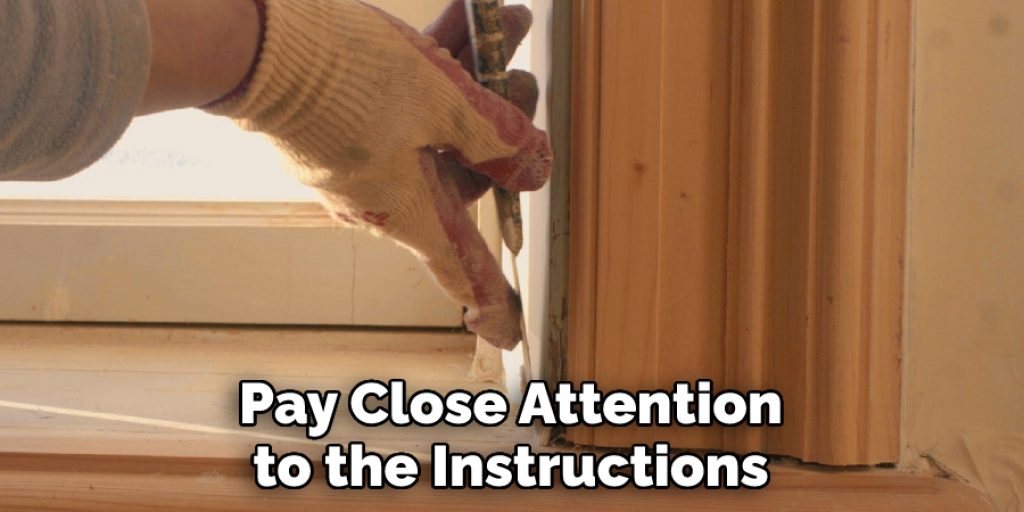
First, let’s look at some of the cheaper alternatives that can be found in almost any home improvement store, including department stores. When selecting a product, pay close attention to the instructions on the package. You will want to ensure it is a one-part filler that works well with wood and paints. It also needs to dry clear, leaving very little odor or residue behind.
Some of the cheaper alternatives include JB Weld, Plastic Wood, and G-Flex, which all work well and are easy on your pocketbook compared to other brands and products today. You can also go for plastic wood. It is lightweight and fairly easy to use. Mix a small amount of the powder and hot water using a drill mixer or something similar. Mix until the mixture turns into a smooth putty (about 5 minutes). Apply it to the crack in question and then hammer them down flat with a few wood scrapers. Let dry for about 24 hours, and you are good to go! Please note, though, that this type of filler may not work well if you are filling in larger cracks (e.g., 3/4 inch or more ).
Conclusion
If you are looking for a cost-effective solution, try the wood filler products mentioned above! They’ll work very well and adequately fill up plain cracks and holes. But if you’re looking for a more professional repair job with an even smoother finish, call a carpenter near your place.
It’d be best if your carpenter has some experience in repairing door frames. This way, they will have better ideas for fixing it in fewer steps. I hope this article has been beneficial for learning how to repair a door frame with wood filler. Thank you, and have a nice day!
Angela Ervin
Angela is the executive editor of DIY quickly. She began her career as an interior designer before applying her strategic and creative passion to lifestyle and home. She has close to 15 years of experience in creative writing and online content strategy for housekeeping, home decorations as well as other niche efforts. She loves her job and has the privilege of working with an extraordinary team. She lives with her husband, two sons, and daughter in Petersburg. When she's not busy working she spent time with her family.


