How to Insulate Sunroom Ceiling
Do you feel like the sunroom in your home is just never warm enough during cold weather? The heating bills keep mounting and nothing seems to do the trick. If this sounds familiar, you may want to consider investing in insulation for your sunroom ceiling—it could help maintain an ideal temperature all year long!

Having a properly insulated room can save on energy costs, make it more comfortable to use throughout different seasons and reduce any noise entering from outside of the room. In this blog post, we’ll guide you through the steps on how to insulate sunroom ceiling necessary for insulating a sunroom ceiling so that you can enjoy a cozy spot whenever it’s time to relax.
What is Sunroom Ceiling Insulation?
Sunroom ceiling insulation is a layer of material that separates the interior of your sunroom from the exterior. This helps to maintain indoor temperatures by reducing heat loss in winter and keeping cool air inside during summer. Insulating your sunroom ceiling can also help reduce noise pollution since sound travels more easily through uninsulated spaces. It is an essential element in making your sunroom more energy-efficient, comfortable and quieter.
Choosing the Right Insulation Type
There are several insulation types available on the market. Each type offers its own set of benefits; however, you should opt for one that can meet your specific needs.
Fiberglass Insulation:
This type of insulation is commonly used due to its affordability and easy installation process. The material made from glass fibers is an excellent insulator that can effectively trap air pockets, thus preventing heat loss.
Spray Foam:
If you are looking for a more advanced insulation option, consider spray foam. Spray foam expands when sprayed on the ceiling surface, making it ideal for filling gaps and small spaces where heat can escape. This type of insulation is suitable for ceilings with unusual shapes or cavities that require a customized fit.
Cellulose Insulation:
Made from recycled newspaper, cellulose insulation is an eco-friendly option that can be used to insulate sloped sunroom ceilings. It can be blown in using special machines and is ideal for filling small gaps and covering irregularly shaped areas.

10 Simple Step-by-step Guidelines on How to Insulate Sunroom Ceiling
Step 1: Prepare the Area
Before starting any insulation work, turn off all electricity in the room and remove any objects that may obstruct the ceiling’s surface. It is also advisable to cover the floor and any furniture with protective sheets. It’s always a good idea to wear protective gear such as gloves, goggles, and a mask when handling insulation materials. You may also want to ventilate the room before, during and after insulation.
Step 2: Measure the Ceiling Area
Measure the ceiling area that requires insulation. This will help you determine how much insulation material you will need for your sunroom. You can either measure it with a measuring tape or by calculating the total square footage. It is better to overestimate the amount of insulation needed than to run short in between an insulation job. You can always return unopened packs of insulation.
Step 3: Choose the Insulation Type
Select an insulation type that will best fit your sunroom ceiling. Consider factors such as cost, ease of installation and effectiveness. You may also want to check if there are any building codes or regulations in your area regarding insulation materials. Although you can choose any insulation type, we recommend using a fiberglass blanket or batt for your sunroom ceiling. This type of insulation is the most common and cost-effective option.
Step 4: Clean the Ceiling Area
Sweep or vacuum the ceiling area to remove any dust, debris or cobwebs that may get in the way when installing insulation. Make sure there are no electrical wires or plumbing pipes exposed before you start your job. Otherwise, you will have to call in a professional to help you with the job. It is important to have a clean and clear ceiling area before installing insulation. But also remember to be gentle during cleaning to avoid damaging the ceiling surface.
Step 5: Cut and Install Insulation
Measure the insulation material according to your sunroom’s ceiling measurements. Make sure you cut it correctly so that it fits snugly between the ceiling joists without leaving any gaps. Lay the cut pieces of insulation between the joists, making sure to cover each joint and seam. Install the insulation with the vapor barrier facing downwards for maximum efficiency. This will prevent any moisture from seeping through and causing damage.
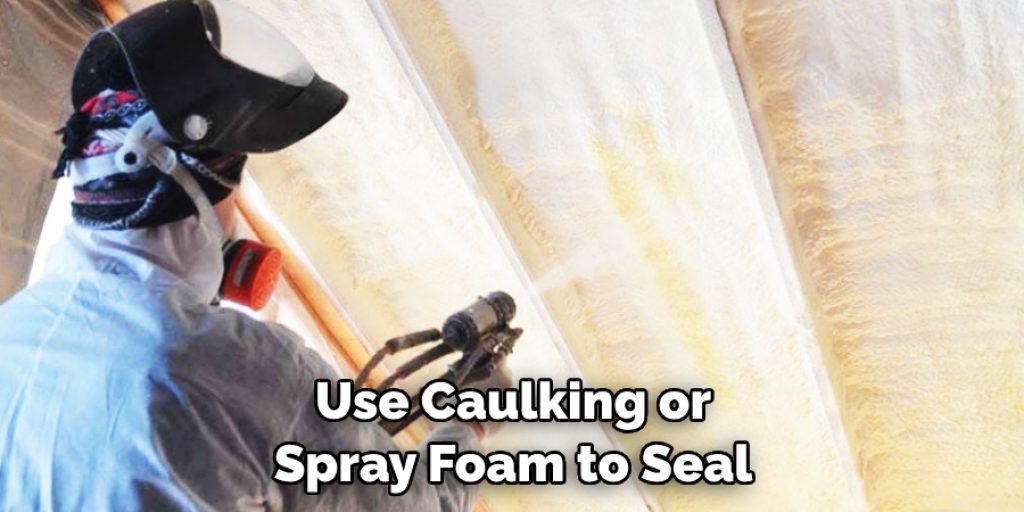
Step 6: Seal Any Gaps
Use caulking or spray foam to seal any gaps or holes in the ceiling. This will help prevent air from escaping and maintain a consistent temperature inside the sunroom. You can also use weather stripping for windows and doors to further improve insulation efficiency. It is important to seal any gaps or cracks to ensure the insulation does its job effectively. You may need to reapply caulking or spray foam periodically as it can wear out over time.
Step 7: Cover the Insulation
Once you have installed and sealed the insulation, cover it with a layer of drywall. Use screws or nails to secure the drywall in place. This will protect the insulation and give your sunroom ceiling a finished look. You can also choose to paint the drywall to match your sunroom’s interior design. You can also add a layer of insulation board before installing the drywall for added thermal protection.
Step 8: Install Ceiling Tiles
If you have a drop ceiling or suspended grid ceiling, you can easily install insulation between the ceiling tiles. Simply remove one tile at a time and place the insulation on top of it before replacing it. This will help improve the sunroom’s insulation while maintaining the aesthetic of the ceiling. It is important to use the correct size of insulation for your ceiling tiles to ensure a secure fit. You may also need to trim the insulation pieces if they are too large.
Step 9: Install Ventilation Vents
Proper ventilation is essential in maintaining good indoor air quality and preventing moisture buildup. If your sunroom does not have proper ventilation, it can lead to mold growth and damage to the ceiling material. Install ventilation vents on the ceiling after insulating to ensure proper air circulation. You can also install a ceiling fan to help with air circulation and control the temperature inside the sunroom.
Step 10: Clean Up
Once you have completed all the insulation work, clean up any debris or leftover materials from the floor and furniture. Dispose of insulation scraps properly according to your local regulations. It is important to keep the area clean to avoid any potential hazards or accidents. You can now turn the electricity back on and start enjoying your well-insulated sunroom!
Following these simple steps on how to insulate sunroom ceiling will help you effectively insulate your sunroom ceiling, keeping it comfortable and energy-efficient. It is also important to regularly check for any signs of damage or wear on the insulation and repair or replace it when necessary.

With proper insulation, you can enjoy your sunroom all year round without worrying about high energy bills or discomfort due to extreme temperatures. So go ahead, start your sunroom insulation project and enjoy a cozy and comfortable space in your home. So go ahead, start your sunroom insulation project and enjoy a cozy and comfortable space in your home. Happy insulating!
Frequently Asked Questions
Q1: Do I Need a Professional to Install Insulation in My Sunroom Ceiling?
A: It is possible to insulate your sunroom ceiling yourself with the proper tools and materials. However, if you are not confident or comfortable with DIY projects, it is best to hire a professional for the job. This will ensure that the insulation is installed correctly and efficiently.
Q2: How Often Do I Need to Replace Insulation in My Sunroom Ceiling?
A: The lifespan of insulation depends on several factors, such as its type, quality, and exposure to moisture. On average, insulation can last up to 15 years before needing replacement. However, it is important to regularly check for any signs of damage or wear and replace it as needed to maintain its effectiveness.
Q3: Can I Use Any Type of Insulation for My Sunroom Ceiling?
A: While you can use any type of insulation for your sunroom ceiling, we recommend using fiberglass blankets or batt insulation. This type is cost-effective, easy to install, and provides efficient thermal protection.
However, you can also use other types of insulation such as foam board or spray foam, depending on your preferences and budget. Ultimately, it is important to choose an insulation that meets your needs and provides the best results for your sunroom ceiling. Happy insulating!
Q4: Do I Need to Insulate My Sunroom Ceiling If It Is Already Enclosed and Has Windows?
A: Yes, even if your sunroom is enclosed and has windows, it is still important to insulate the ceiling. This will help prevent heat loss during colder months and keep the room cool in warmer months. Insulating the ceiling also helps maintain a consistent temperature inside the sunroom, making it more comfortable for year-round use.

Conclusion
In conclusion, insulating your sunroom ceiling is a great way to make the space usable all year long and provide extra protection from the elements. Consider using foam insulation boards or spray foam insulation for optimal results. When you’re done, you’ll want to close off any gaps that were created during insulation installation and seal them correctly.
It’s important to remind yourself that proper winterizing of your sunroom prior to beginning your project will go a long way in keeping you warm over the winter months. By following each of these steps for how to insulate sunroom ceiling, you can add both style and function to the room’s overall look and enjoy the extra added comfort all year round. So don’t wait any longer – take action today and start planning out your own sunroom insulation project!
Angela Ervin
Angela is the executive editor of DIY quickly. She began her career as an interior designer before applying her strategic and creative passion to lifestyle and home. She has close to 15 years of experience in creative writing and online content strategy for housekeeping, home decorations as well as other niche efforts. She loves her job and has the privilege of working with an extraordinary team. She lives with her husband, two sons, and daughter in Petersburg. When she's not busy working she spent time with her family.