
How to Keep Paint From Bleeding Under Tape
Whether you’re a beginner or an experienced painter, you’ll probably have to deal with paint bleed at some point. This occurs when the paint seeps out from under the tape used to section off the area you’re painting. While it can be frustrating, there are ways to minimize and even prevent this from happening altogether. In this article, we’ll look at how to keep paint from bleeding under tape. Let’s get started!
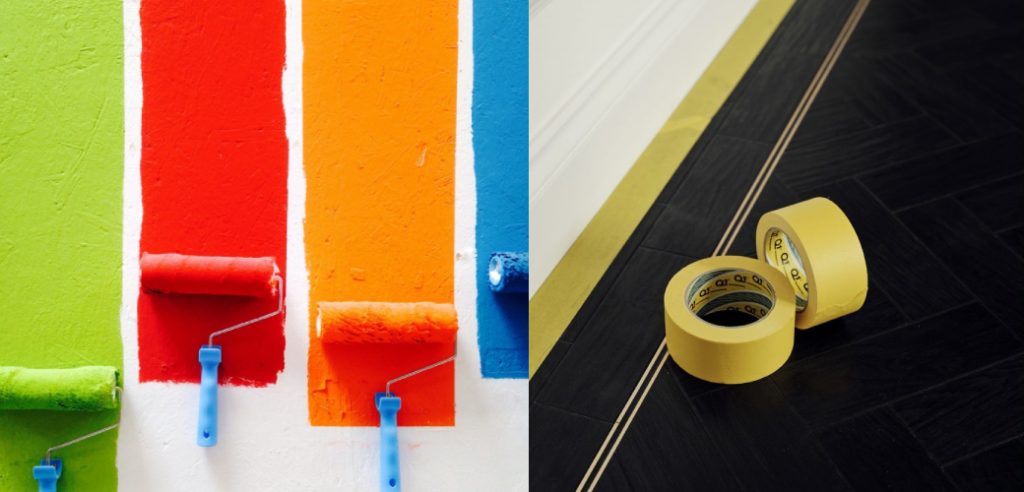
Many people think that avoiding paint bleed is using a higher quality tape. However, this isn’t necessarily true. Even the best painter’s tapes can sometimes allow the paint to seep through. So instead of relying on the type of tape you’re using, it’s essential to focus on how you’re applying it. It’s all about creating a tight seal so that the paint can’t find its way under the tape.
Why Is My Paint Bleeding Through Painters Tape?
There are a few reasons why your paint might be bleeding through your painter’s tape.
The first reason is that you didn’t properly prep the surfaces before you started painting. Make sure to clean the surfaces with a mild detergent and water solution and then let them dry completely before you start painting. Any dirt, grease, or moisture on the surface will cause the paint to bleed.
The second reason is that you didn’t use enough tape. Painter tape is a barrier between the surface you’re painting and the areas you don’t want to be painted. If you don’t use enough tape, or if you don’t apply it correctly, the paint can seep through.
The third reason is that you’re using low-quality tape. Not all painter’s tapes are created equal. Some are designed for specific surfaces, and some are better at creating a barrier than others. If you’re having trouble with paint bleeding, make sure you’re using a high-quality tape designed for the surface you’re painting.
What You’ll Need:
- Painter’s tape
- A sharp utility knife
- A small paintbrush
- Sandpaper (optional)
A Stepwise Guide on How to Keep Paint From Bleeding Under Tape
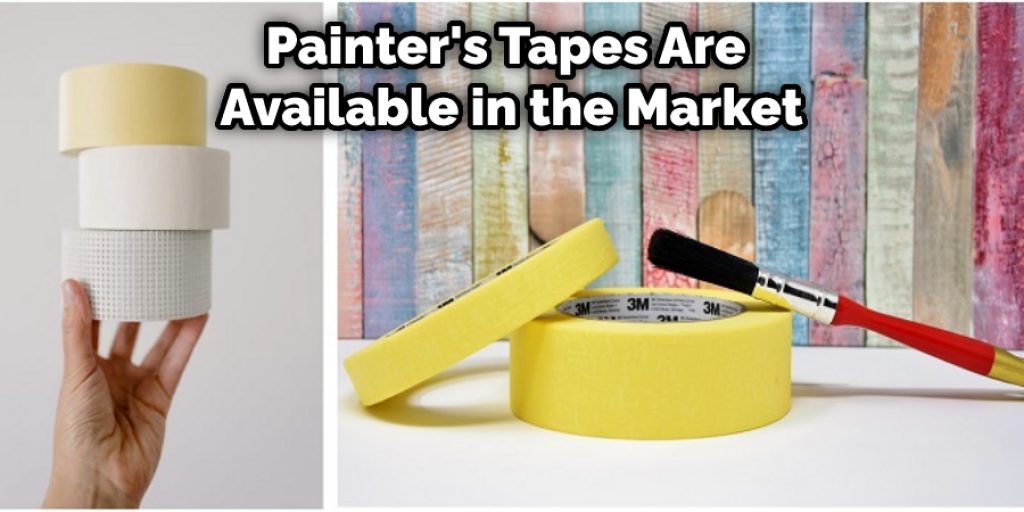
Step 1: Choose the Right Painters Tape
Various types of painter’s tapes are available in the market, each designed for a specific purpose. Choosing the right painter’s tape is essential to achieving clean paint lines and avoiding bleeding.
Use a low adhesion level tape for delicate surfaces such as wallpaper or fresh paint. These tapes have a lower risk of leaving behind adhesive residue or damaging the surface.
- Medium adhesion tapes are ideal for painted walls, woodwork, and metal. They provide good holding power and can be removed without causing damage to the surface.
- High adhesion tapes are best for rough surfaces such as brick or concrete. They offer the strongest hold but can be challenging to remove and may cause damage to the surface.
When using painter’s tape, follow the manufacturer’s instructions for the best results. Apply the tape to a clean, dry surface and press down firmly to ensure good contact. For best results, remove the tape immediately after painting.
Step 2: Determine the Type of Paint you are Using.
The type of paint you are using will also affect how likely it is to bleed under the tape. For example, water-based paints are more likely to bleed than oil-based paints. If you are using water-based paint, be sure to allow it to dry completely before applying the tape.
Step 3: Prepare the Surface
Once you have determined the type of paint you will be using; you can begin to prepare the surface. If you are painting over a previously painted surface, it is essential to clean the surface thoroughly before applying the tape. This will remove any dirt, grease, or other debris that could prevent the tape from adhering correctly.
If you are painting a new surface, there is no need to worry about cleaning it. However, make sure the surface is dry and free of loose debris before applying the tape.
Step 4: Apply the Tape
Once the surface is prepared, you can begin to apply the tape. Start by running a strip of tape along the edge of the area you will be painting. Be sure to press down firmly on the tape to ensure good contact.
Use a putty knife or other sharp object to score along the edge of the tape. This will help seal the edge and prevent paint from seeping under the tape.
Now, you are ready to paint! First, be sure to paint up to the edge of the tape so that there is a clean line between the painted and unpainted areas.
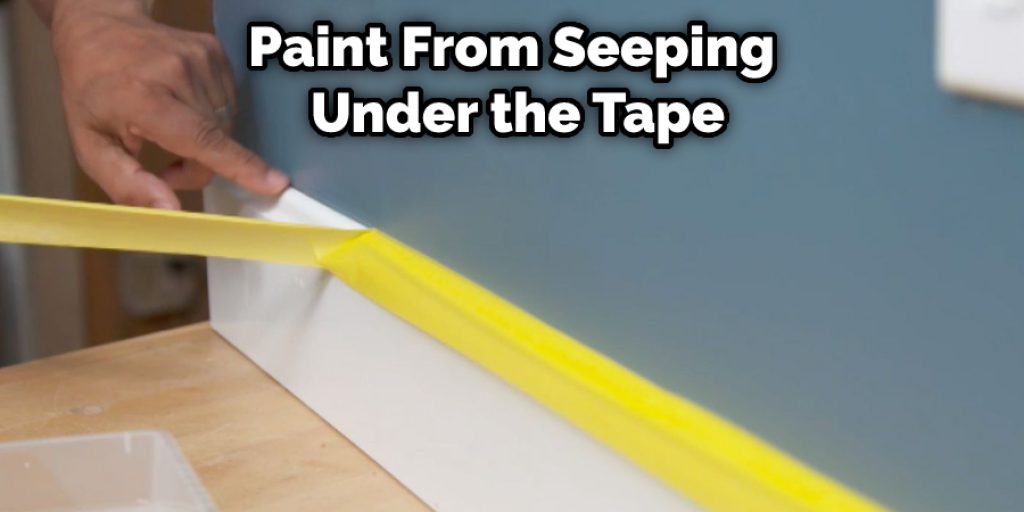
Step 5: Paint Over the Edges of the Tape
Once you have finished painting, you may notice that paint has seeped under the tape in some areas. To fix this, run a small paintbrush along the edge of the tape. This will help to seal any gaps and prevent paint from bleeding through.
If the paint has already dried, you can use a sharp utility knife to scrape away the excess carefully. Be sure to go slowly and be careful not to damage the surface beneath. Once you have removed the excess paint, you can touch up the area with a fresh coat of paint.
You may also want to sand down the edges of the tape to create a clean, straight line. Again, this is an optional step but can be helpful if you are looking for a flawless finish.
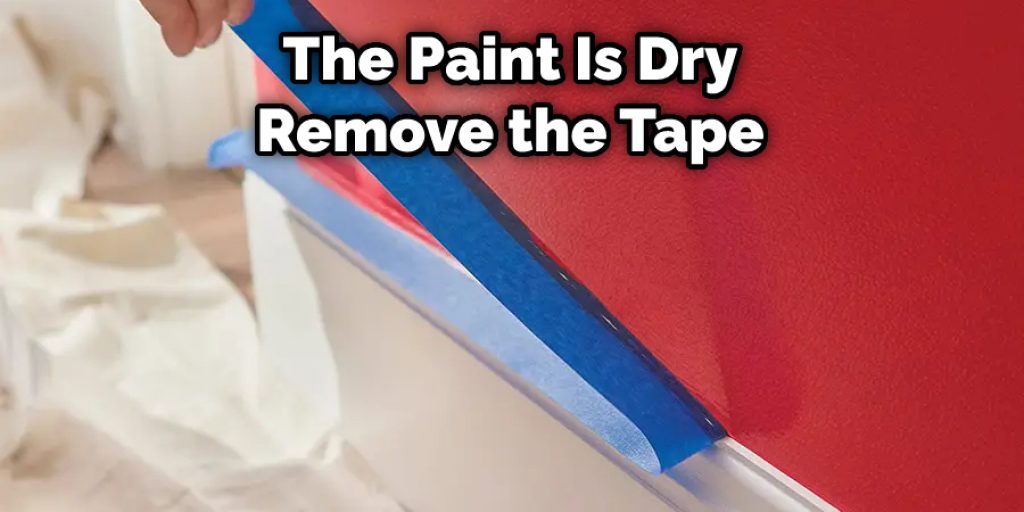
Step 6: Remove the Tape
Once the paint is dry, you can remove the tape. Start by gently pulling up on a corner of the tape. If the paint comes off with the tape, stop and try again. If the paint begins to peel or crack, it is not yet ready to be removed.
Continue slowly pulling up the tape until it is completely removed. If any paint remains on the surface, you can use a putty knife or other sharp object to scrape it away carefully. Be sure to go slowly and be careful not to damage the surface beneath.
With these simple tips, you can avoid paint bleeding and achieve clean, sharp lines every time!
You Can Check It Out to Paint Folk Art Style
Tips and Tricks:
- If you’re working with a paint brush, try using a high-quality synthetic bristle brush. This type of brush is less likely to shed bristles, which can cause paint bleeding.
- When cutting in around the edges of a room with a paint roller, start from the top and work your way down. This will help prevent any paint drips from running down the walls and ruining your tape job.
If you’re painting a dark color on a light wall, it’s good to use a primer first. This will help prevent the dark paint from seeping through the tape and creating an uneven line.
- Always make sure that your tape is firmly pressed against the surface before painting. This will help create a barrier between the paint and the wall, preventing any bleeding.
- If you find that paint has bled under the tape, take a damp rag and wipe away the excess paint. Then, reapply the tape and continue painting.
Prevent Paint Bleeding Under Tape
One of the most frustrating things is when the painting has the paint bleed under the tape. This can ruin your careful paint job and leave you with a big mess. But don’t worry, there are ways to prevent paint bleeding to avoid this problem altogether.
To keep paint from bleeding under the tape, start using a high-quality painter’s tape. First, make sure the tape correctly adheres to the surface, and then use a putty knife or another sharp object to press down on the edges of the tape. This will create a seal that will help prevent paint from seeping through.
Another way to keep paint from bleeding is to apply a thin layer of Vaseline along the edges of the tape. This will create a barrier that will prevent the paint from getting under the tape.
Finally, allow the first coat of paint to dry before applying a second coat thoroughly. If you try to paint over wet paint, it is more likely that the paint will bleed under the tape.
If you follow these tips, you should be able to avoid having paint bleed under your tape and ruin your painting project.
What to Do if Paint Bleeds Under the Tape
If you’re painting a wall and notice that the paint is bleeding under the tape, you can do a few things to fix the problem.
First, you’ll want to remove the tape carefully not to damage the paint job underneath. Once the tape is removed, you can use a putty knife or other sharp object to scrape away any excess paint that has bled through.
Next, you’ll need to apply new tape to the area and make sure it’s pressed down firmly. Once the new tape is in place, you can continue painting.
If you’re still having trouble with paint bleeding through the tape, you may need to try a different type of tape or experiment with other painting techniques. Ultimately, the best way to avoid paint bleeding is to take your time and be careful when applying the tape.
Conclusion
Always use the correct type of tape for the surface you are taping. If you’re not sure which kind of tape to use, consult with a professional to avoid bleed-through and achieve clean lines when painting, be sure to follow these tips and techniques. We hope you find this article on how to keep paint from bleeding under tape helpful.


