
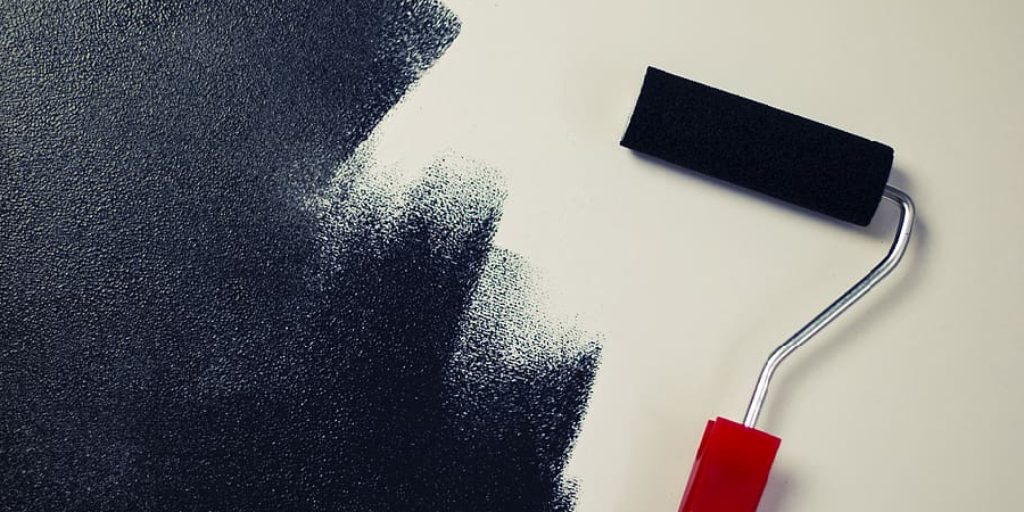
How to Make Paint Roller at Home
Homeowners often use paint rollers to apply a coat of paint or stain, but these tools can be expensive and time-consuming to buy. So instead, you can make your own roller out of items that are either found in your home or purchased from the hardware store.
The following post will show you how to create a DIY paint roller that is effective for large surfaces and detailed areas around trim work.
Paint rollers are an integral part of any painter’s arsenal. They can be found at almost any hardware store and come in various shapes, sizes, and colors. However, if you don’t want to spend the money on one or can’t find it where you live, try making your own! This post will show you how to make a paint roller at home with materials that are easy to find.
What You’ll Need:
1) Two plastic dish sponges
2) One rubber band
3) Lengths of rope
4) A stick
5) Paint pan
6) Paintbrush
7) Bucket
8) Paper Towel
8 Easy Steps on How to Make Paint Roller at Home:
Here we have discussed some simple steps on how to make a paint roller at home.
Step 1: Cut the Sponges
Take the two sponges and cut them into thin slices. If you have thicker sponges, you can use only one of them. The thickness of the sponge will translate into coverage and control, so choose according to your preference.
Step 2: Roll Sock Around Stick
Take the length of the rope and place it over one end of the stick, then wrap it tightly. You can use any size you would like, but 20 feet is about perfect for most jobs. The longer the rope, the more paint will be applied with each roll.
Step 3: Tie Rope Around Sponge
Then tie the other end of the rope tightly around one of the sponges, a few inches from the end. Make sure that it is tight enough so that it doesn’t slip when you roll over a surface; it doesn’t slip. Once this is done, repeat with another sponge and stick.
Step 4: Paint Cylinder With Paper Towel

Take the paper towel and roll it around the two sponges that are now tied together. Loop the end of the paper towel through itself to keep it from slipping off, then twist it tight enough so that no paint seeps out between loops.
Step 5: Wrap Rope Around Cylinder
Once the paper towel is wrapped around the sponges, take your length of rope and tie it tightly around the outside. Make sure you get it as tight as you can, or else paint will drip down from between your cylinder and onto the floor/surface you are painting.
Step 6: Attach Rope to Stick
When your paper towel cylinder is tied up with rope, take the stick and tie it tightly to one end of the cylinder. Make sure you attach it in a way that doesn’t conflict with the direction you will be painting. For example, if you are rolling vertically, make sure to attach it horizontally or vice versa. Now you can paint with your DIY paint roller!
Step 7: Roll Paint Onto Surface
To use the roller, simply put some paint on a pan or into a bucket and roll it onto the surface. You can control how much comes out by adjusting the length of the paper towel cylinder, which should end up being about two feet long. You can paint a variety of surfaces, from walls to cabinets.
Step 8: Clean Up
When you are finished using your DIY paint roller, you can undo the knots and store them in a plastic bag until your next painting project. The sponge will dry out within a few hours, so make sure to give yourself enough time to do this after applying the paint.
Tips and Tricks:
1. Get a paint roller cover with foam, not flimsy cloth-like material.
2. Use suitable quality paints for the rollers to get the best result.
3. Using top-notch paints will make your job easier because they will glide better on the wall surface. However, cheap paints tend to leave behind flecks of paint on the walls, so you must ensure that they are properly mixed.
4. Use a sponge roller to pick up paint from the tray and transfer it to your wall surface. This will help avoid those ugly lines on your walls compared to using a brush that leaves behind such bars, even if it is just dipped into the paint.
5. Painting should always be done in a well-ventilated area because the paint smells nasty, and you don’t want to breathe that in.
6. Apply two coats of paint on your wall surface instead of just one to get an even finish and better-looking walls, even if it means spending more time at home.
7. You can save money by not over-using the roller in covering your walls with paint. Instead, use short, quick strokes instead of long ones to get an even finish without using too much paint.
8. After applying your paint, let it dry for a day or two before using it. This will allow the paint to bond with the wall surface to become one, thus giving you sturdier walls.
What Can You Use Instead of a Paint Roller?

Paint rollers are great for most small to medium-sized painting projects, but what if you want to cover a larger area or need an inside corner? You can use paintbrushes for these jobs, but it will take much longer. Here are some alternative tools that can be used instead of a paint roller:
1. A Spackle Knife:
A spackle knife is a flat-bladed tool that can cover large areas quickly. Put some paint on the spackle knife, spread it across the surface, and you’re done. You can also use a spackle knife to fill cracks in drywall before applying caulk.
2. A Paint Brush:
The main advantage of using a paintbrush is getting into corners with ease. However, it will take much longer than with a spackle knife or roller.
3. A Roller Cover:
Okay, so technically, this isn’t an alternative to a paint roller, but you can use it in place of a paintbrush for small areas. Just put the cover on your hand and scoop up some paint with it before spreading it across the surface with your free hand. Remember that it will take longer than a roller or spackle knife.
4. A Ladder:
If you’re painting walls at least 6 feet tall, you can use a ladder to paint them. Make sure your paint lid is open before stepping off the ladder to avoid accidents.
5. A Paint Pad:
These are usually used for painting furniture, but they can also be used on walls with some modifications. You’ll need a paint pad extender, which is a handle with a roller head on one end and a sponge on the other. The sponge makes it easier to apply paint quickly to large areas.
Conclusion:
This concludes the blog post on how to make a paint roller at home. Now you can use this knowledge for your next DIY project! It is important to remember that something has been done before, it doesn’t mean you can’t do it better.
With some knowledge and time on your hands, even a paint roller could be homemade! If you have any questions, please feel free to contact us or leave a comment below, and we will get back to you as soon as possible. Thank you for reading our blog today!


