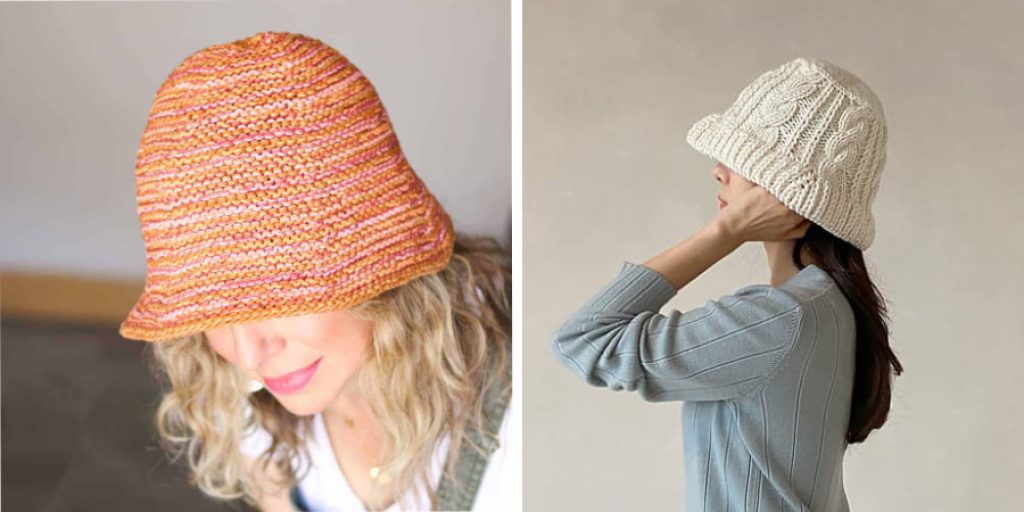
How to Knit a Bucket Hat
Are you looking for a new, exciting knitting project? Look no further than the bucket hat! This stylish and practical accessory is perfect for adding a pop of color to any outfit. Knitting a bucket hat may seem intimidating initially, but with the right tools and techniques, it’s a fun and rewarding project for knitters of any skill level. Read on to learn how to knit a bucket hat and wow your friends with your new accessory!
Can You Knit a Bucket Hat?
If you’re a fan of both fashion and crafting, you may be wondering – can you knit a bucket hat? The answer is a resounding yes! Not only is knitting your bucket hat a great way to customize your headwear and show off your style, but it’s also a fun and rewarding project to tackle.
With just a few simple stitches and some cozy yarn, you can create a hat that will keep you warm and stylish all season long. So grab your knitting needles and get ready to create a one-of-a-kind bucket hat that’s uniquely you.
Why Should You Knit a Bucket Hat?
Bucket hats are a trendy fashion staple that has made its way back into the mainstream. And what better way to stand out from the crowd than by creating a personalized, handmade bucket hat through knitting? Not only does knitting a bucket hat allow you to showcase your style and creativity, it also provides a great opportunity to explore different knitting techniques and patterns.
Plus, wearing a handmade hat gives you a sense of accomplishment and pride in your knitting skills. Knitting is also a relaxing and meditative activity, so knitting a bucket hat can be a great way to unwind and de-stress. So if you’re looking for a fun and fulfilling knitting project that you can wear with pride, why not try knitting a bucket hat?

7 Steps to Follow on How to Knit a Bucket Hat
Step 1. Choose Your Yarn and Needles
The first step in knitting a bucket hat is choosing the right materials. A lightweight, breathable yarn like cotton or wool is best for a comfortable hat in any season. Be sure to choose a color or pattern that matches your style. Once you have your yarn, select the appropriate knitting needles for your project. Use a smaller needle size like US 3 or 4 for a lightweight yarn.
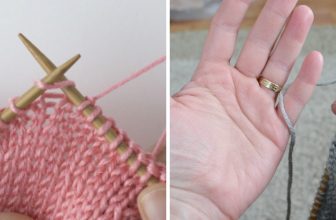
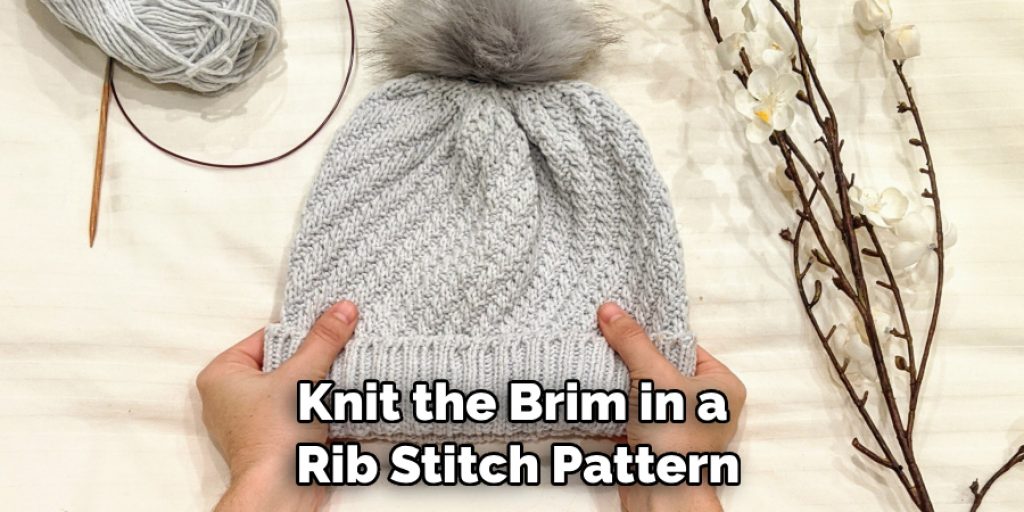
Step 2. Cast on And Knit the Brim
To start your bucket hat, cast on the number of stitches, you’ll need for the brim of your hat. Knit the brim in a rib stitch pattern, alternating knit stitches and purl stitches in every row. The rib stitch gives the brim of your hat some stretch and allows it to fit comfortably on your head.
Step 3. Increase the Body of The Hat
Once you’ve finished knitting the brim, it’s time to increase the number of stitches for the body of the hat. This creates the signature shape of the bucket hat. Follow a simple increase pattern to add stitches to every other row, gradually widening the hat’s circumference.
Step 4. Shape the Crown
As you approach the top of the hat, it’s time to shape the crown. This means decreasing the number of stitches to create a tapered point at the top of the hat. Follow a simple decrease pattern until you have only a few stitches left.
Step 5. Bind Off and Sew the Seams
Once you’ve finished knitting, it’s time to bind off the stitches. Cut a long strand of yarn and thread it through each stitch, one at a time, until all of the stitches have been removed from the needles. This will secure your work and create a finished edge. Sew up any seams with a tapestry needle and weave in all your ends.
Step 6. Block The Hat
Blocking is an important step that will give your hat a professional finish. To block your bucket hat, soak it in lukewarm water for 10 minutes, then gently squeeze out any excess moisture. Lay the wet hat on a flat surface and carefully shape it into its desired size and shape. Allow the hat to air dry completely before wearing it.
Step 7. Show Off Your Knitted Masterpiece
Once your bucket hat is finished, you can show off your handiwork! Wear it with pride and enjoy the comfort of a handmade accessory. With a little practice, you’ll be able to make multiple hats in no time – perfect for gifting or stocking up your wardrobe. So grab your needles and yarn, and get knitting! With these simple steps, you’ll be on your way to creating the perfect bucket hat.
That’s it! You’ve now learned how to knit a bucket hat. Keep practicing, and soon you’ll be knitting hats like a pro! Have fun and happy knitting!
5 Considerations Things When You Need to Knit a Bucket Hat
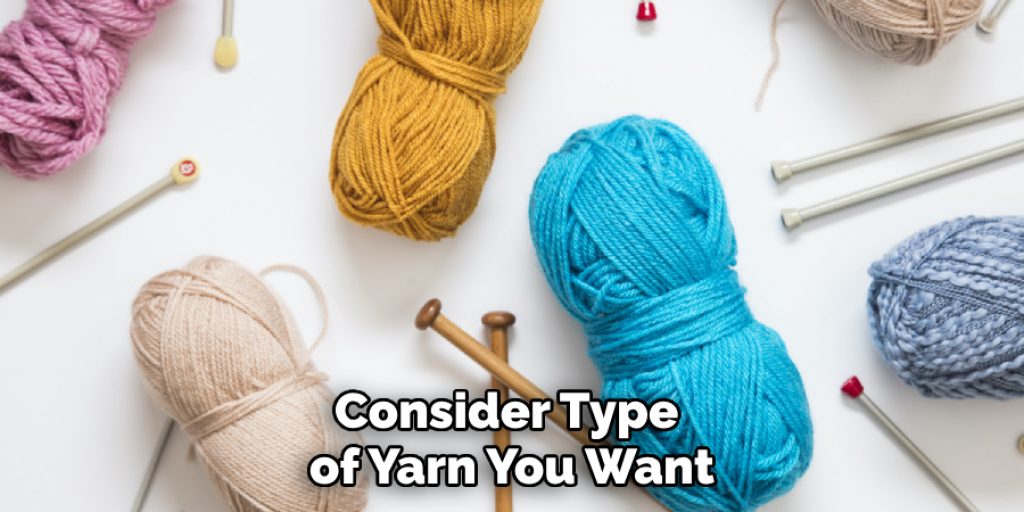
1. Yarn Choice
The type of yarn you want to use is the first thing you need to consider when knitting a bucket hat. Various yarns are available, so you will need to choose one suitable for the project. If you are knitting a hat for a child, you may want to choose a softer yarn to make it more comfortable.
2. Needle Size
Next, you need to consider the size of needles you will need to use. The size of the needles you use will depend on the thickness of the yarn. If you are using a thicker yarn, you will need to use larger needles, and vice versa.
3. Gauge
Gauge is another important consideration when knitting a bucket hat. Gauge refers to the number of stitches per inch that you knit. It is important to knit at the correct gauge so your hat will be the correct size. If your gauge is too loose, your hat will be too large, and if it is too tight, it will be too small.
4. Pattern
When knitting a bucket hat, you must choose a pattern. There are various patterns available, so you should choose one that you think will look good. You can also find patterns online or in knitting magazines.
5. Cast On Method
Finally, you must decide which cast-on method you want to use. The long tail cast-on method is a good choice for beginners, but other methods are available if you want to try something different.
Benefits of Knit a Bucket Hat
Knitting is not just for grandmas anymore! Not only is it a fun hobby to pass the time, but it also has some great benefits for your health. And what’s a better project to knit than a trendy and versatile bucket hat? You can customize the fit and style by knitting your hat to your liking.
Knitting also helps to reduce stress and anxiety by keeping your hands busy, and your mind focused on repetitive movement. Plus, wearing a homemade hat you created yourself is an unbeatable feeling of satisfaction. Don’t hesitate to pick up a pair of knitting needles and start your bucket hat project today!
Some Common Mistakes People Make When Trying to Knit a Bucket Hat
When it comes to knitting a bucket hat, there are a few common mistakes that people tend to make. One of these mistakes is not choosing the right type of yarn. It’s important to select a yarn that is appropriate for the pattern you are using and one that complements the style and durability you’re looking for in a bucket hat. Another mistake is not taking the time to properly measure their head.
A loose or tight-fitting hat can be uncomfortable, so take accurate measurements and adjust your gauge accordingly. Lastly, skipping important steps in the knitting process can lead to mistakes in the final project. It’s important to take your time, follow the directions, and stay on track. With some patience and practice, you can easily avoid these common mistakes and knit a beautiful and functional bucket hat to enjoy all season long.
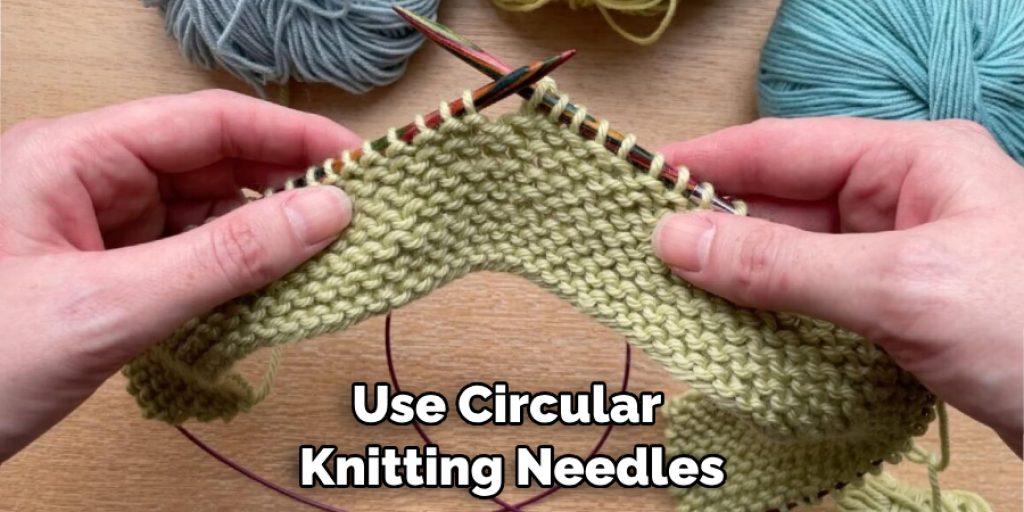
Can I Use Circular Knitting Needles to Knit a Bucket Hat?
If you want to knit a bucket hat, you may wonder if you can use circular knitting needles. The answer is yes! Circular needles can be especially useful for knitting hats, as they allow you to easily work in the round without seaming at the end.
When selecting circular needles for your bucket hat project, choose a length that will accommodate the hat’s circumference. With a little practice and patience, you’ll have a beautiful and functional bucket hat you’re proud to wear out and about.
Conclusion
Knitting a bucket hat is fun and rewarding for knitters of any skill. With the right materials and techniques, you can create a stylish and comfy accessory that will brighten any outfit. Follow these simple steps to knit your bucket hat and embrace your inner fashionista! So, grab your yarn and needles, and get ready to create a hat that’s both cozy and chic! Thanks for reading our post about how to knit a bucket hat.
Nancy Behan
Nancy is an embroidery artist, fashion blogger and a full time editor at DIY quickly. Nancy edits the fashion section on DIY quickly, focusing on the embroidery and cross stitch articles, alongside with fabric and other costume design elements. She graduated from the University of Michigan with a Bachelor of Arts in Art History. She loves to work on her own projects, read books and watch romantic movies in her spare time.